BACKGROUND
Earlier in this lesson, you
got a background for your game.
Now, we'll put it to use!
-
Drag In Background
Locate your background in .
Drag it into your scene in .
Give it an appropriate name. (Mine is named .)
See (1) at right.
-
Adjust $z$-values, As Needed
Make sure that your values satisfy:
$\displaystyle z_{_{\text{Main Camera}}} < z_{_{\text{Wolf}}} < z_{_{\text{Desert}}}$
For example, I set:
-
$z_{_{\text{Main Camera}}} = -10$
-
$z_{_{\text{Wolf}}} = 0$
-
$z_{_{\text{Desert}}} = 1$
must be further from than
.
This way, appears ‘on top of’ , instead of hidden beneath it!
(Switch the $z$-values for and , and see what happens.)
-
Resize Background, As Needed
As needed, re-size your background to fill up the camera area.
It can go outside the camera area, as long as you're happy with what you see in .
See (2) at right.
|
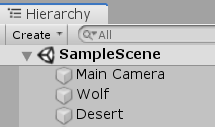
(1) drag your background into
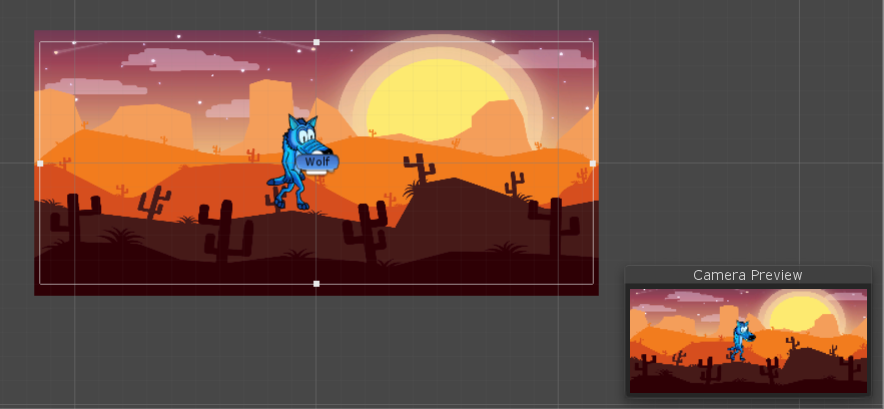
(2) Your scene should look something like this.
|
ROCK IMAGE, WITH A TRANSPARENT BACKGROUND
I want rocks randomly falling from the sky and hitting the desert floor.
When encounters a rock (by—say—running to it),
the rock ‘reveals’ itself to be a (randomly-selected) expression (like ‘$\,x\,$’) or sentence (like ‘$\,x = 1\,$’).
The user then decides if it's an expression or a sentence.
So, we need a realistic rock image.
Here's what I do:
-
Check the Asset Store
The Asset Store may have just what's needed.
Unfortunately, I didn't find anything free that I like.
-
Find An Image Online
Next, google ‘rock’ (and similar phrases) to find an image online.
There are downloadable royalty-free images.
Or, use a ‘snipping tool’ to ‘cut out’ an image. (Be careful about copyright issues.)
A rock with a uniform background makes it easier to add transparency (next step).
The rock I found is shown in (1) at right.
-
Make The Background Transparent
If you have a favorite graphics editor, use it.
Or, you can use Visual Studio:
-
Open the rock image in Visual Studio:
-
Select the "Click to select an area of similar color" tool.
See (2a) below.
-
Click on a pixel with the desired color that you want transparent.
Press ‘delete’ to delete that color.
(The default is that ‘no color’ is transparent.)
See (2b) below.
-
Save the file.
Drag the file from (say) File Explorer into your Unity assets.
(I chose to make an folder, and put the rock there.)
See (2c) below.
|
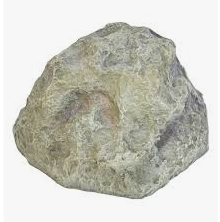
(1) my rock image
|
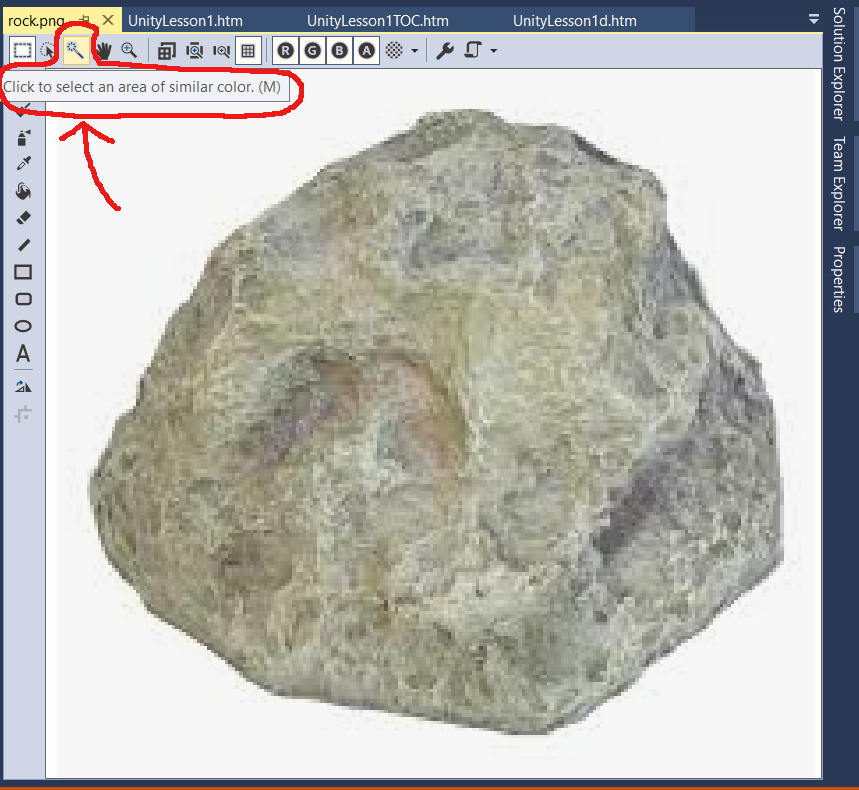
(2a) the ‘Click to select an area of similar color’ tool
|
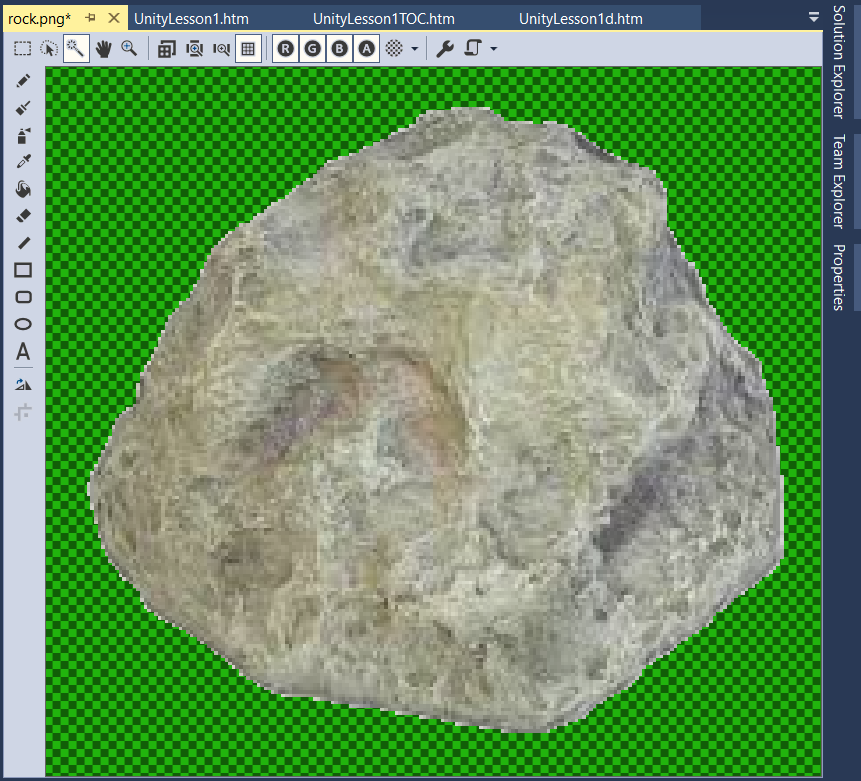
(2b) the checkered texture indicates transparency
|
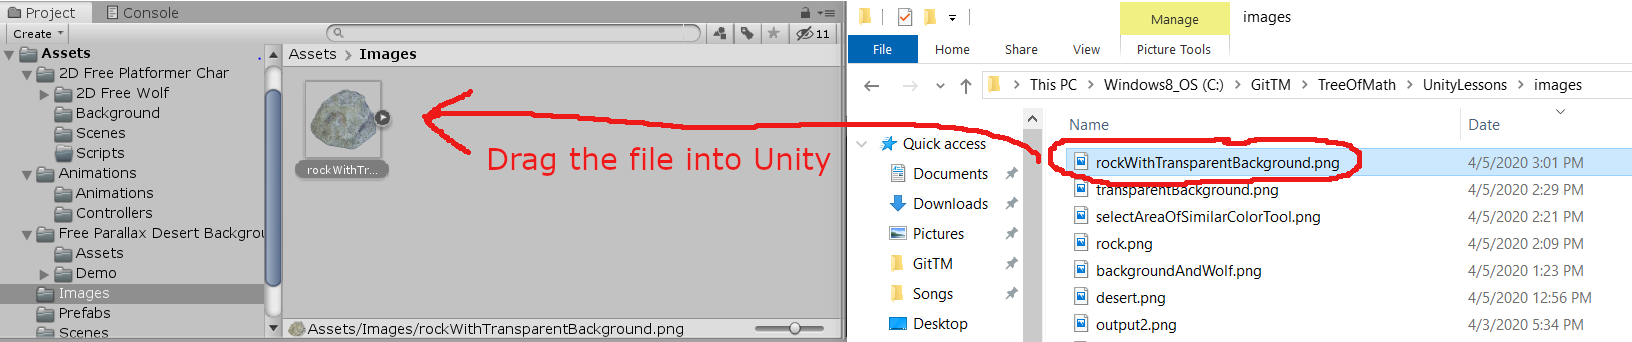
(2c) drag the file into Unity
|
PREFABS
There will be
many rocks falling from the sky in this game, all using the same image and having (mostly) the same behavior.
It's a perfect opportunity to use a Unity
prefab.
What is a Prefab?
Here is information about prefabs from the
Unity User Manual:
-
Reusable Asset
A Prefab is a template from which you can easily create new GameObjects in a scene.
-
When Should You Use a Prefab?
Want to reuse a particularly-configured GameObject in multiple places in your scene (or across multiple scenes)?
Then you should convert it to a Prefab.
Use of a Prefab is better than copying-and-pasting, since the Prefab system keeps track of all the copies.
-
Easy to Edit
Edits to a Prefab are automatically reflected in the instances of that Prefab.
Thus, you can easily make changes without having to edit multiple copies of the same asset.
-
Do All Prefabs Have to Be Completely Identical?
Not all Prefab instances have to be identical.
You can override settings on individual prefab instances if you want some to be different.
-
Where are Prefabs Stored?
Prefabs are stored as assets in the window.
Thus, they're often referred to (more correctly) as Prefab Assets.
-
Prefab Examples
- Environmental Assets: a certain type of tree might appear many times in a forest
-
Non-Player Characters (NPCs): a certain type of robot might appear multiple times,
across multiple levels.
Using overrides, they may have different speed, different sounds.
- Projectiles: a cannon might instantiate a cannonball Prefab each time it fires
-
Main Character: a main-character Prefab might be placed at the starting point on each level
of your game
How To Create a Prefab
Information on Creating Prefabs from the Unity Manual
Creating a Prefab from a GameObject is a one-step process!
Just drag the desired GameObject from the window into the
window.
That's it!
Make Rock a Prefab
We'll make our ‘falling rock’ a Prefab, as follows:
-
Create a Prefabs Folder
This step is optional, but encouraged.
Create a new folder, and name it :
See (1) at right.
-
Make Rock a GameObject
You can only make Prefabs from GameObjects.
At the moment, our rock is just an image.
Drag the rock image from into .
Name the new GameObject .
See (2a) and (2b) at right.
-
Make Rock a Prefab
Drag the new GameObject into the folder.
See (3a) below.
The process of creating a new Prefab Asset turns the original GameObject into a Prefab instance.
Prefab instances are shown in in blue text.
The root GameObject of a Prefab is shown with the blue cube Prefab icon.
See (3b) below.
After a few moments, the for changes to
reflect that it's now a Prefab.
See (3c) below.
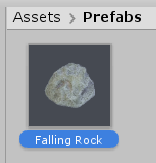
(3a) our newly-created Prefab
|

(3b) Prefabs are identified
by the color blue
in
|
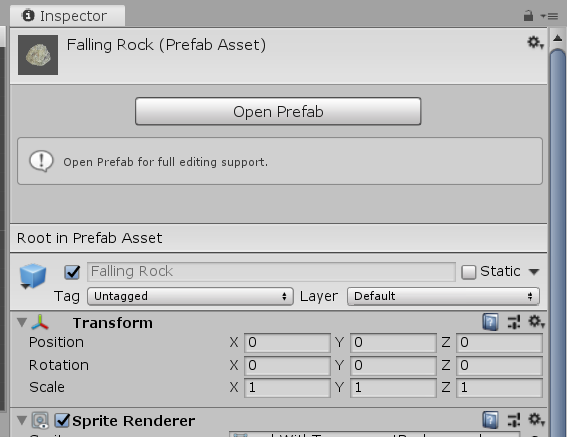
(3c) changes
to reflect that
is now a Prefab.
|
We don't want any rocks in our scene at the start of game play.
All our rocks will fall from the sky (via a script) once game play begins.
Therefore, you can now safely delete the (blue) that appears in .
This does not get rid of your Prefab! It only deletes a single instance of the Prefab.
With this instance gone from , you'll then need to click on the
Prefab in , if you want to make any edits.
Instead of deleting that appears in , you could
merely uncheck it in , so it doesn't appear.
It is possible to edit the actual Prefab via this particular instance, so it might be convenient to keep it hanging around.
Your choice!
|
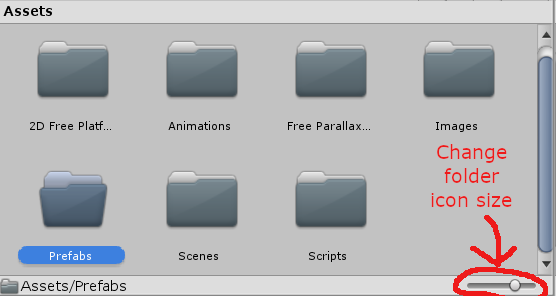
(1) For good organization, create a folder.
Note: You can change the size of folder icons using the slider at lower right.
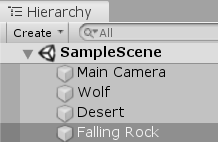
(2a) new GameObject
|
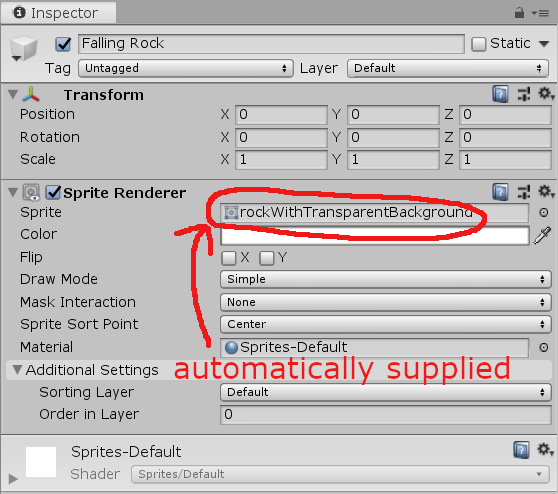
(2b) in ;
the rock image is automatically supplied
in
|
|