|
Unity's Introduction to the Unity Interface (videos: 1 hour) Unity Editor
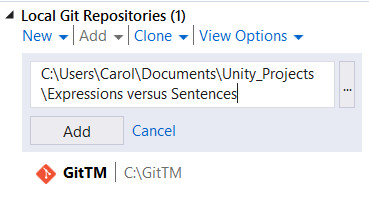
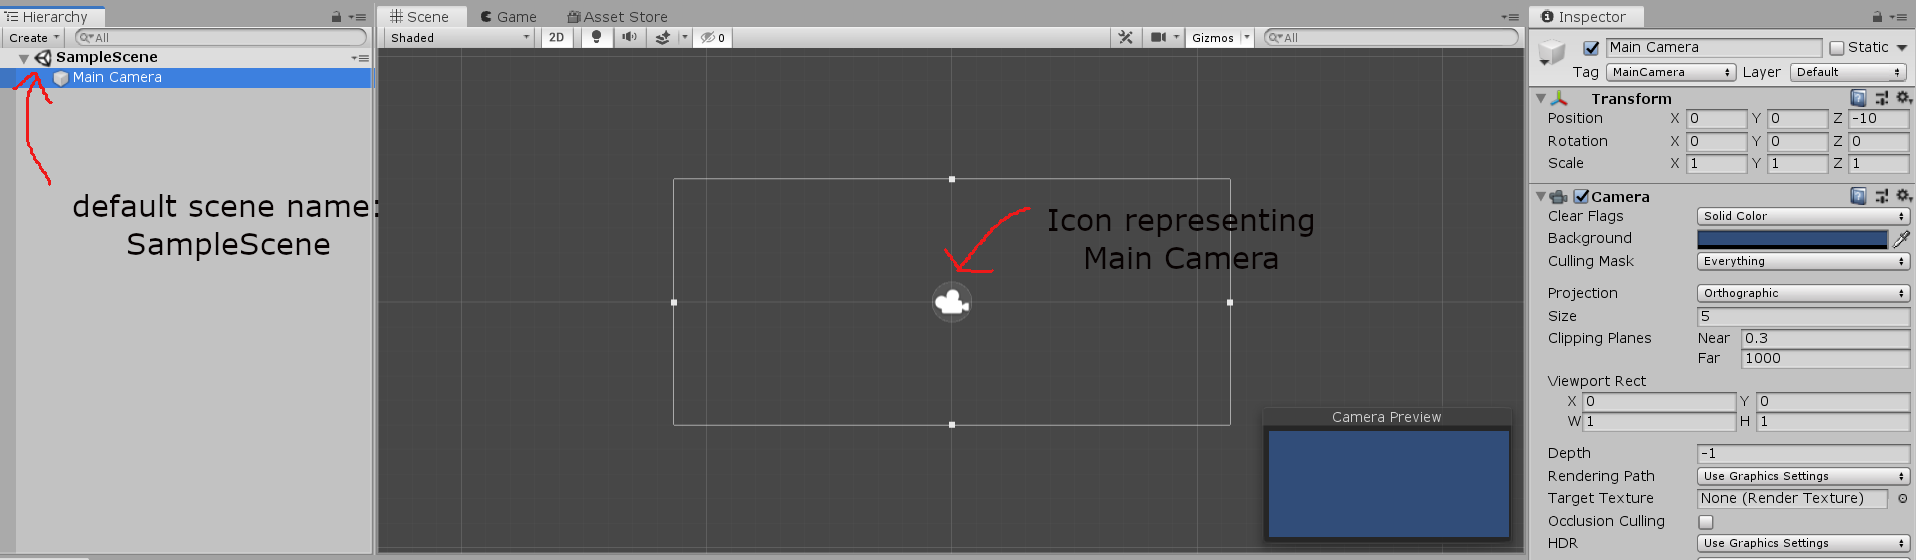
Once a project is created, it is available from the Unity Hub. See (1) at right.Click on the project to open the Unity Editor. Important Unity Editor Elements
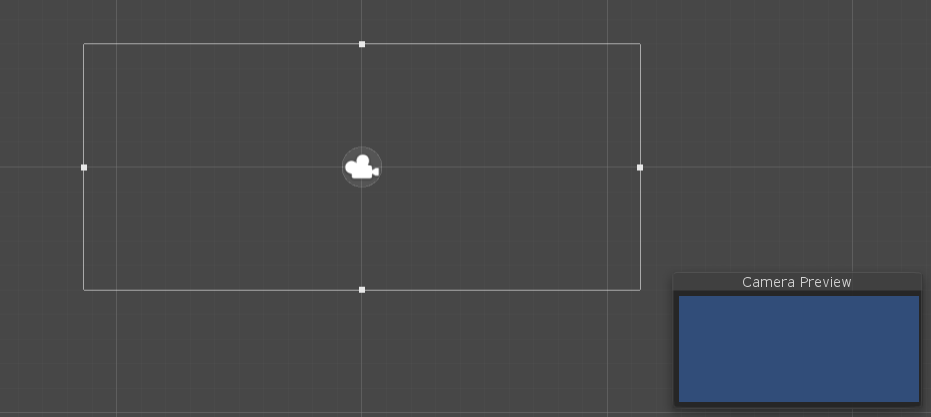
See (2) at right.
Customizing the Unity Editor
Most everything in the Unity Editor can be moved/resized to make the interface your own:
restores the default layout. |
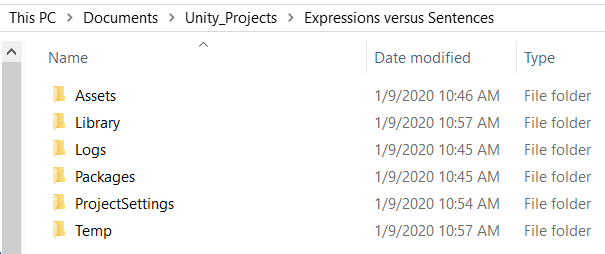
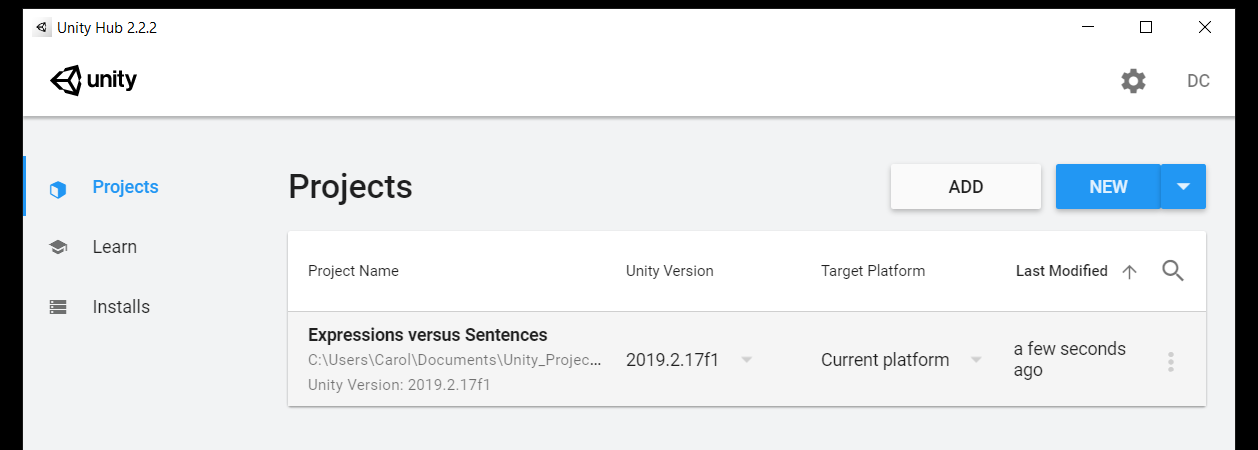 (1) to open a project, click on it in the Unity Hub  (2) important Unity Editor elements in their default layout: Toolbar Scene View and Game View Hierarchy Window Inspector Window Project Window |
|
Unity Asset Store
The Unity Asset Store offers free and to-purchase assets created by
Unity Technologies and Unity community members.The Asset Store is available from the Unity Editor:
Unity ID
You need a Unity ID for the Asset Store.Your Unity ID also allows you to buy/subscribe to Unity products/services and participate in the Unity community. Make the game your own!
Next, you'll get a background and character for your game at the Asset Store.
By choosing your own (instead of taking my choices), you can make this game your own!
Get a Background for your Game at the Asset Store
I did it this way:
How to Delete an Unwanted Asset from your Project
To delete an asset from your project:
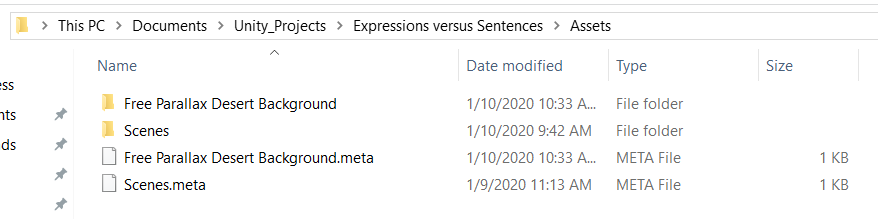
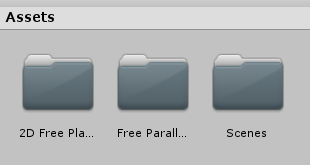
Usually, you'll want to keep assets on your computer, since they may be useful in other projects. However, if (say) you need to recover disk space, see (3) at right to remove the original asset files from your computer. How to Inspect Assets
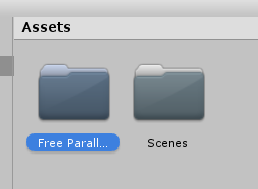
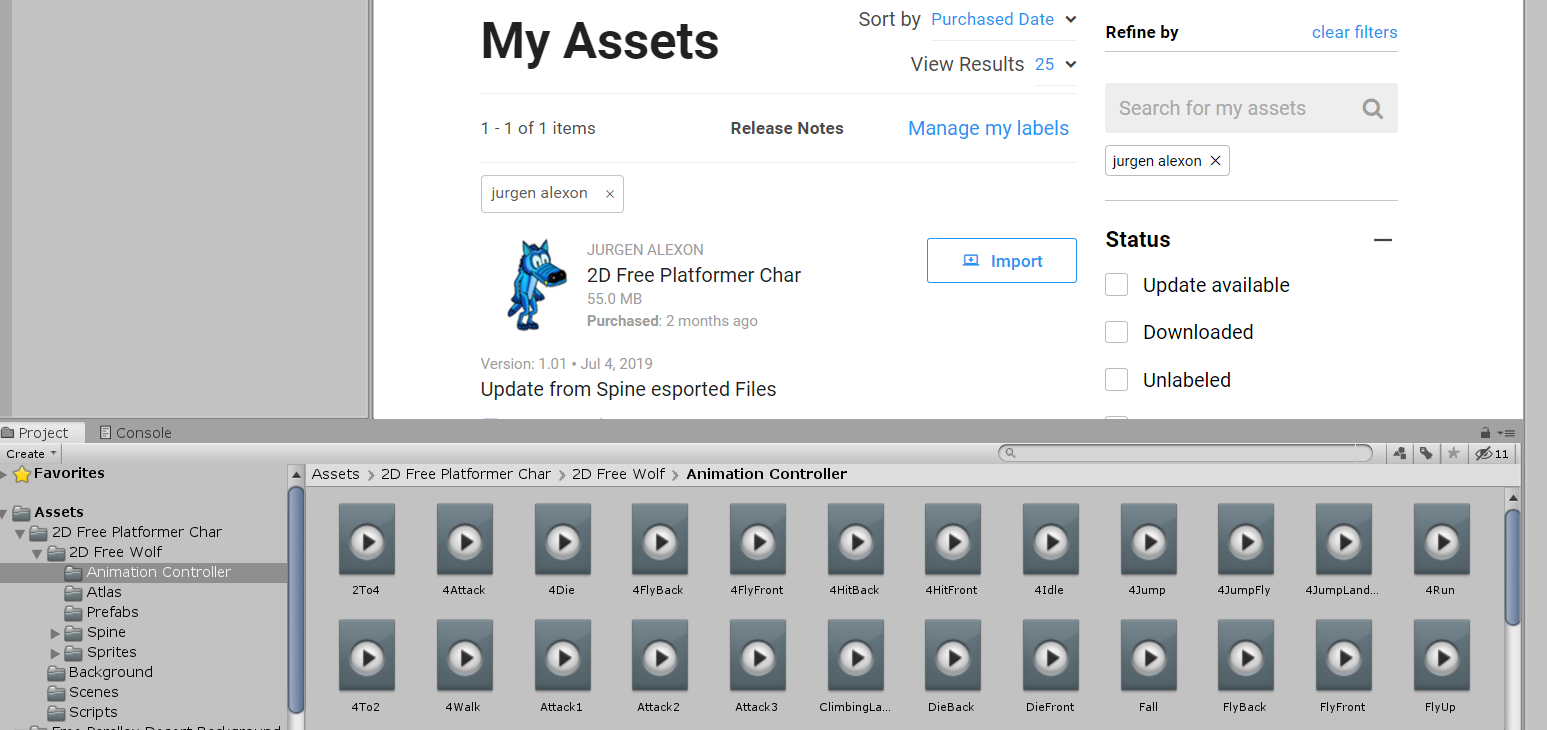
Use the Project Window to explore your assets.See (4) at right. Get a Character for your Game at the Asset Store
I did it this way:
Shortly, you'll see how you can preview these animations. Other Ways to Get Assets Into Your Game
Unity Automatically Saves New Assets Upon Creation
At the completion of this step,
you will have folders in corresponding to:
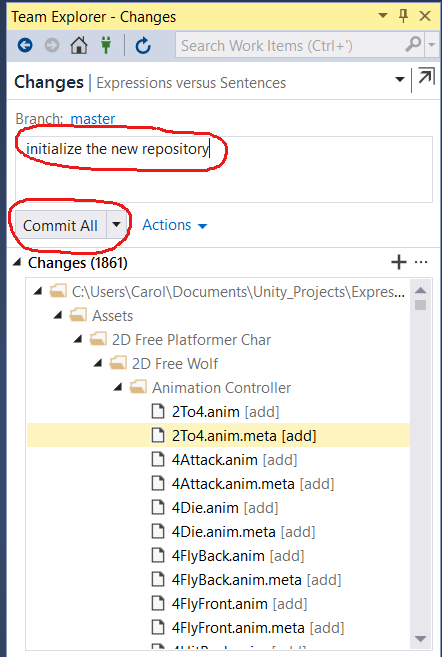
 Saving All Changes
To save everything after you've made desirable changes,use (or keyboard shortcut, ). |
|