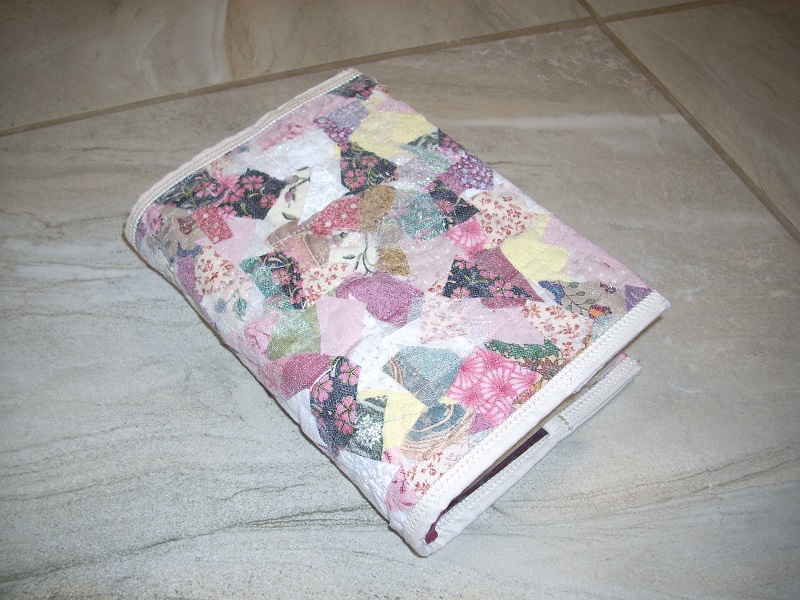
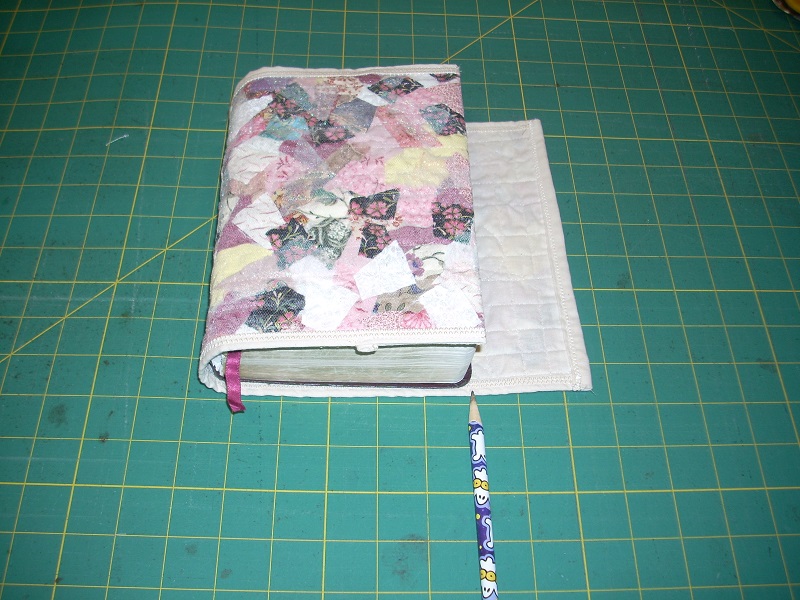
This homemade bookcover will make any book feel loved!
It uses
fabric made from scraps.
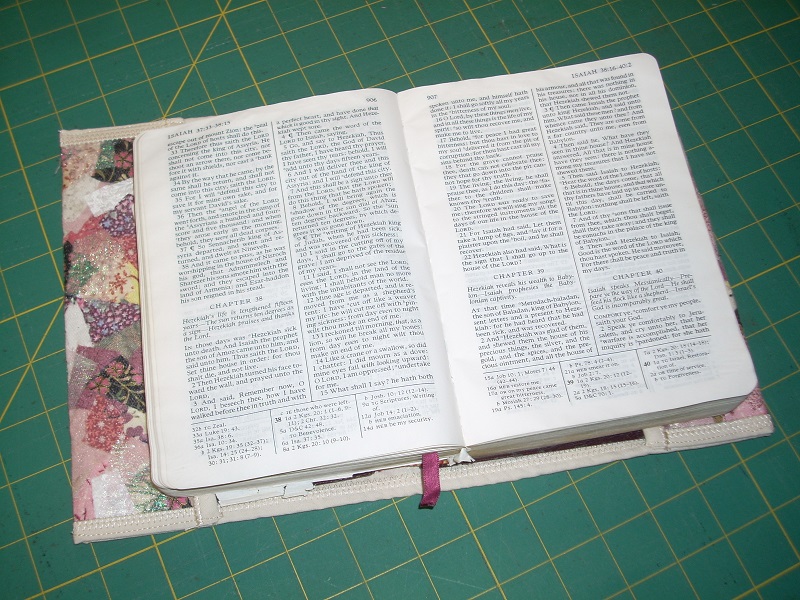
The front and back of the book tuck into pockets that hold the cover in place.
The top/bottom binding is thick for extra protection.
It's easy-to-make, but sturdy.
(1a)
|
(1b)
|
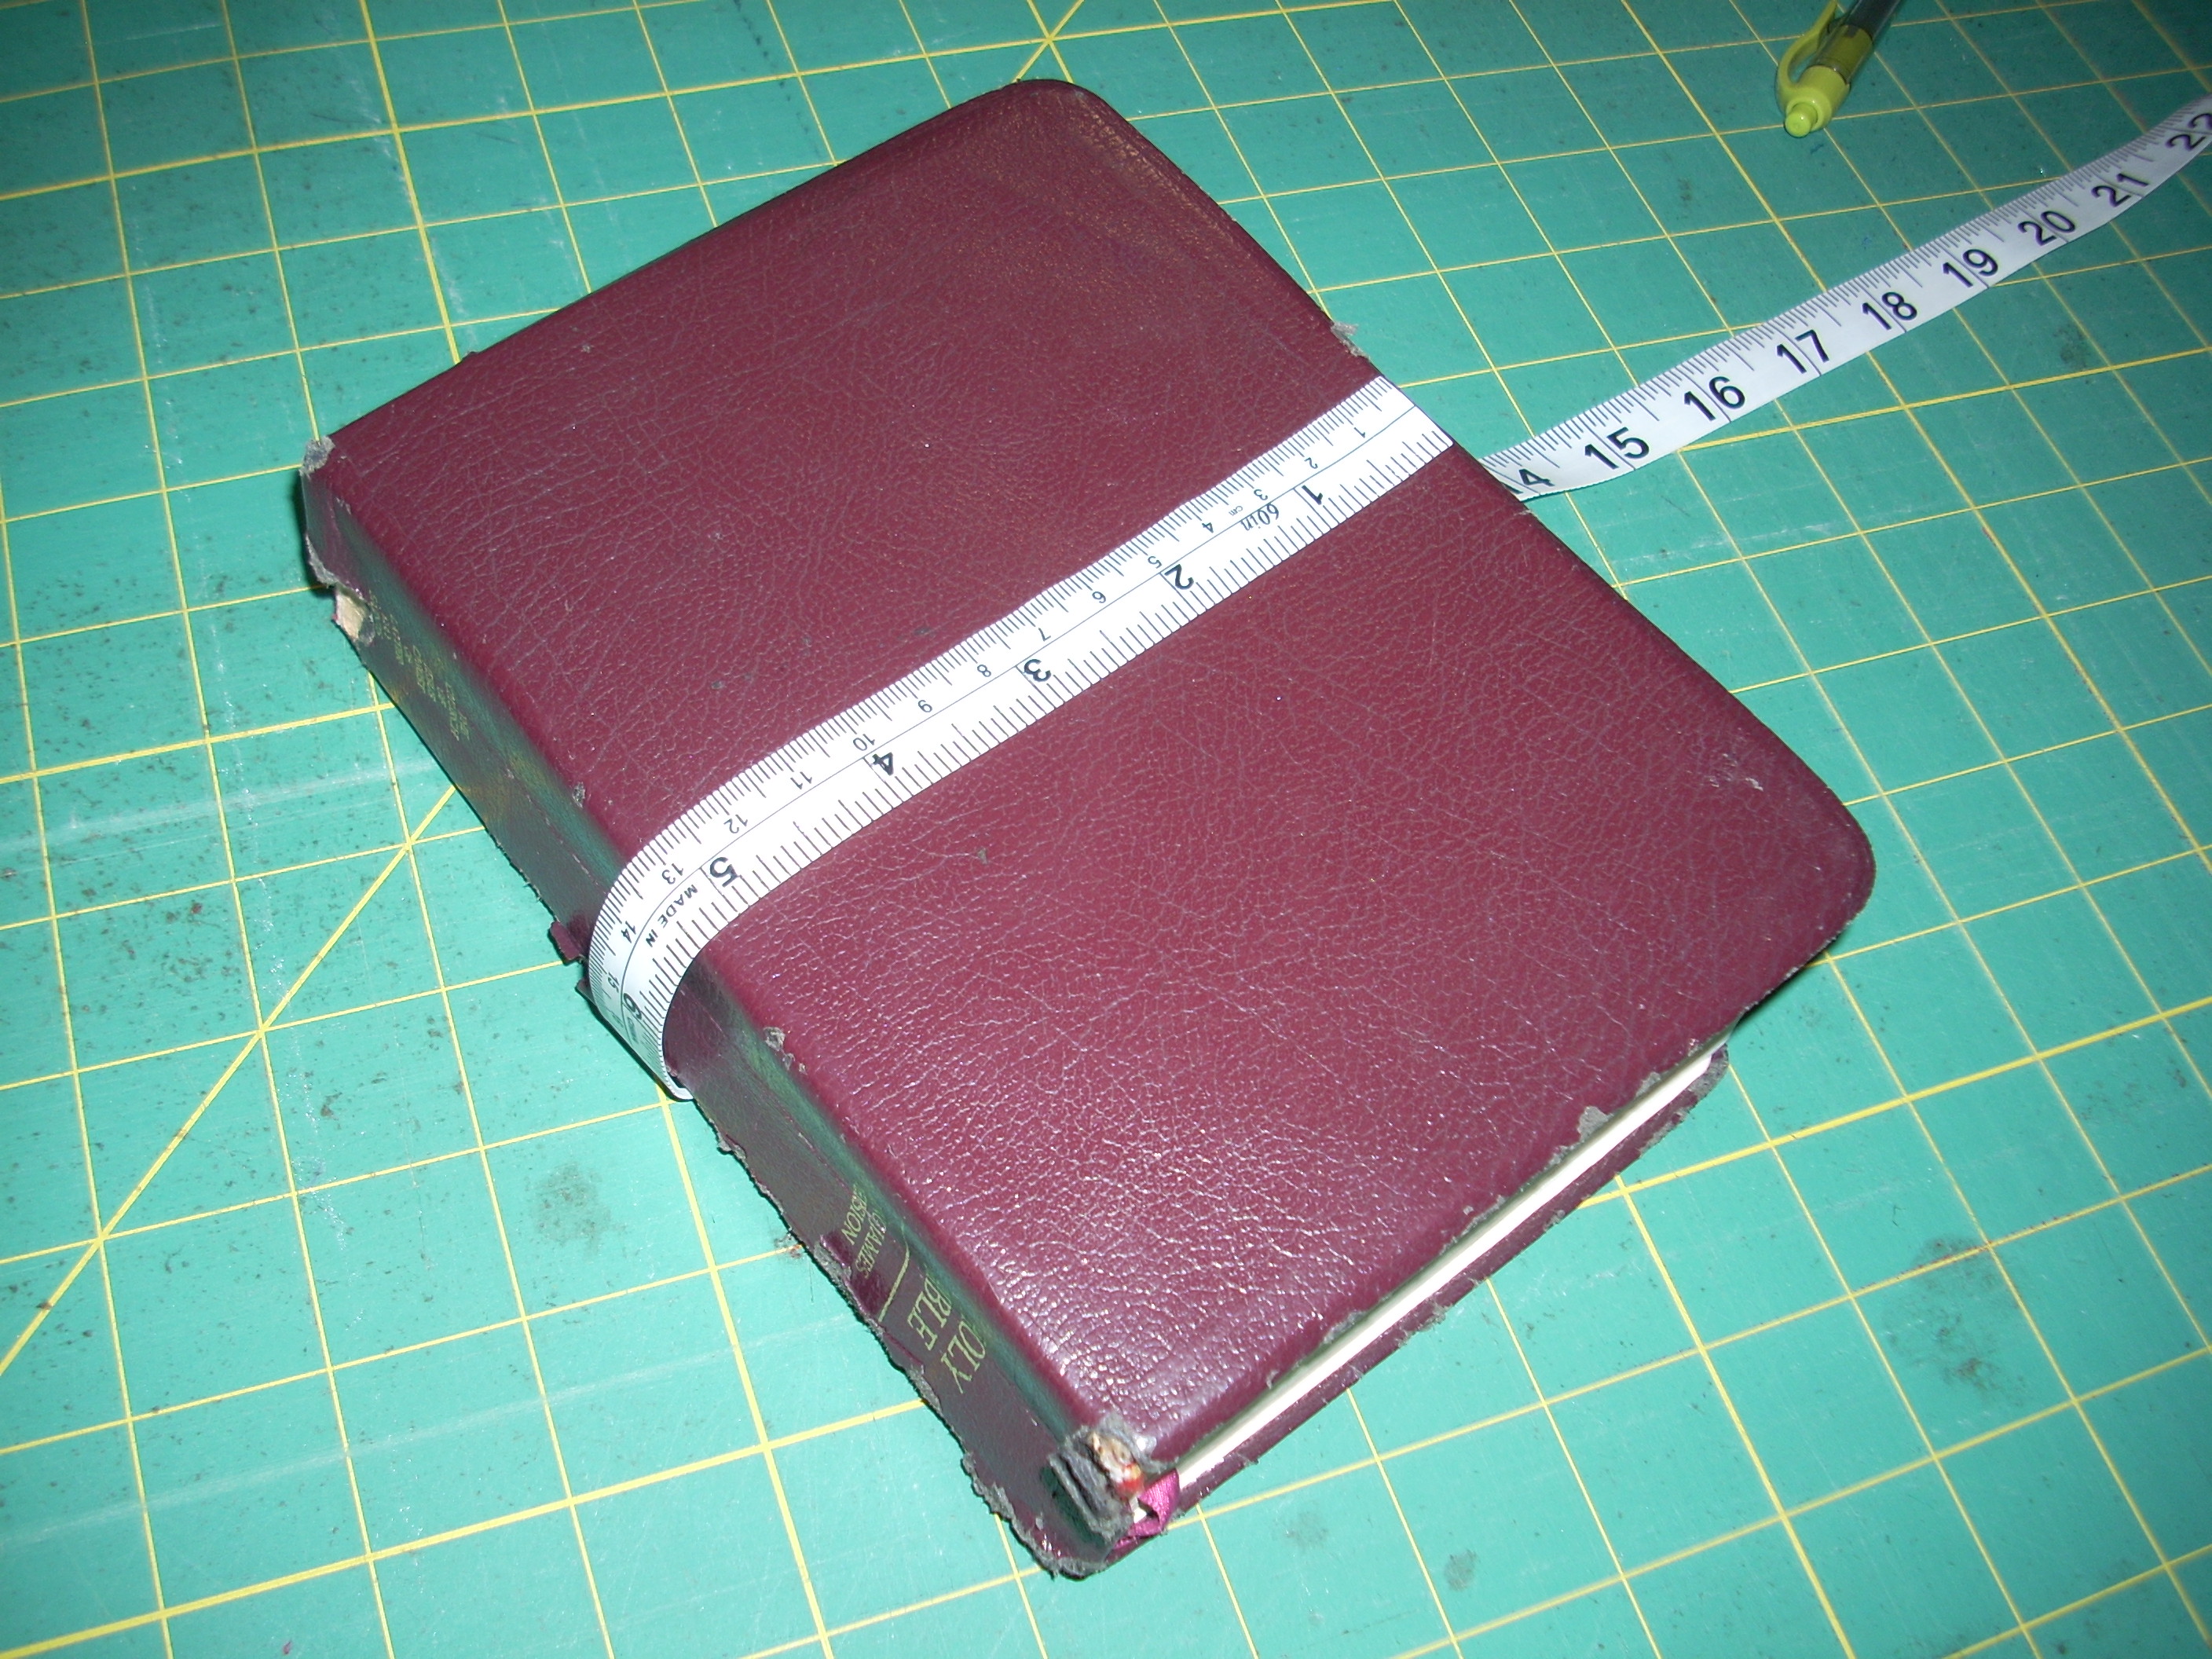
(1) MEASURE YOUR BOOK:
All units are inches. For example, $\,\ell + 6\,$ means
$\,\ell\,$ inches plus $\,6\,$ inches.
-
Using a flexible ruler,
with the book closed,
measure from right front all the way around to the back, around the spine (1a).
Call the result $\,\ell\,.$
Equivalently, this is twice the width of the book, plus the depth.
-
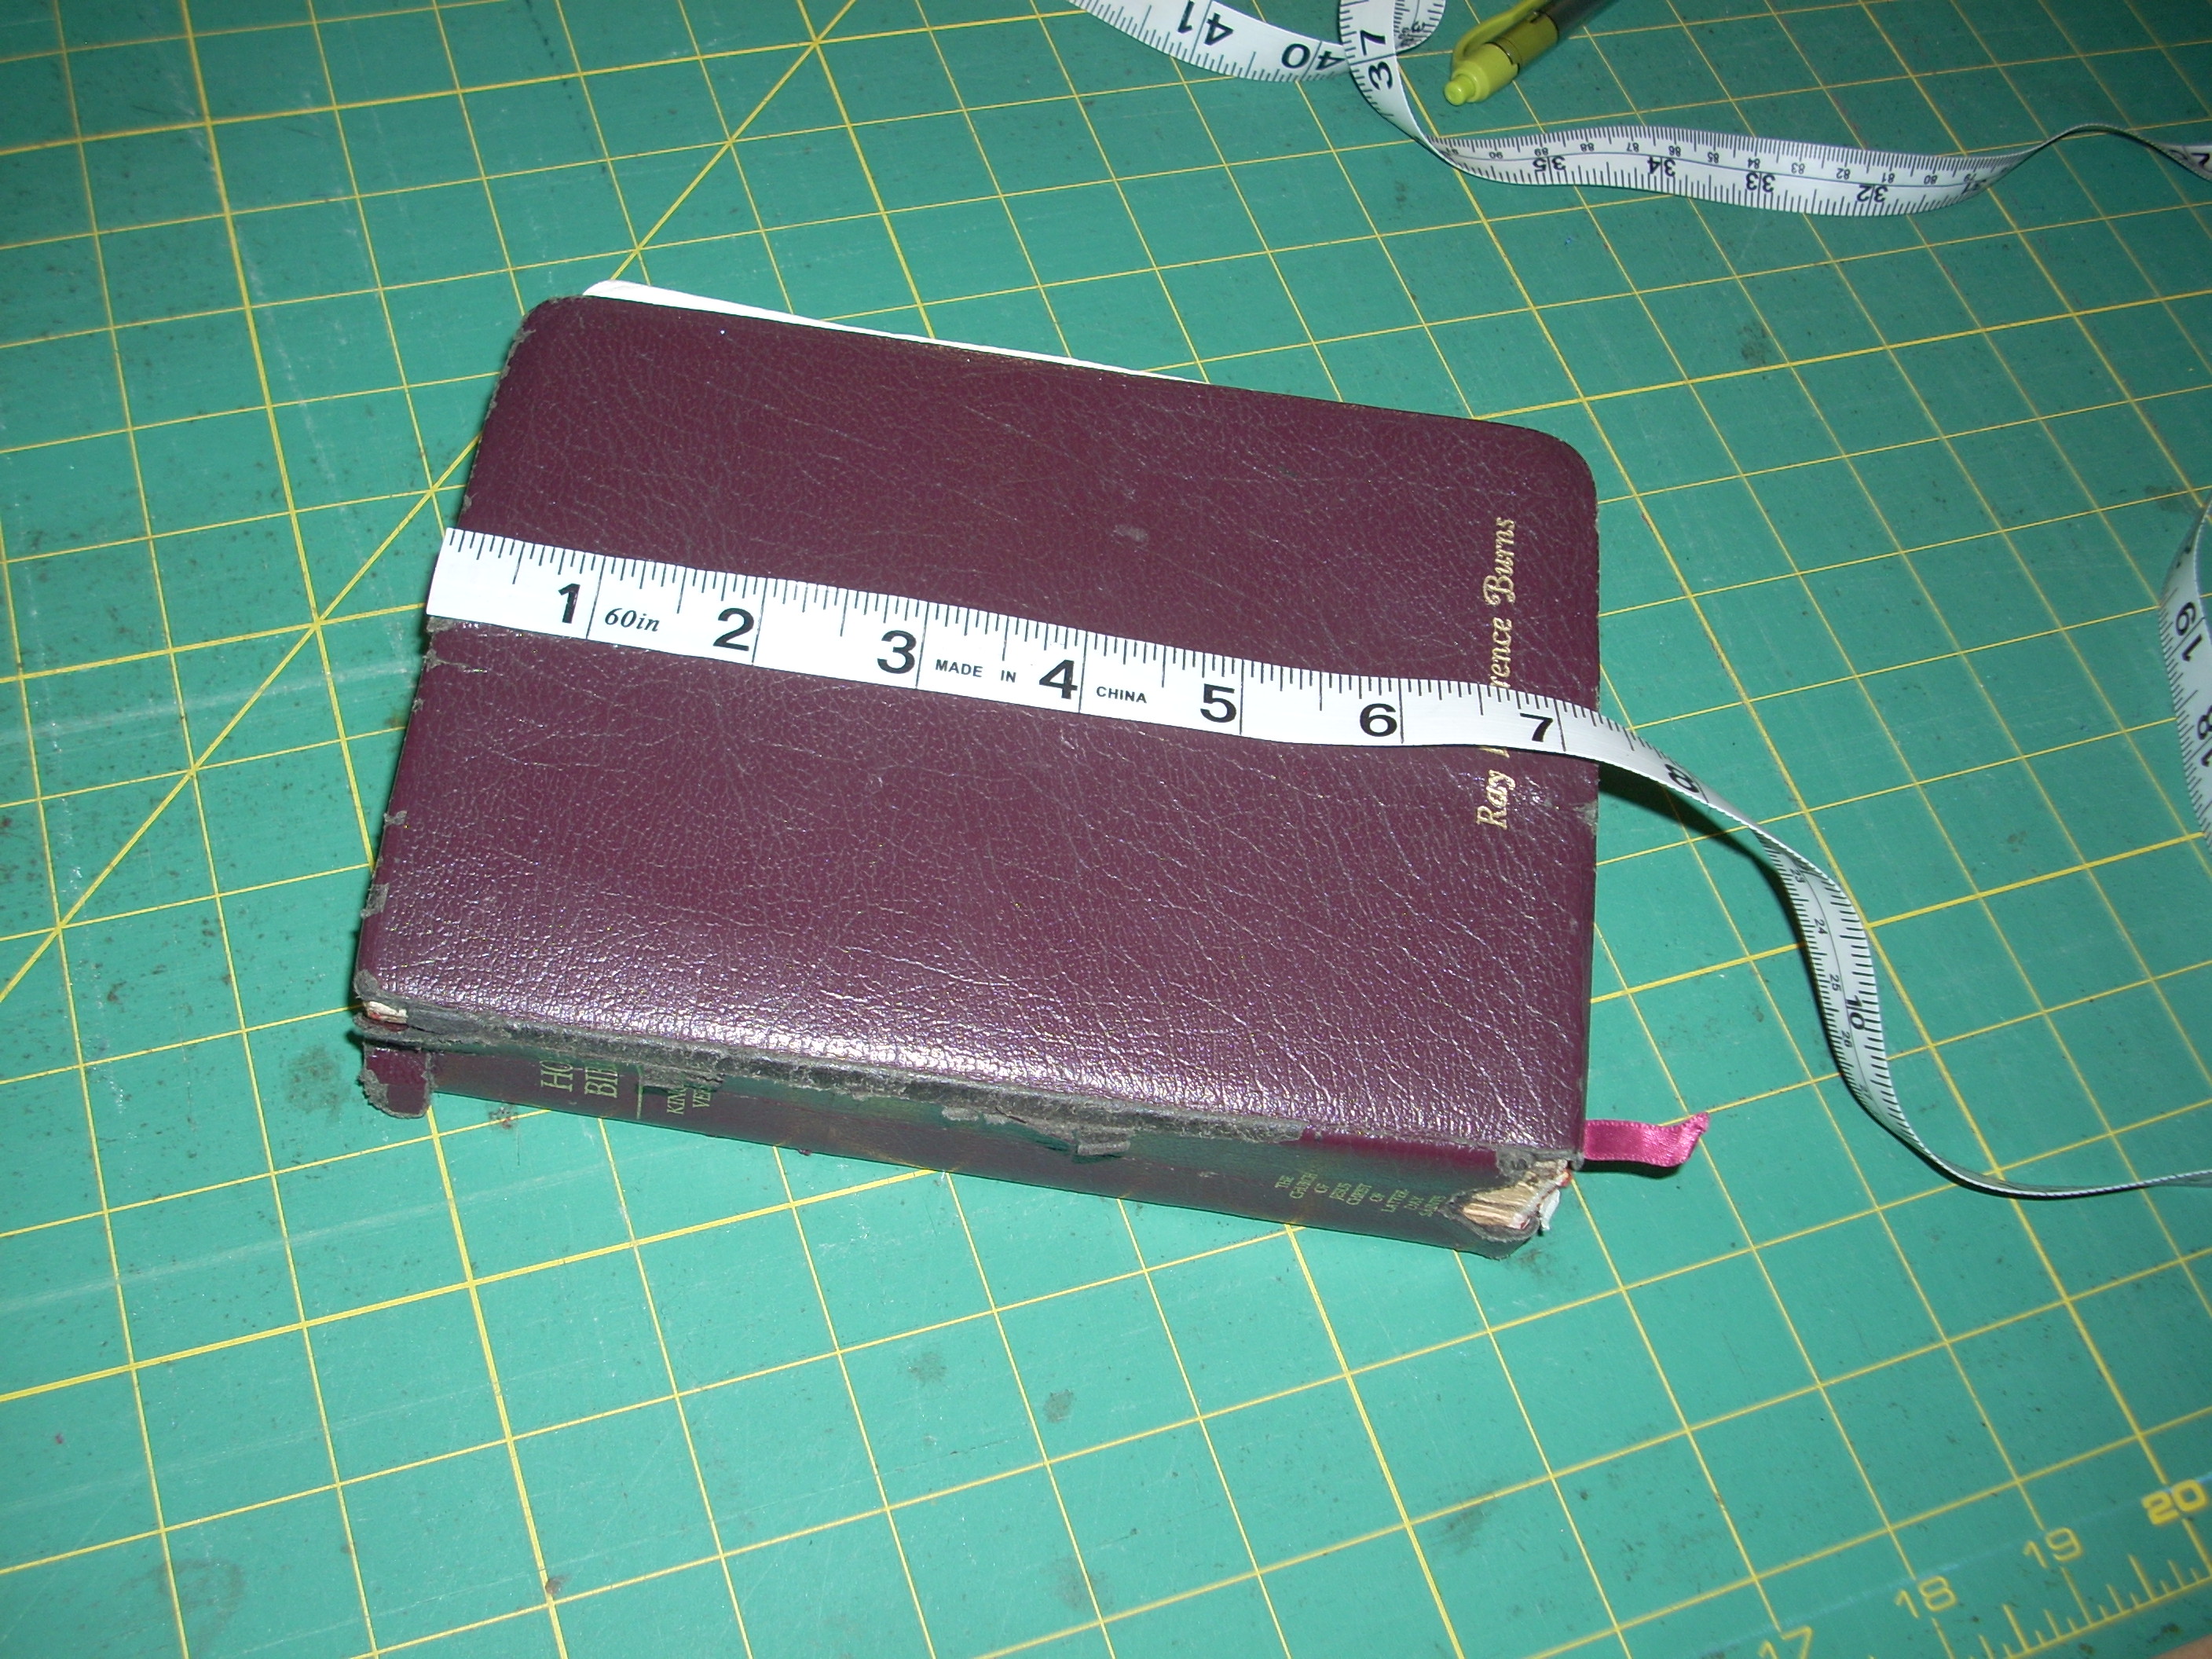
Measure the height of the book, top to bottom (1b).
Call the result $\,h\,.$
As needed, round both $\,\ell\,$ and $\,h\,$ UP to the nearest quarter inch.
|
(2a)
|
(2b)
|
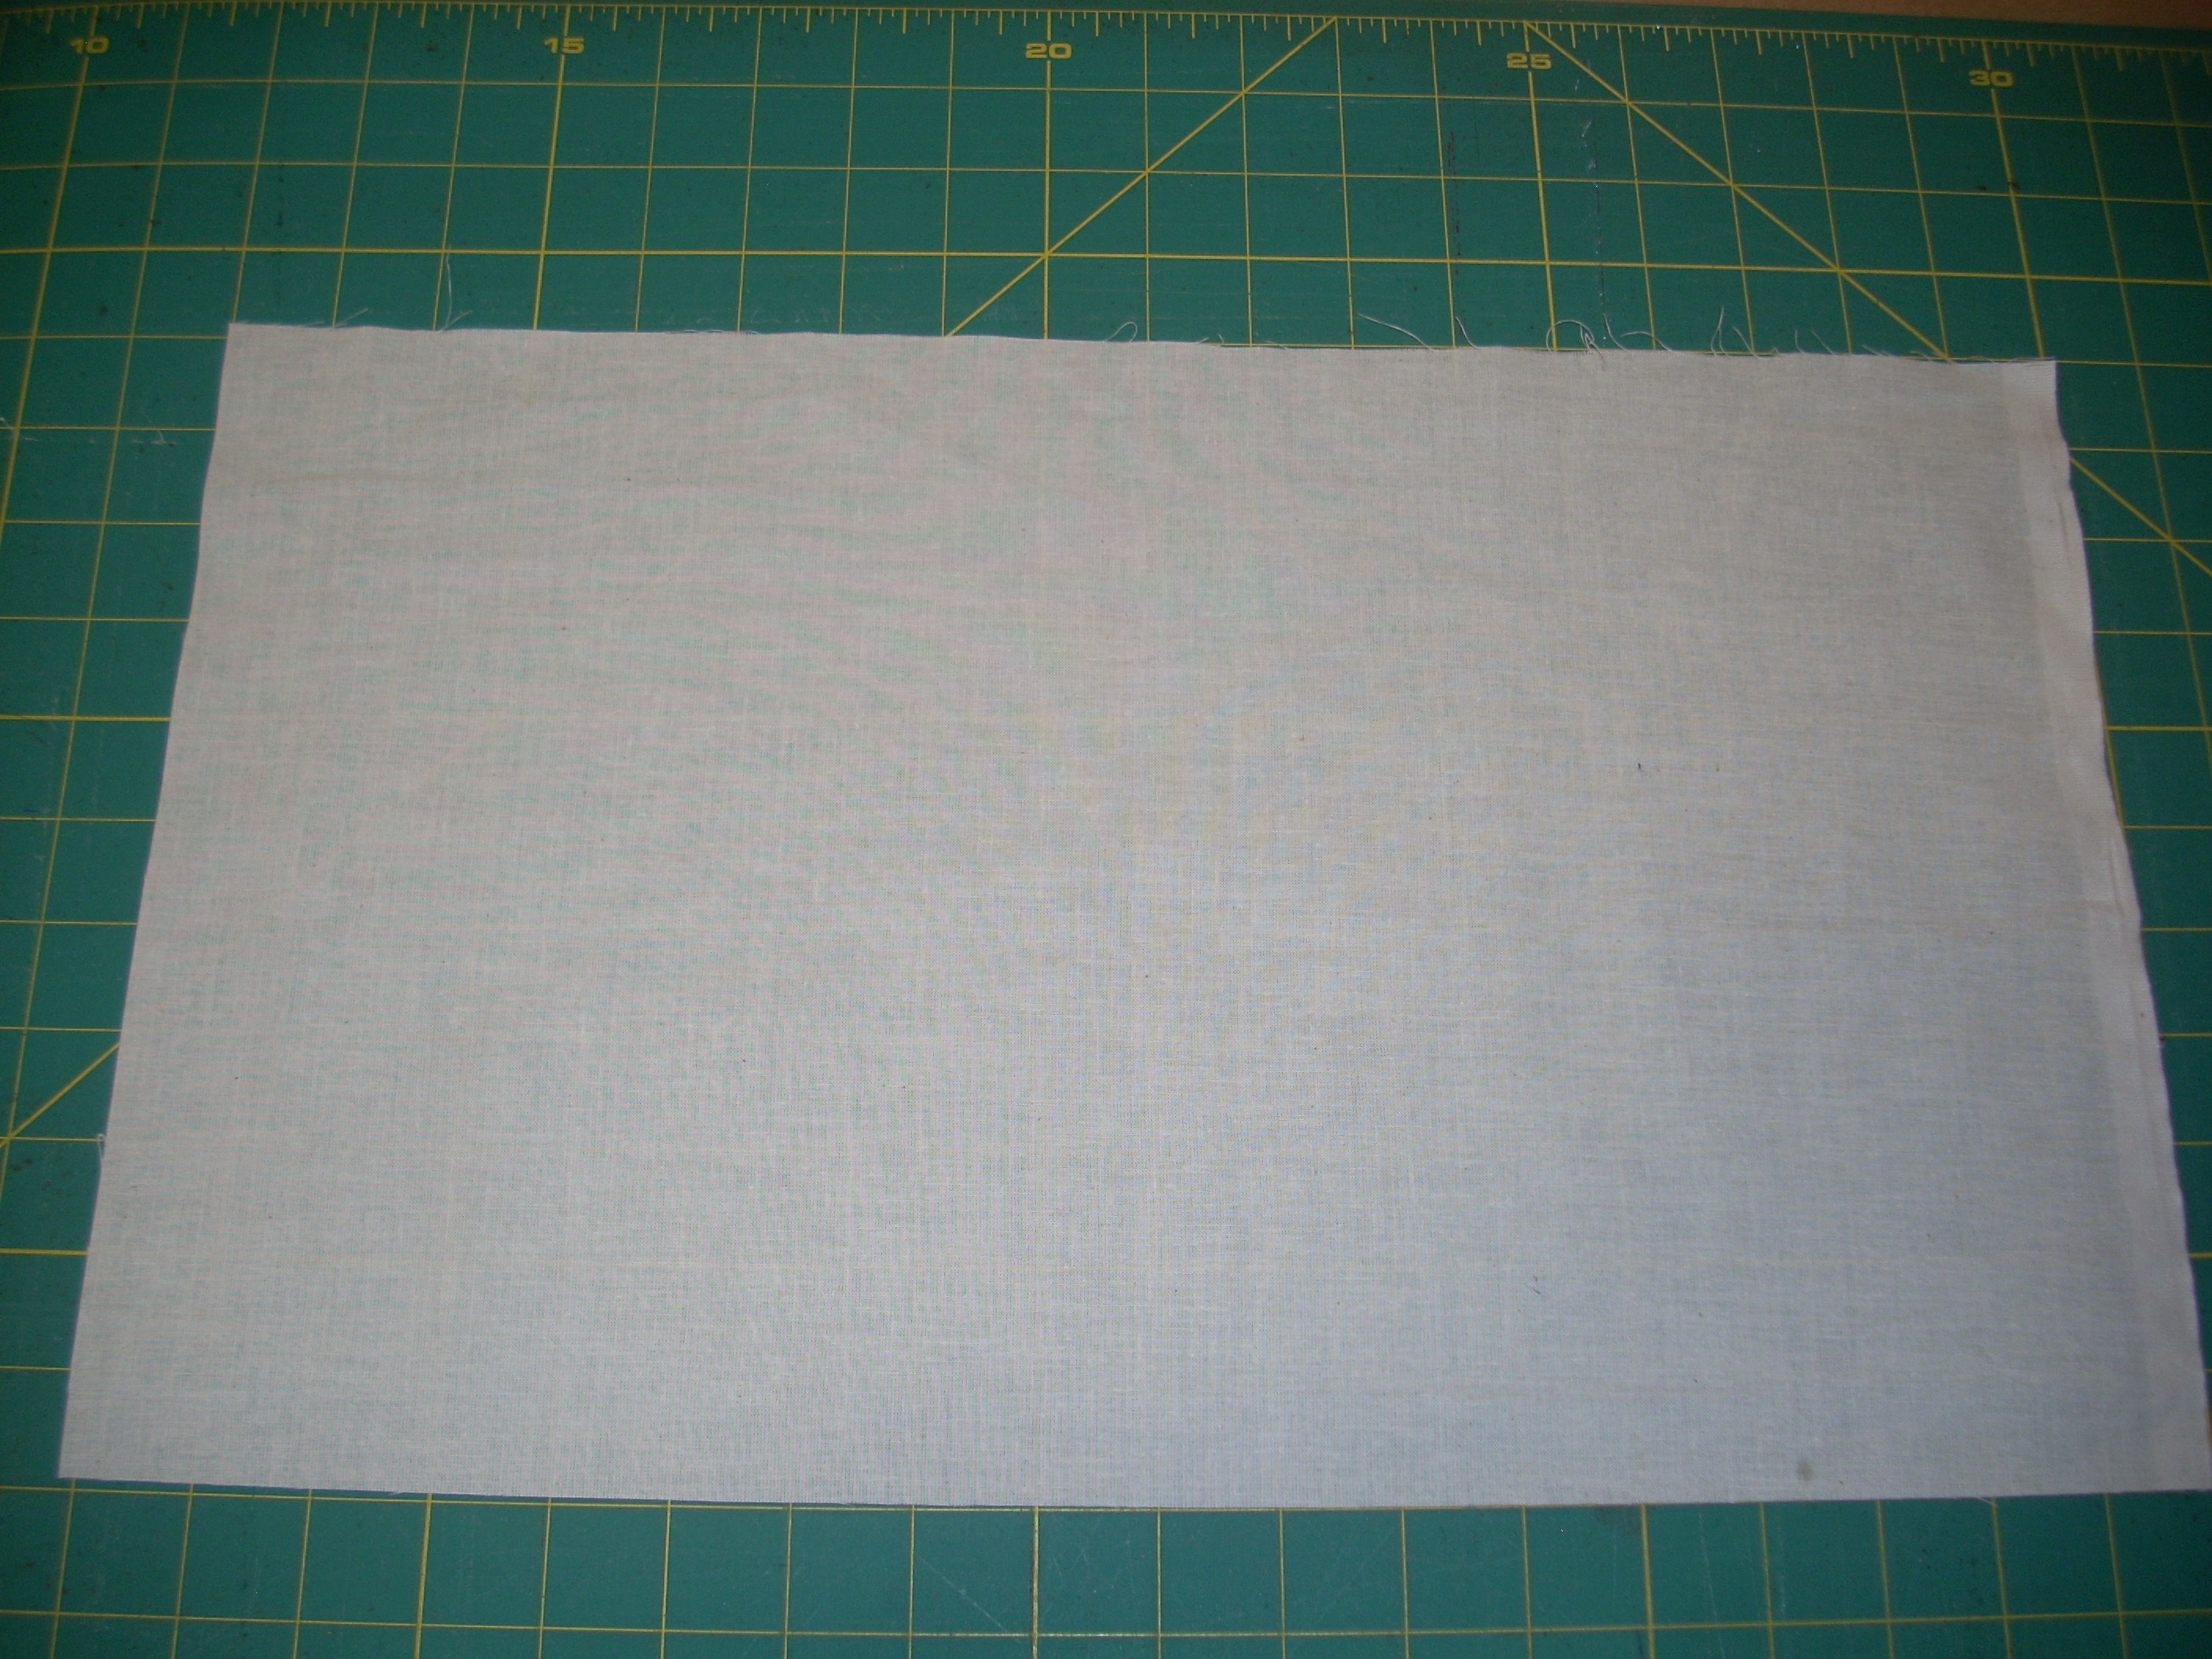
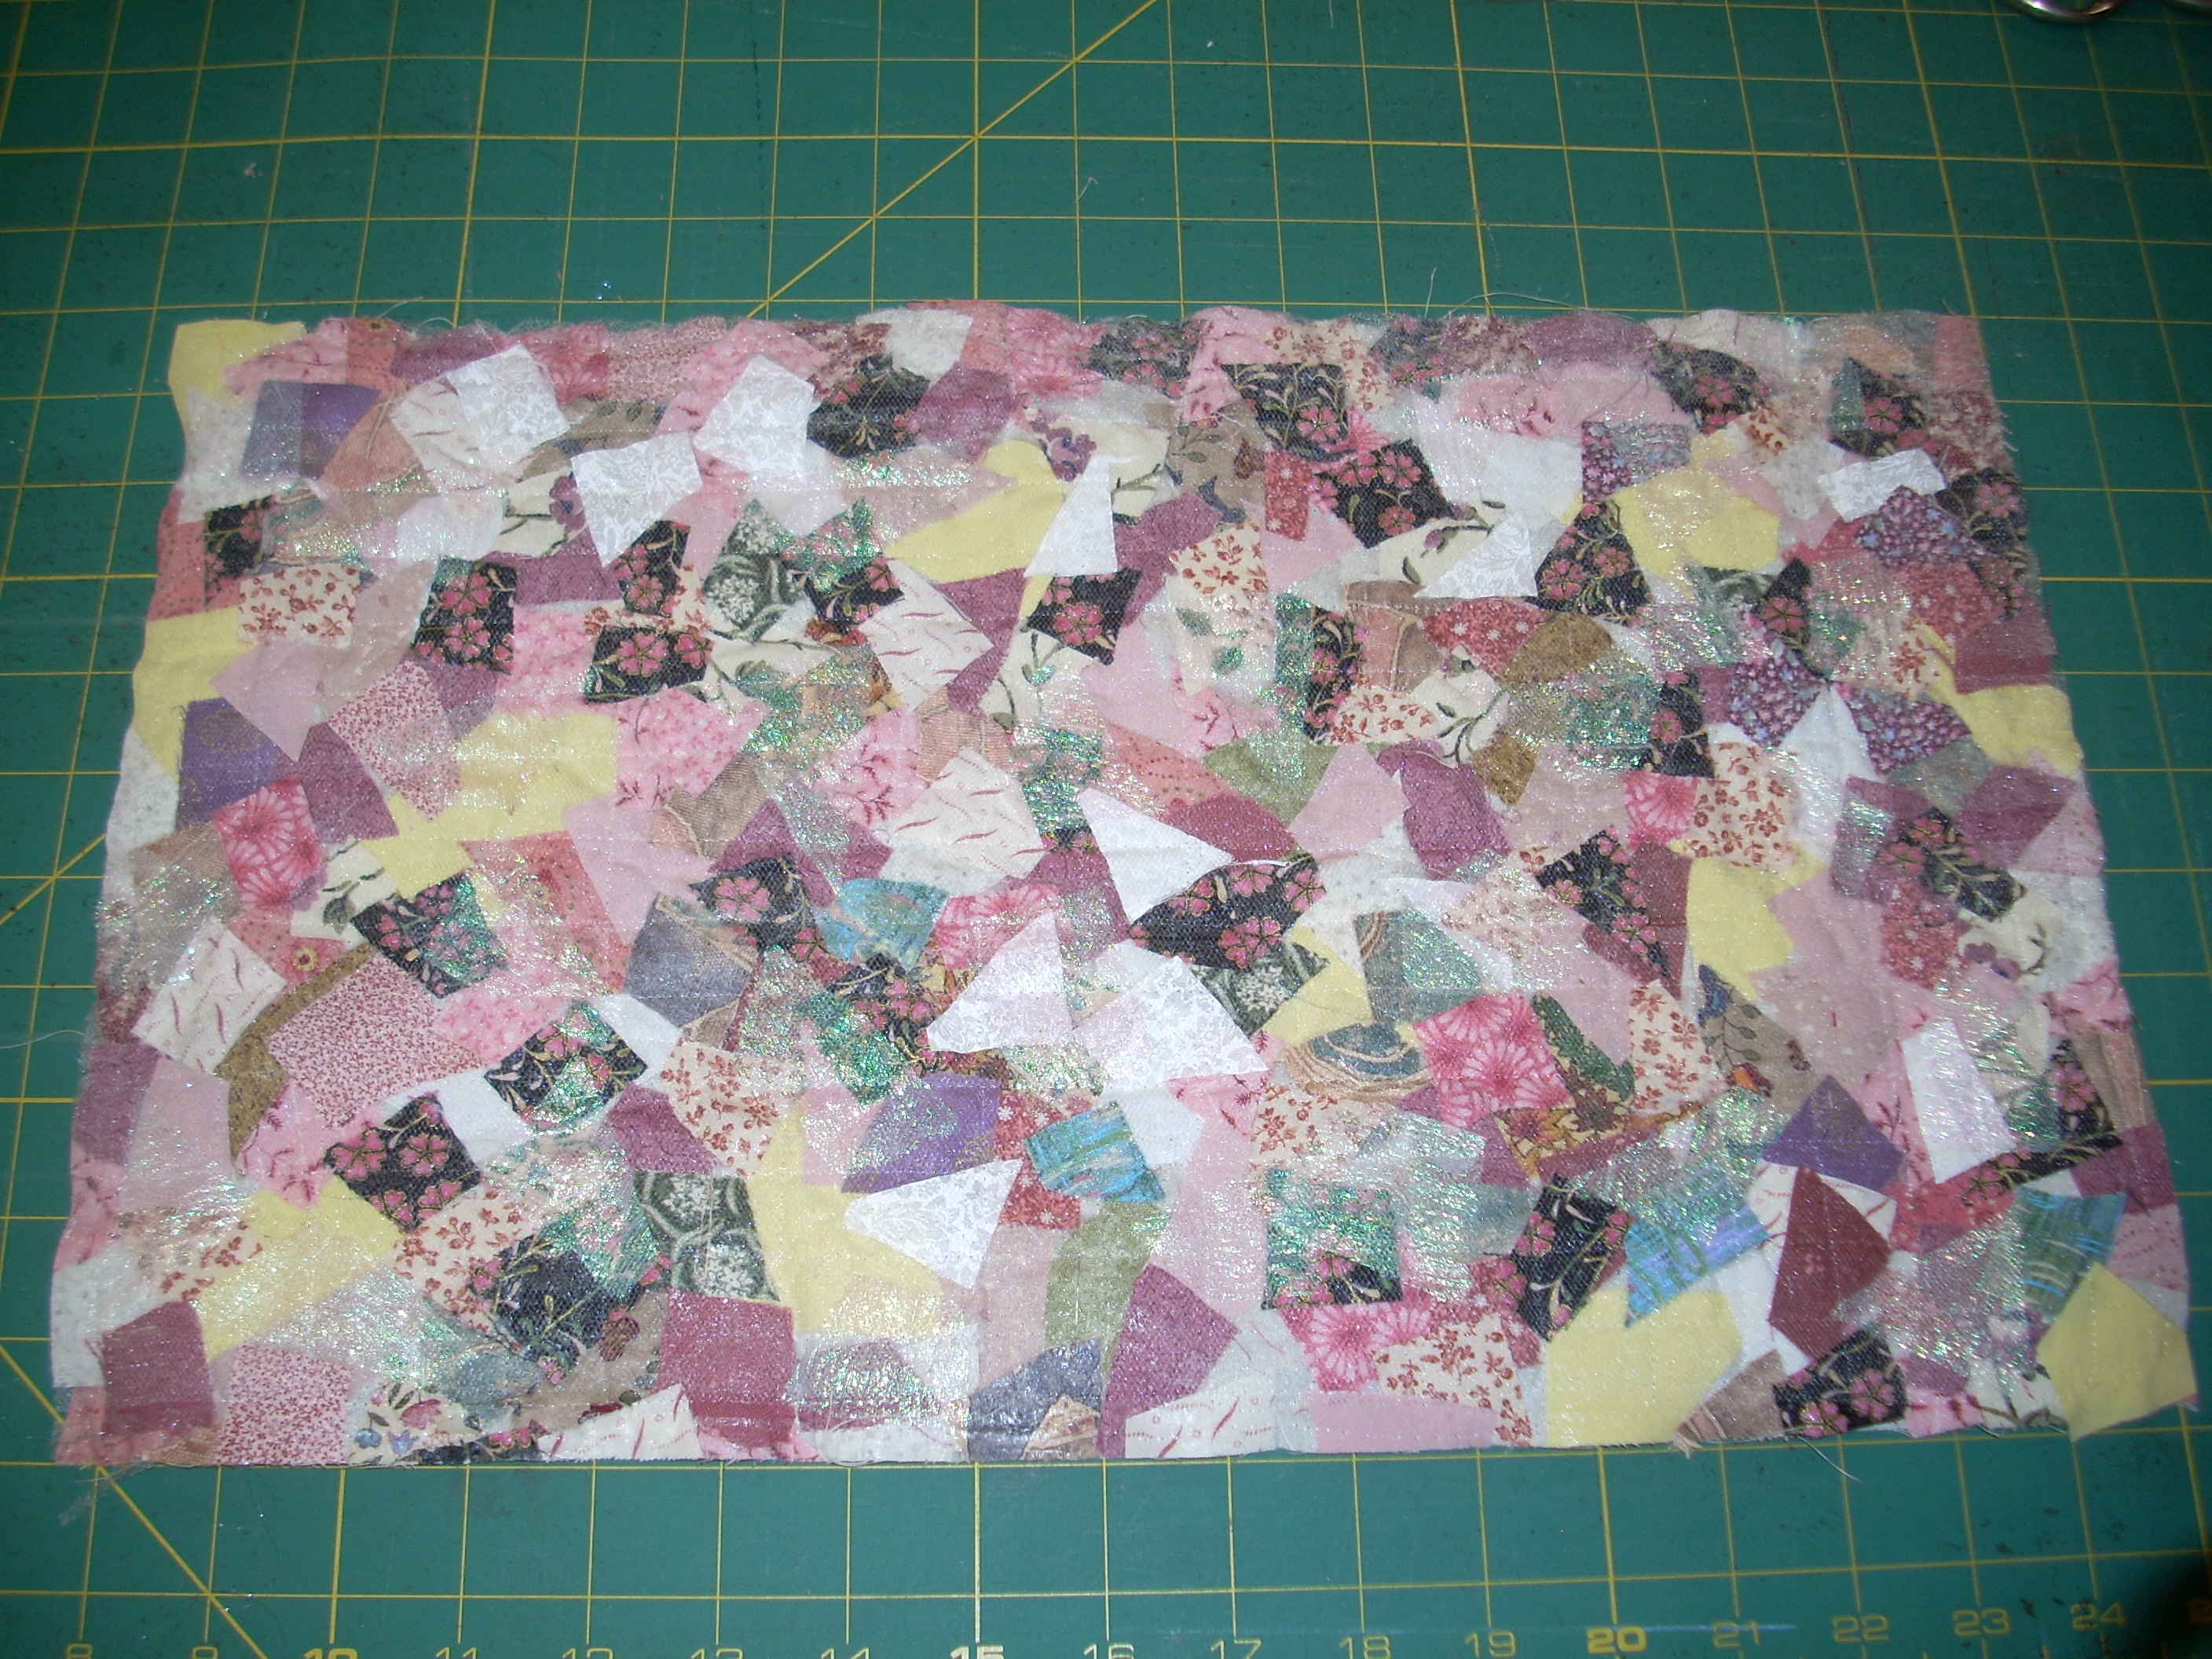
(2) CREATE YOUR HOMEMADE FABRIC FROM SCRAPS:
Use this tutorial to create your
own fabric from scraps:
-
Use a base that you want as the lining of your book cover—felt or sturdy cotton are good choices.
-
Make
your piece of fabric at least $\,(\ell + 6) \times (h + 2)\,.$ (It may ‘shrink’ a bit
in the trimming and quilting processes.)
It will be cut to the precise size after quilting.
-
I use larger scraps for book covers than I would use for (say)
coasters.
|

(3) CUT THE HANDMADE FABRIC TO THE CORRECT SIZE:
Cut your handmade fabric to the correct size for construction: $\,(\ell + 5) \times (h + \frac 12)\,$
This piece is called the cover piece in the remaining instructions.
|
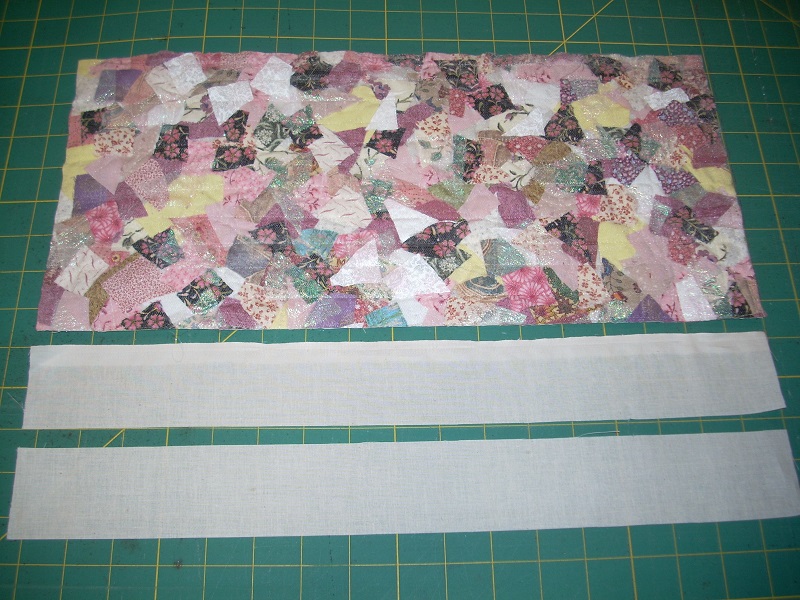
(4) CUT FABRIC STRIPS FOR BINDING:
-
Use a cotton fabric for binding.
Don't use anything thicker, or the bindings will
be too thick for machine sewing.
-
Cut two top/bottom binding strips, each $\,(\ell + 5) \times 2\frac18\,.$
Thus, each strip has the same length as your cover piece, and is $\,2\frac 18\,$ inches high.
|
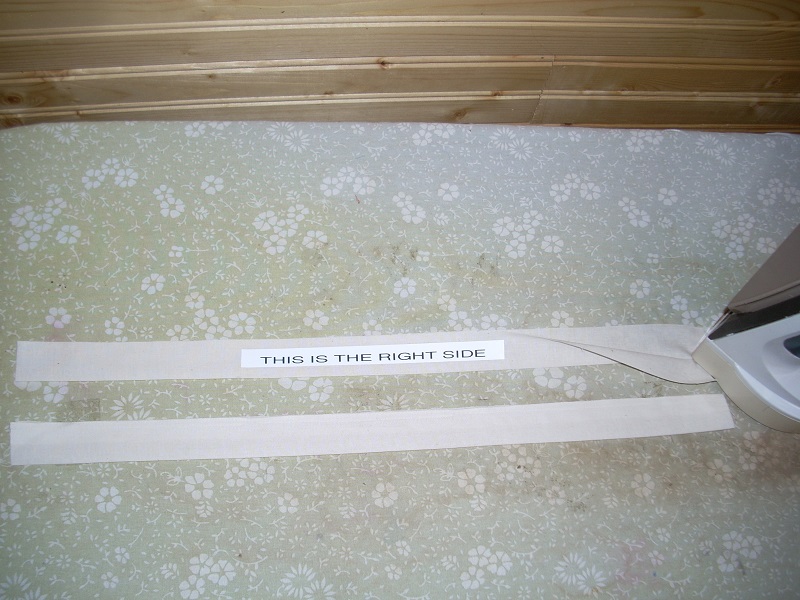
label says: ‘THIS IS THE RIGHT SIDE’
|
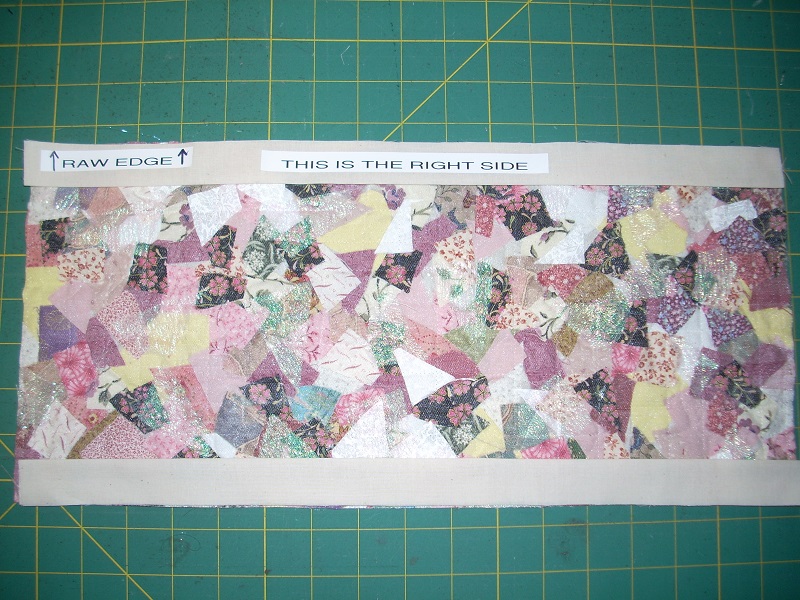
label says: ‘RAW EDGE’
|
(5) PREPARE TOP/BOTTOM BINDINGS:
-
Fold your top/bottom strips in half, wrong sides together; press.
-
Align the raw edge with the right side of the cover top.
|
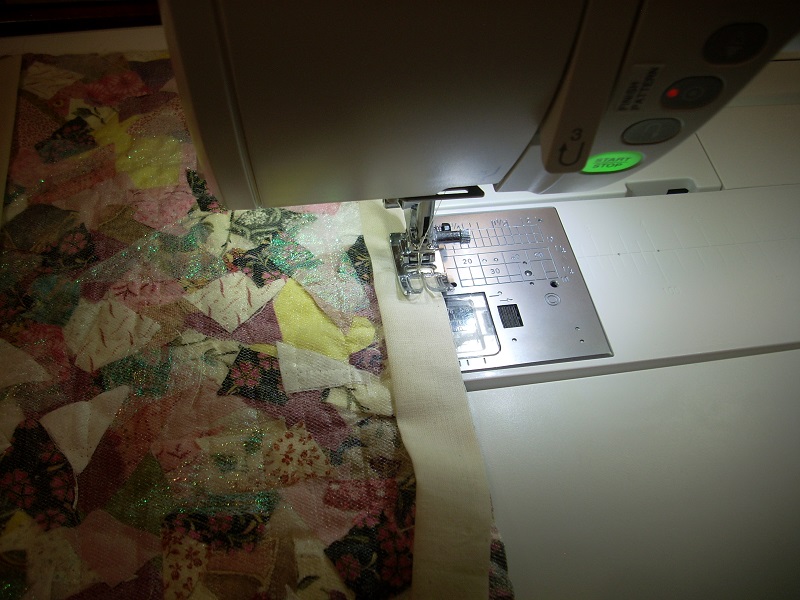
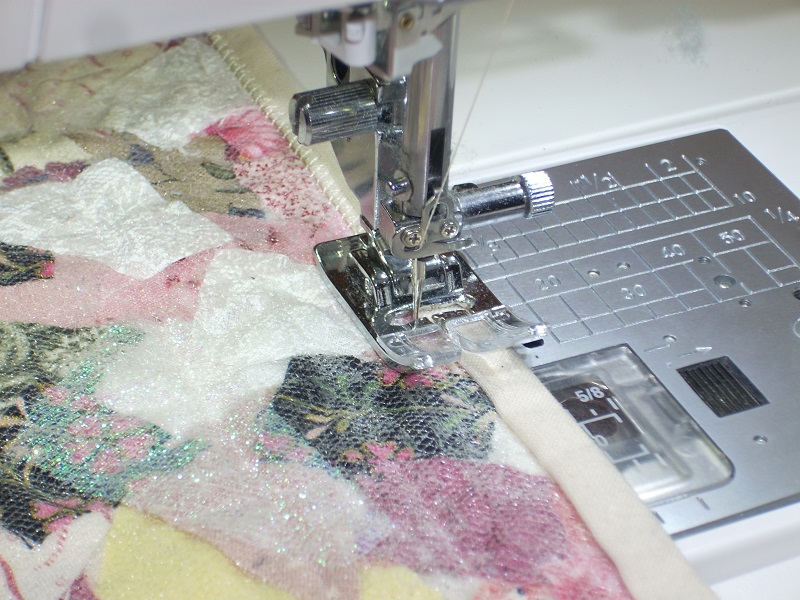
(6) ATTACH TOP/BOTTOM BINDINGS:
-
Sew a ¼" seam across the top.
Lockstitch at both beginning and end.
- Repeat for the bottom strip.
|
(7a) |
(7b) |
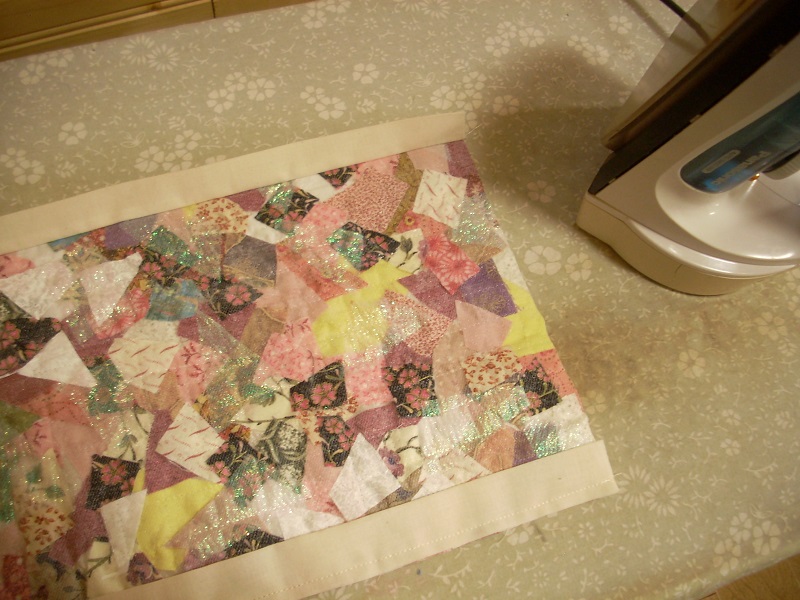
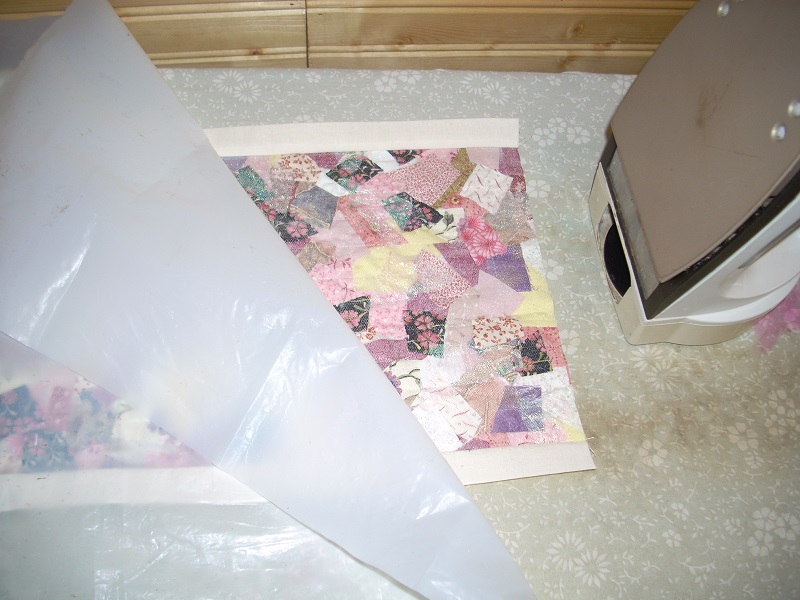
(7) PRESS THE BINDING STRIPS UP/DOWN:
-
Fold up the top just-stitched binding strip, and press (see 7a).
Use a pressing sheet, since you may have some sticky portions left on your homemade fabric.
- Repeat for the bottom strip (7b), pressing it down.
|
(8) FLIP COVER PIECE TO WRONG SIDE, AND PRESS AGAIN:
-
Flip your cover piece over.
-
Fold each binding strip to the wrong side of the cover piece, and press again.
-
The pressed binding strip should now just cover the stitching line
on the inside!
|
(9a) |

(9b) |
(9) FLIP COVER PIECE TO RIGHT SIDE;
ZIGZAG ALONG STITCHING/FOLD LINE:
-
Flip your cover piece back to the right side.
-
Zigzag directly on the stitching/fold line (8a).
The zigzag stitch should be centered on the stitching/fold line.
Lockstitch at both beginning and end.
- Repeat for the bottom.
- You now have a thick, secure, and beautiful top/bottom binding, with all seams enclosed.
-
Check the fit on your book. The top/bottom of the cover will extend a little bit above and
below the book cover—this is correct!
|
(10a) |

(10b) |
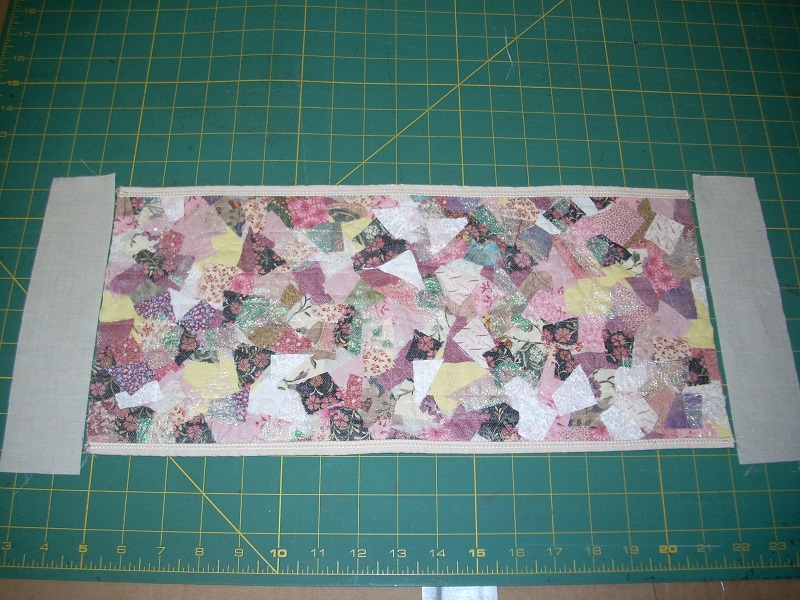
(10) BIND SIDE EDGES:
-
Cut two left/right binding strips (see 10a):
(current height of cover + 1") $\,\times\,$ 2⅛"
- Press down ½" on each short end, so the strips are now exactly the current cover height (see 10b).
- Repeat steps 5–9 (with obvious changes) to bind the side edges.
Now, all book cover edges are bound—there are no raw edges showing.
Here are alternatives to the homemade binding described above:
- (just as beautiful, but more expensive): bind the side edges using purchased double-sided bias tape
- (not as beautiful, less sturdy, but quicker): overedge and/or zigzag the side edges
|
(11a) |
(11b) |
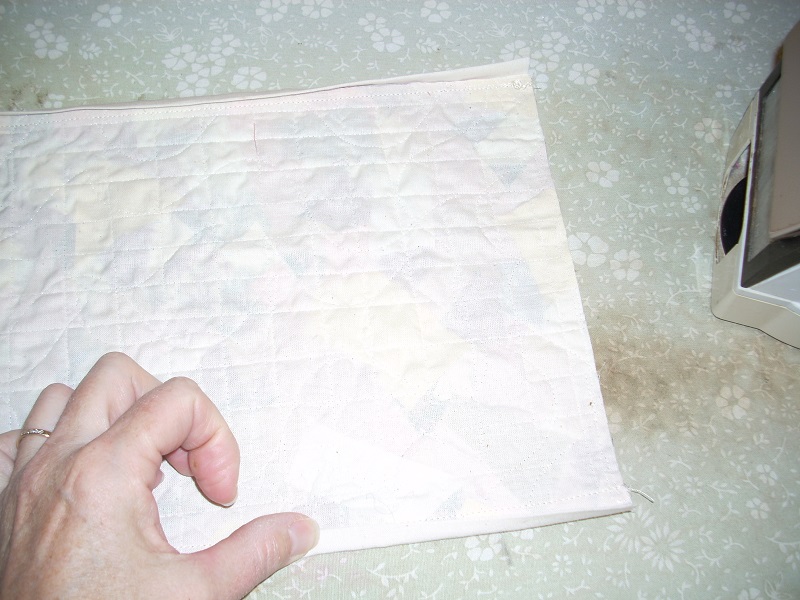
(11) CREATE POCKETS:
-
Fold the left side edge to the inside, about 2".
Use a pressing sheet to press.
Stitch very close to the top and bottom along the folded sections, to create a pocket.
Insert front cover of book in this pocket.
See 11a.
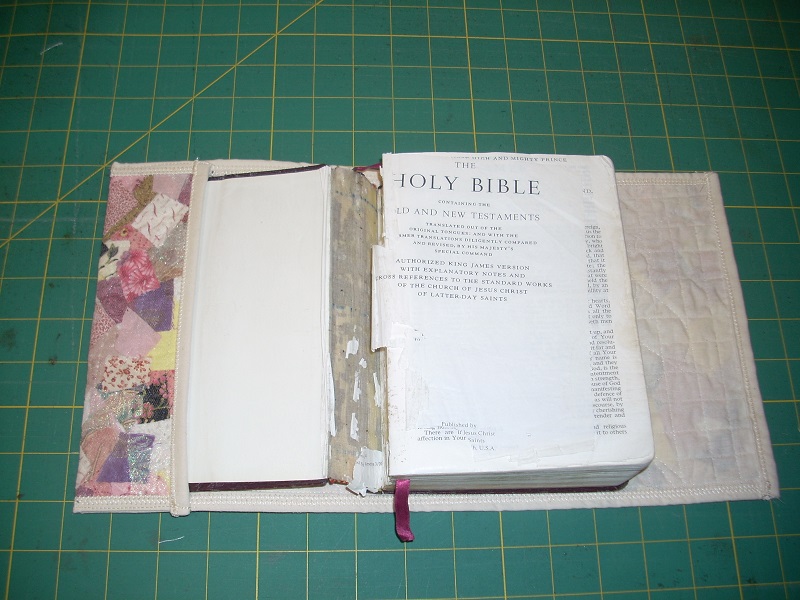
-
Close the book and check where the fold should go for the back cover, as follows:
- Make a pencil line along the right edge (11b).
- You'll be folding about ⅛" to the right of this pencil line (closer to the edge).
Fold, press, and stitch as before.
- Check the fit of the cover on your book!
- For extra durability:
Sew very close to the top and bottom edges—all the way across—sewing over the previously-sewn pocket stitches. Use a straight stitch or a very narrow, dense zigzag.
|
|