homepage: Dr. Carol JVF Burns

See the Sewing/Crafts section of my main Table of Contents for other sewing projects!

Making Fabric From Scraps

I chanced upon this video [YouTube, 14:07], which inspired me, since I have so many tiny fabric scraps to use up! Cellophane, wool roving, curling ribbon, glitter—can also be used in small amounts, to add even more character. The ‘scrap fabric’ can be built on different bases: you might use a felt base for bookcovers and a cardboard base for coasters. You'll be machine-sewing through all the layers, so don't use anything too thick! Here, I illustrate the process using circular cardboard bases.


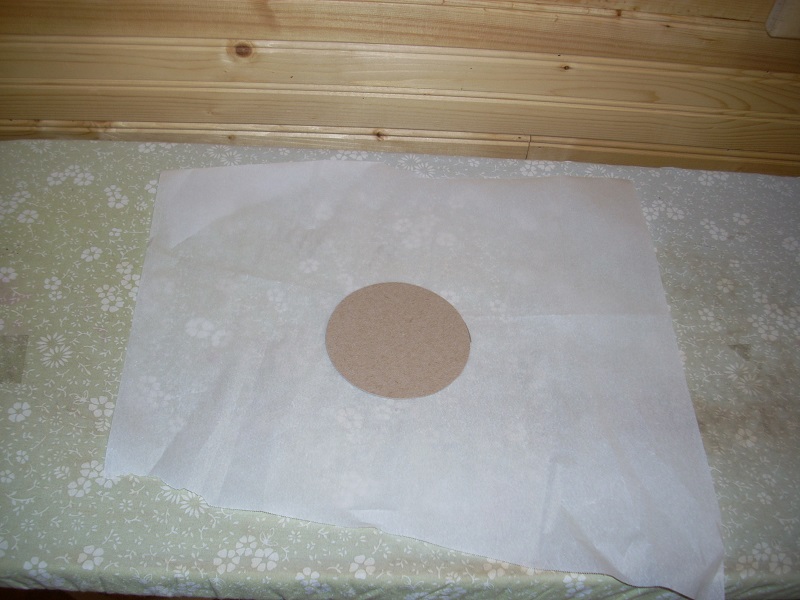
(1) CHOOSE YOUR BASE:
  • I've used both felt and cardboard with good results.
    Cut to the desired final shape.
    (Here, I'm using cereal-box cardboard.)
  • Work directly on the ironing board, on a piece of parchment paper. This way, you won't have to transfer your creation in its ‘fragile’ stage!

(2) LAY FUSIBLE BONDING ON BASE:
  • I've researched that both Pellon Wonder Under and HeatnBond are good. (Here, I'm using up fusible strips that I've had for decades.)
  • The fusible bonding should extend a little bit off the edge (it gets trimmed later).
  • Some small spaces are fine, but most of the base should be covered with fusible bonding.

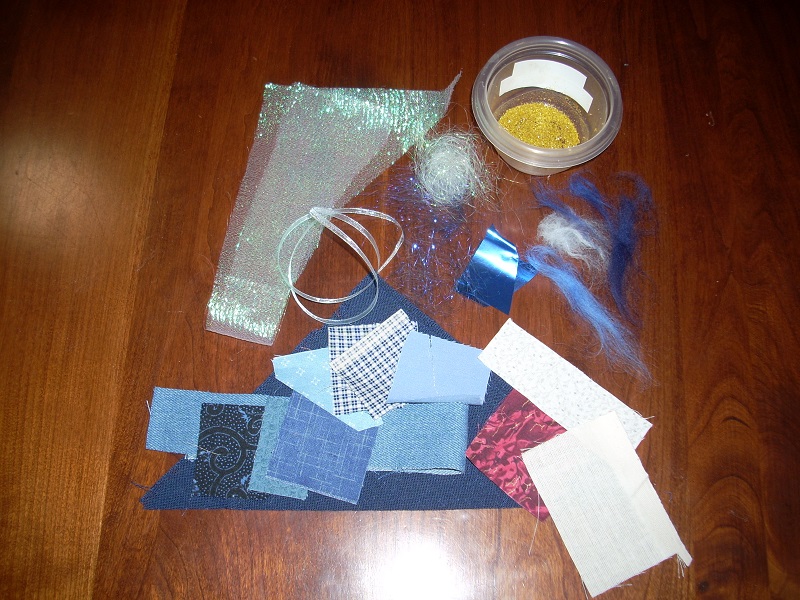
(3) GATHER YOUR MATERIALS:
  • Choose the ‘ingredients’ for your homemade fabric!
  • The main ingredient should be fabric scraps. You can choose a color theme, or mix-and-match.
  • You can also throw in small amounts of: Don't buy anything new! Be creative, and use things you've got in your ‘stash’!
Here, I'm going for a blue theme with some splashes of color.
Make sure you like the look of everything together.

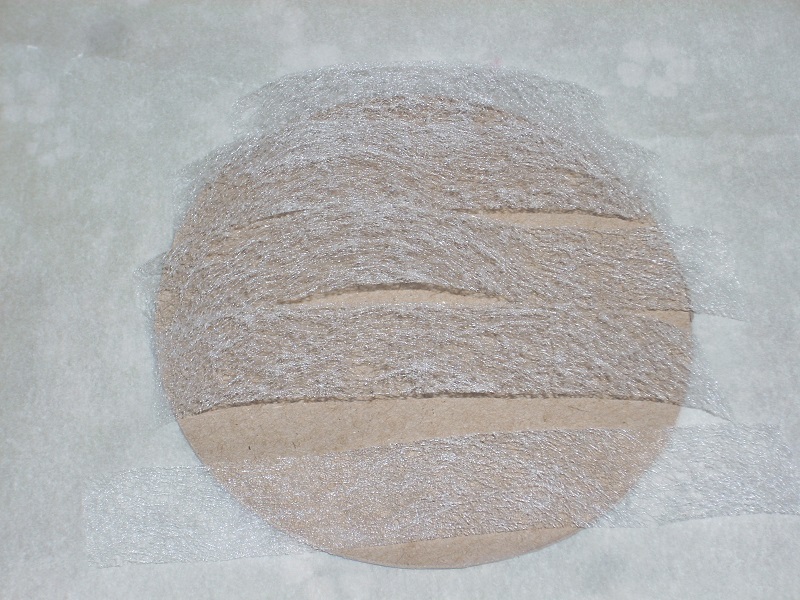
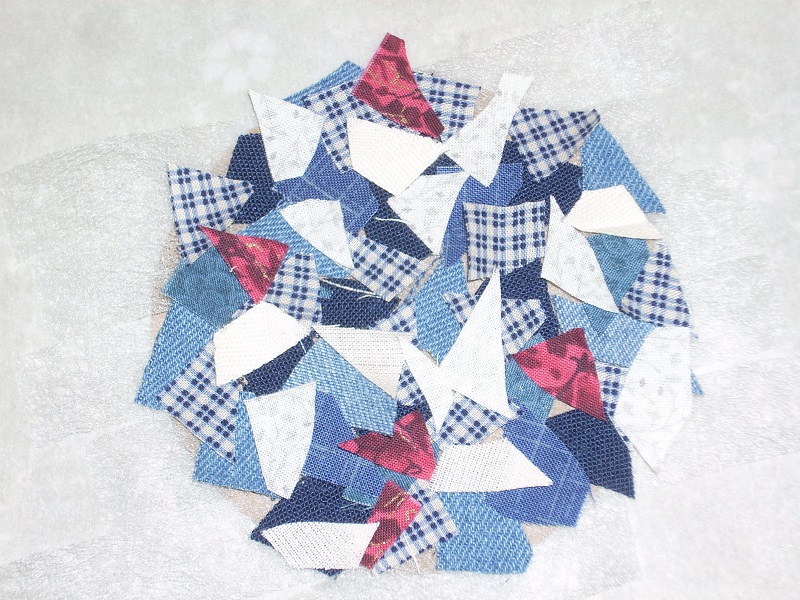
(4) COVER BASE WITH FABRIC SCRAPS:

The only rules are:
  • The entire base must be covered.
  • Every fabric piece should touch at least a smidgeon of the fusible bonding.
  • Don't sneeze, open a window, or make any sudden movements, or you might ruin your collage!

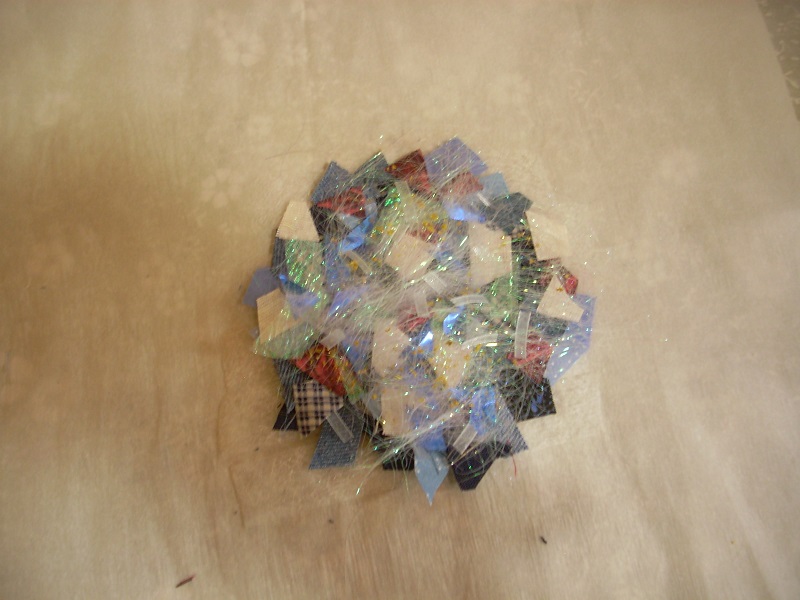
(5) PUT ON ANY EXTRA EMBELLISHMENTS:

Over the fabric layer, put any desired sparkly paper, ribbon, angelina fibers, wool roving, glitter.

(6) ANOTHER LAYER OF FUSIBLE BONDING:

Put another layer of fusible bonding.

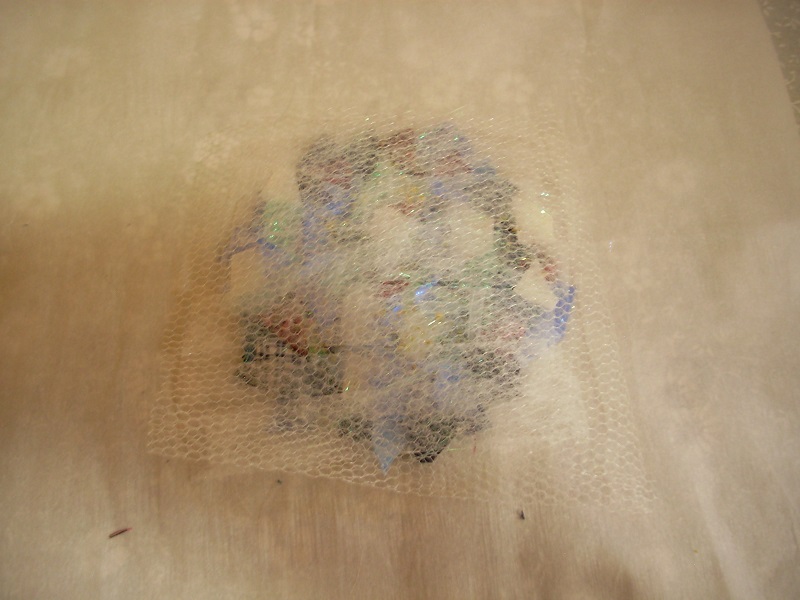
(7) PUT A SHEER LAYER ON TOP:

These all work well: organza, dense webbing, tulle. It should be transparent, so the beauty of the fabrics shines through.

(You have to look at this photo very carefully to see the webbing on top!)

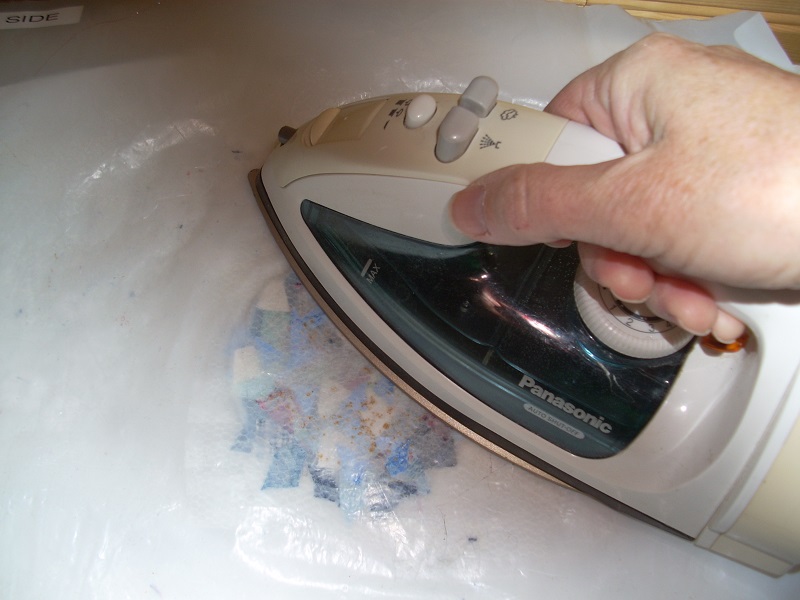
(8) IRON TO FUSE YOUR LAYERS:

Very carefully lay a non-stick pressing sheet over the top. You don't want to move anything on your creation! The pressing sheet is extremely important, since you don't want to gum up your iron. Iron according to your fusible webbing instructions.

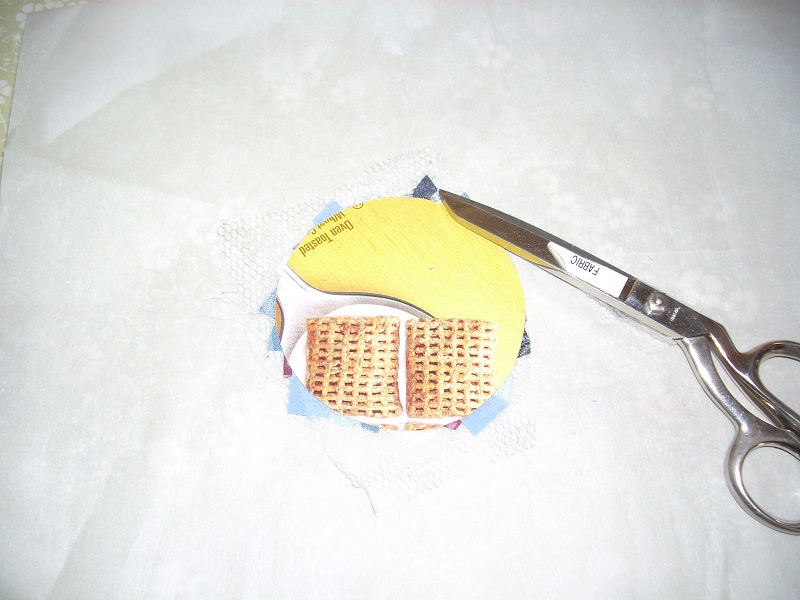
(9) TRIM EDGES:

Let cool for a few seconds, and then trim your edges (from the back side, where you can see your base more easily).

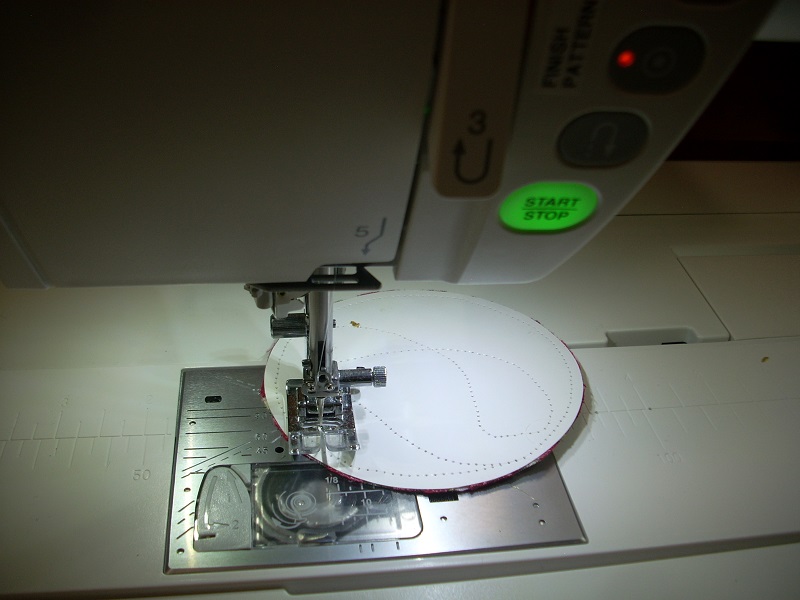
(10) MACHINE QUILT THROUGH ALL LAYERS:

Machine quilting adds even more texture/interest to the scrap fabric, and is an extra force in keeping it held together. You can use invisible thread, matching color, contrasting color... You can quilt a certain pattern, or just random. Have fun!

If I use invisible thread, then I sew on the back, so I can see my quilting lines.

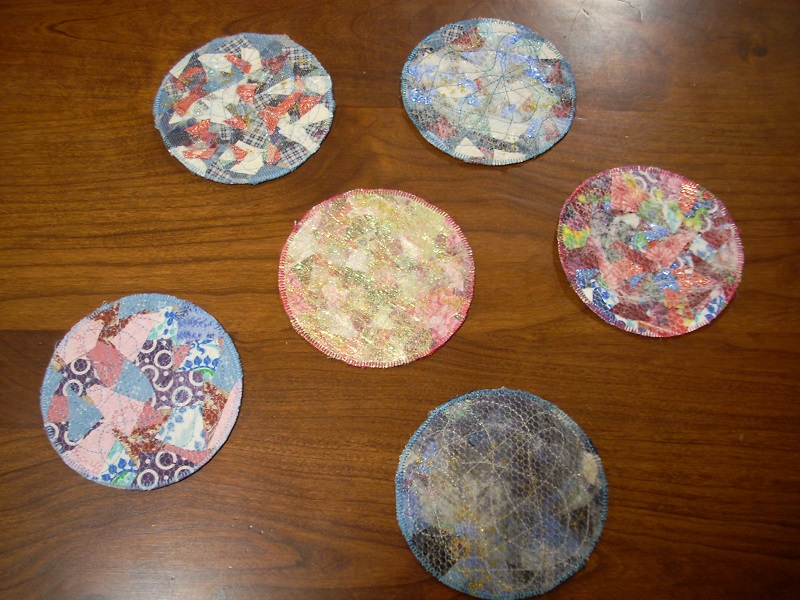
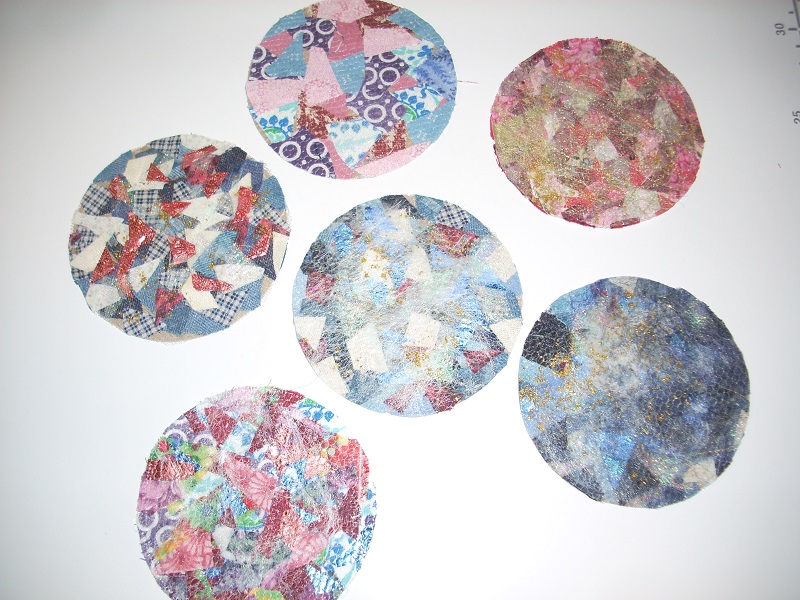
(11) USE YOUR FABRIC AS DESIRED:

My coaster tutorial shows how I make these discs into beautiful and functional two-sided coasters.
With a felt backing for the scrap fabric, it can be used for gorgeous book covers.