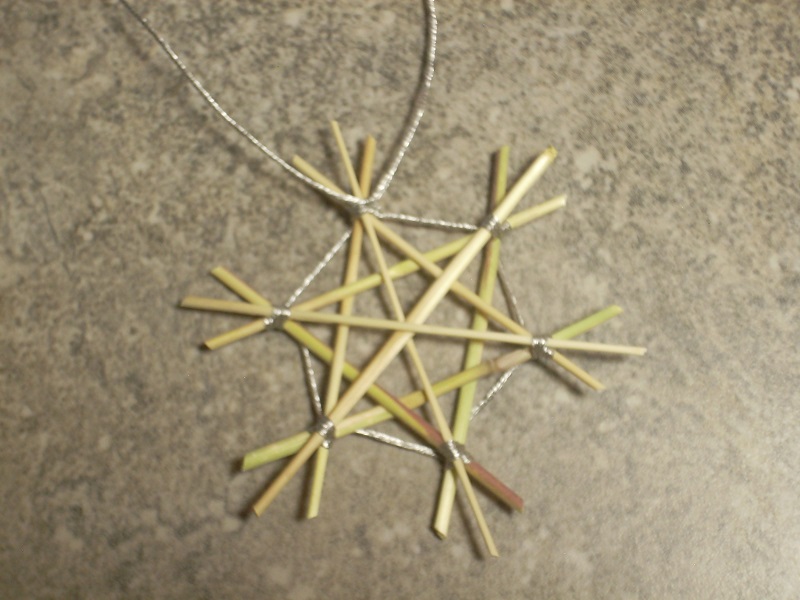
 The finished star is about 3" in diameter. Besides the materials shown at right, you'll also need:
|
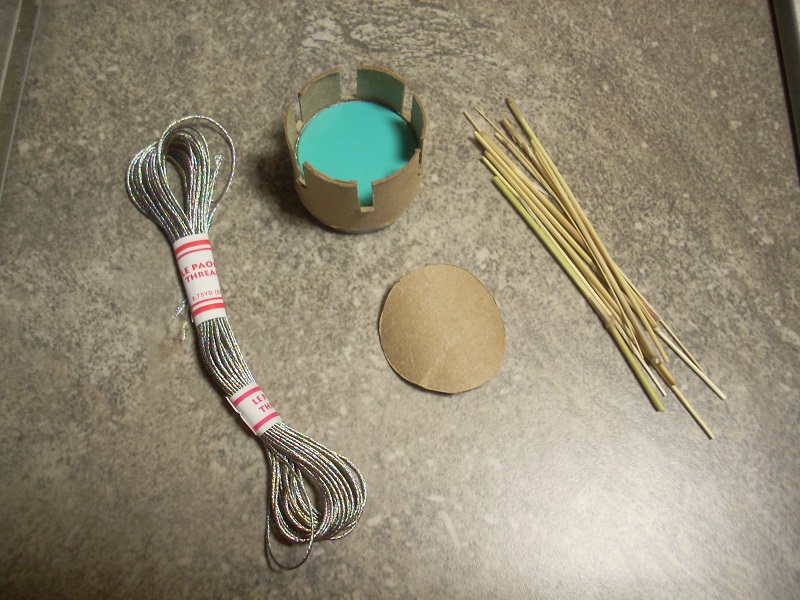 Simple materials:
|
|
The finished star is about 3" in diameter. Besides the materials shown at right, you'll also need:
|
Simple materials:
|
(1) Template for 6-pointed star:
(watch 0:26 to 1:00)
|
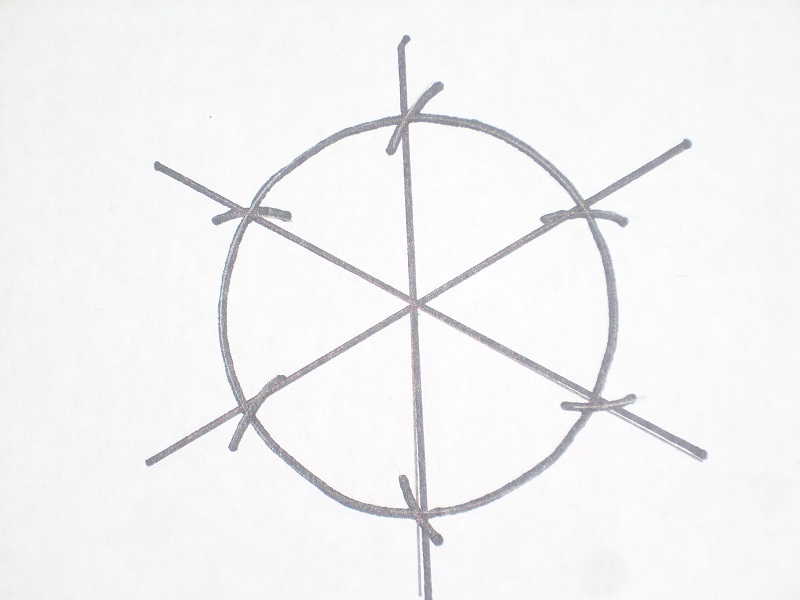 template for 6-pointed star; don't change your compass width between drawing the circle and making the six marks on it! |
 the template just needs to be a bit bigger than the toilet paper roll |
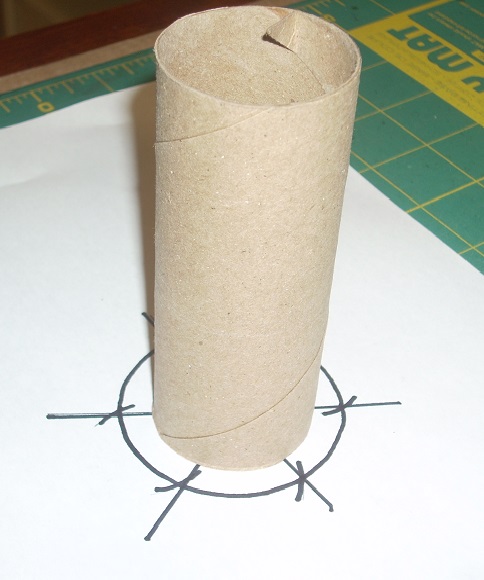
(2) Make the Toilet Paper Roll Mold:
(watch 1:00 to 2:20)
|
 toilet paper roll molds |
 hot-glue a cardboard circle from the bottom if you can't find a lid that fits |
(3) Cut a Cardboard Circle:
(watch 2:20 to 2:40)
|
 this extra cardboard circle is used to hold the straw/reed pieces in place while you bind your star |
 If you want to be very precise (and have an incredible tool to use for tons of different crafting projects), you can make perfect circles with a Big Shot and the Framelit Scallop Circles. |
(4) Prepare your Grasses/Reeds/Straw:
(watch 2:40 to 3:32)
|
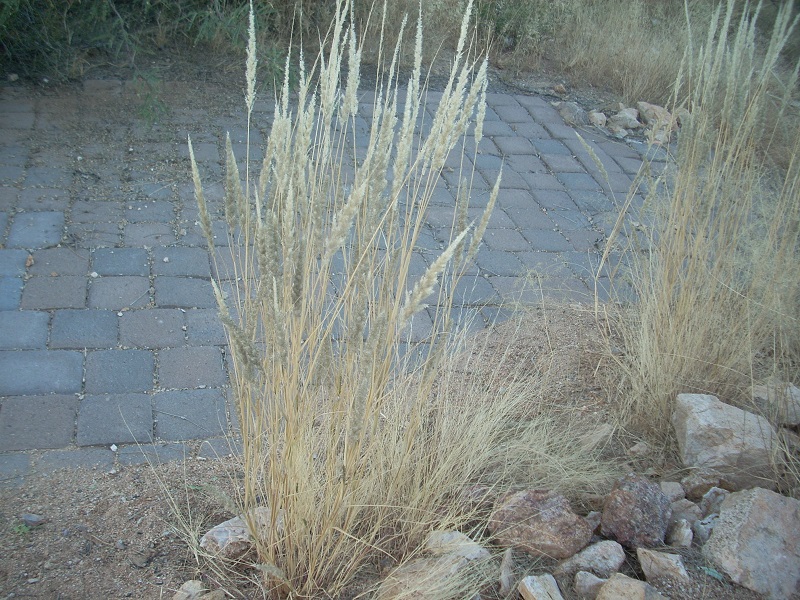 our Arizona dried grasses (image taken in November) |
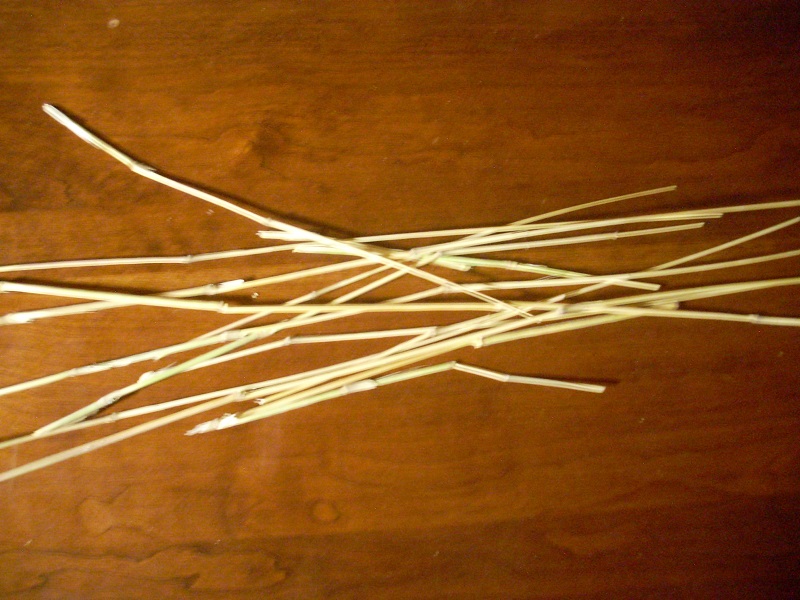 cleaned-up grasses, before cutting into smaller pieces |
(5) Lay Your Reeds to Create the Star:
(watch 3:32 to 4:04)
|
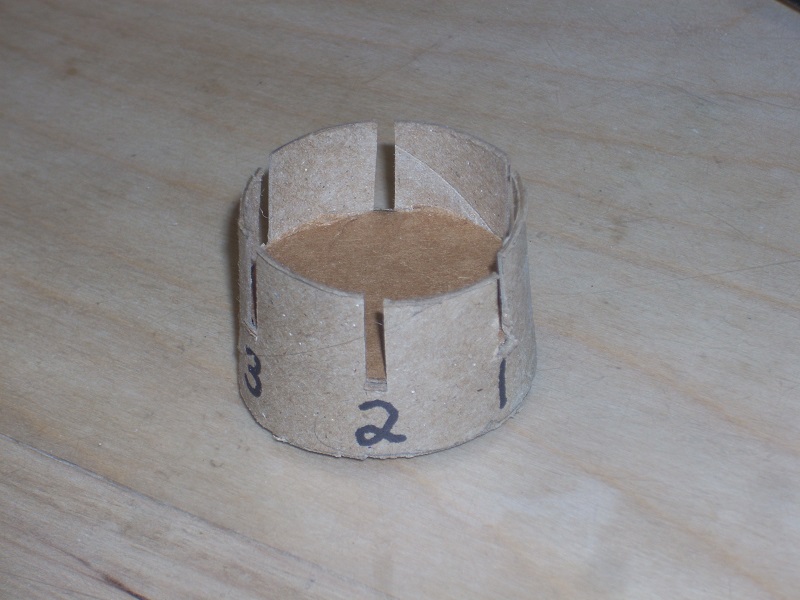 (a) number your slits going left (clockwise) around the mold |
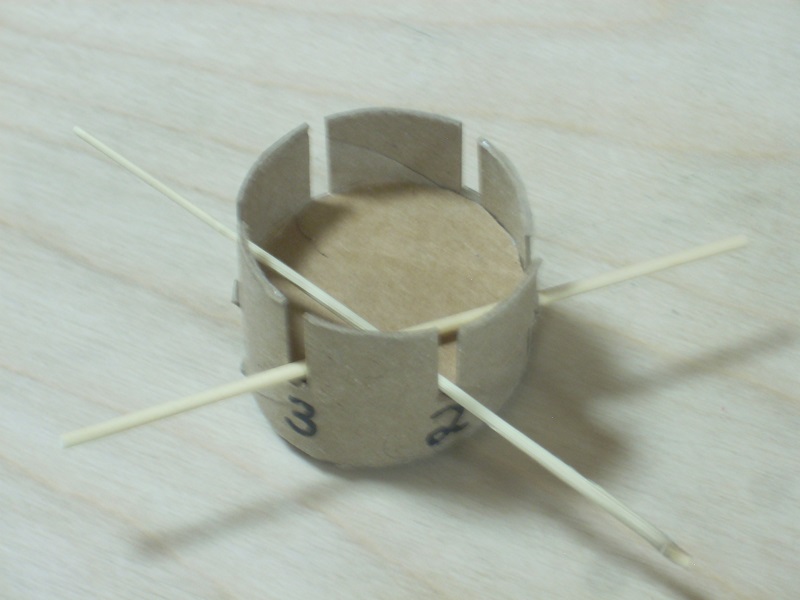 (b) the first two reeds, placed in slits (1 and 3) and then in slits (2 and 4) |
|
 (c) all reeds in place |
 (d) carefully press on the cardboard disk |
(6) Bind with Floss, Tie Hanging Knot, Trim:
(watch 4:04 to 5:58)
|
 (a) leave about an 8" tail when making the initial square knot |
 (b) hold the disk gently with one hand; wrap with the other hand |