homepage: Dr. Carol JVF Burns

See the Sewing/Crafts section of my main Table of Contents for other sewing projects!

Fabric Toilet Paper Roll Cover


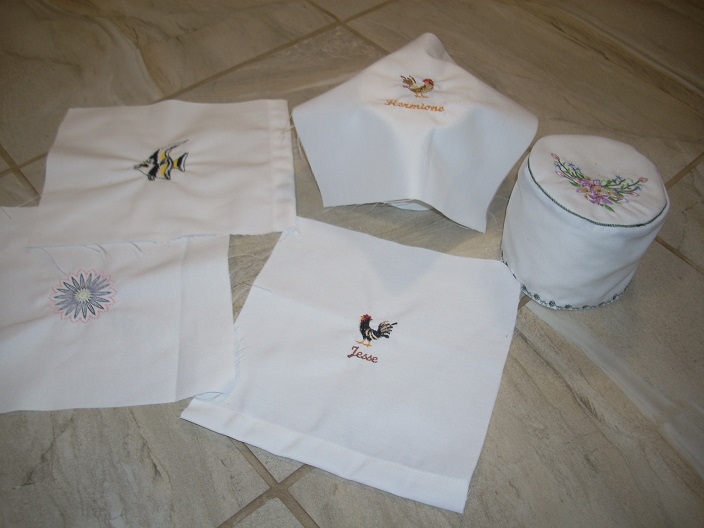
(1) embroidered top pieces

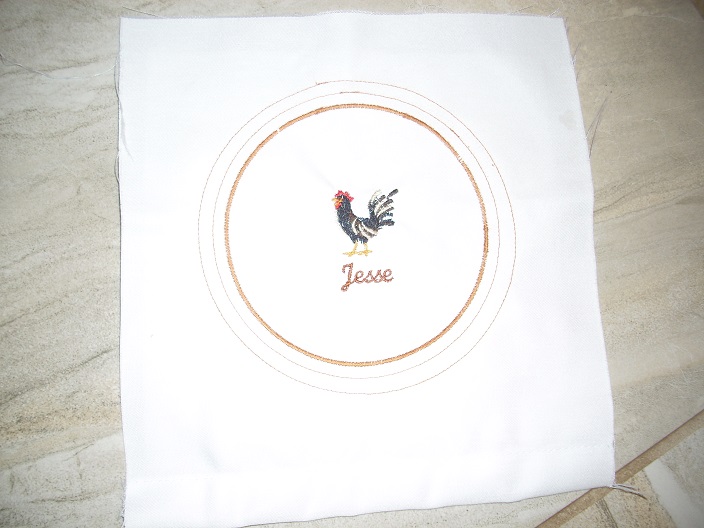
(2) decorative circle, stitching circle,
cutting circle

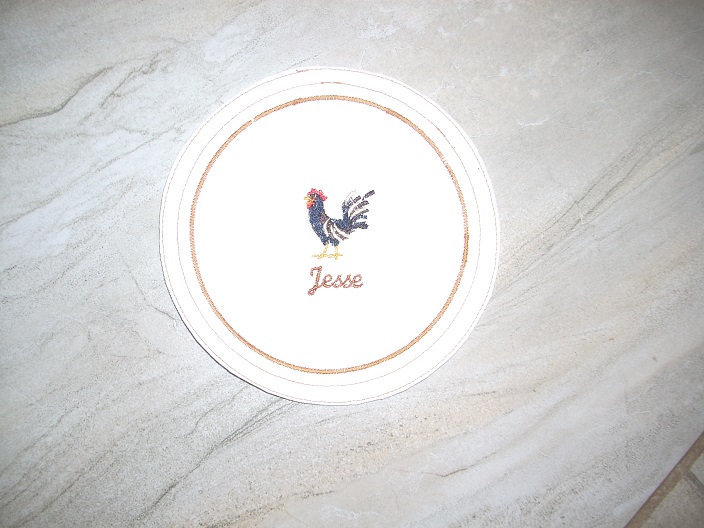
(3) trim top piece just outside cutting circle

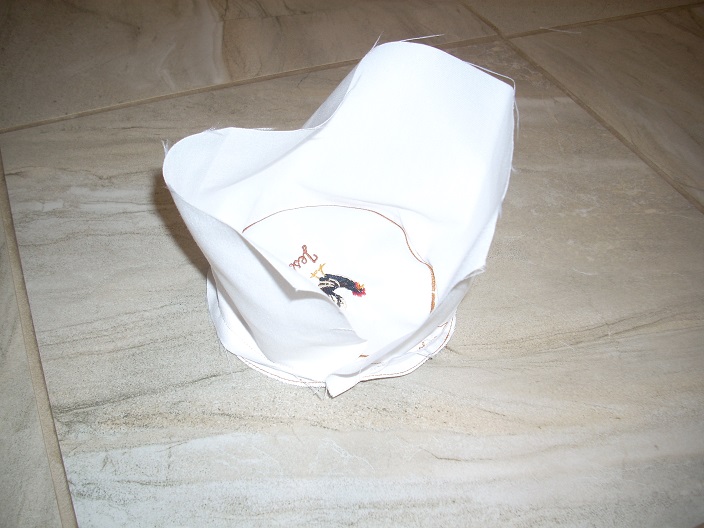
(4) attach side to top

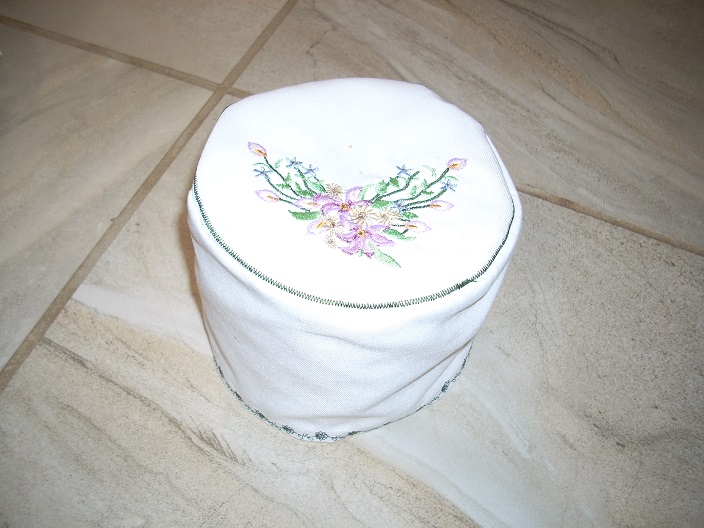
(5) a finished cover
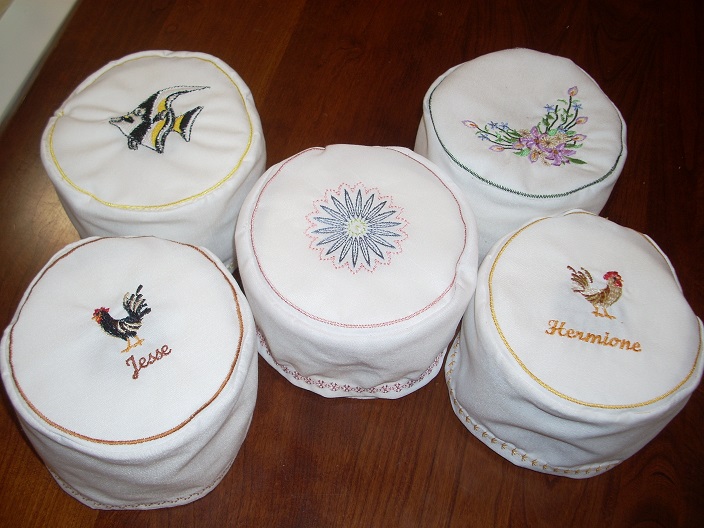
(6) The entire set!


We have a tiny bathroom in our tiny house.
I keep folded towels on the back of the toilet, and some extra toilet paper rolls on the floor.
These pretty toilet paper roll covers add to the bathroom's charm!
(By the way, Hermione and Jesse are our chickens.)
  1. (optional) Embroider design on top:
    Be sure the design is smaller than the circular top of the toilet paper roll.
    Use a stabilizer sheet that is at least 2" bigger than the circular top, all around.
    Do not tear the stabilizer away until the end of step #4 (below).
    For embroidery, I use a Janome Memory Craft 350E Embroidery Machine that I got used on Craigslist.
    (I love, love, love it!)

    Picture #1 (above) shows some embroidered top pieces.
  2. Determine dimensions of toilet paper roll:
    All dimensions are inches.
    For example, $\,r = 2.5\,$ means the radius is $\,2.5\,$ inches.

    Let $\,r\,$ denote the radius of the circular top of the toilet paper.
    (For me: $\,r = 2.5\,$)
    You can measure the diameter of the circle (from any point, thru the center, to the other side) and then divide by $\,2\,.$
    Be generous (rather than skimpy) when determining $\,r\,$; this will make it easy to put the cover on.

    Let $\,h\,$ denote the height of the toilet paper roll.
    (For me: $\,h = 4\,$)
  3. Cut the side fabric rectangle:
    The circumference of a circle of radius $\,r\,$ is $\,2\pi r\,,$ where $\,\pi\approx 3.14\,.$

    Cut a rectangle for the side of the cover:
    Adjust measurements to ‘easy’ numbers.
    For example, for me:
    $\,2\pi(r + 0.25) + 1 \ \ \approx\ \ 2(3.14)(2.5 + 0.25) + 1\ \ \approx \ \ 18.3\,,$
    and I use a length of $\,18.5\,$ inches.

    I use these tools to cut fabric:
  4. Sew a decorative circle, stitching circle, and cutting circle on the top:
    Use a fabric marking pen to mark the center of the circle.

    Sew a decorative circle of radius $\,r\,.$
    Use zig-zag, or a decorative stitch of your choice.

    Sew a straight-stitch ‘stitching circle’ with radius $\,r + 0.25\,.$

    Sew a straight-stitch ‘cutting circle’ with radius $\,r + 0.5\,.$

    Trim the circular top fabric, just outside the cutting circle.

    I use a circular sewing attachment on my Janome Horizon Memory Craft 9400 QCP sewing machine.
    Providing you use a stabilizer backing, the circles sew like a dream!
    (Don't even try without stabilizer—it's a nightmare.)

    See pictures #2 and #3 above.
  5. Sew side to circular top:
    Sew side to top, starting at the back (rear) of the design.
    Place circular top and rectangular side pieces right sides together, with circle on top (so you can see the stitching line).

    Do not start sewing at the end of the rectangle; instead, start about one-half inch in.
    (This will be used for the side seam.)

    Sew slowly; ease the straight edge around the circle.
    Cut the thread.

    Sew the same seam a second time to reinforce, ever-so-slightly closer to the decorative circle.
    For this second sewing, it may be easier for you to flip the cover so that the side piece is on top (it sort of ‘stands up’—see picture #4).

    Zig-zag the raw edge and trim.
  6. Sew side seam:
    With right sides together, sew the side seam.
    Sew again to reinforce.
    Zig-zag the raw edge and trim.
  7. Bottom hem:
    Press about 1/2" (wrong sides together) on bottom edge.
    Press another 1/2", enclosing the raw edge.
    Sew a decorative stitch around the bottom to finish.