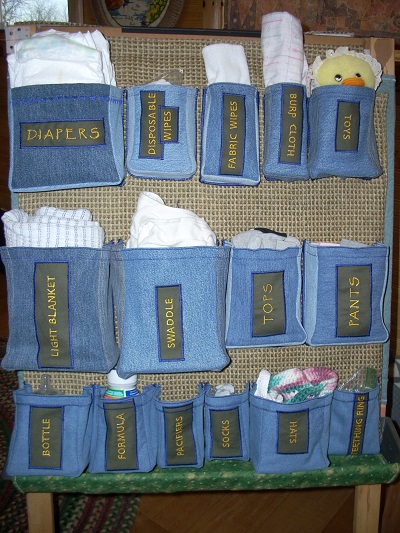
the finished organizer hung on an easel
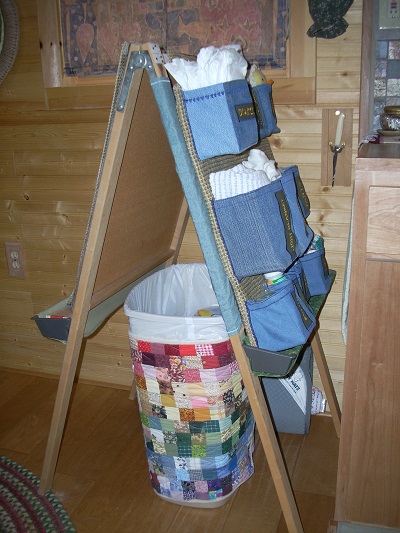
side view of the the finished organizer on an easel
|
the finished organizer hung on an easel |
side view of the the finished organizer on an easel |
|
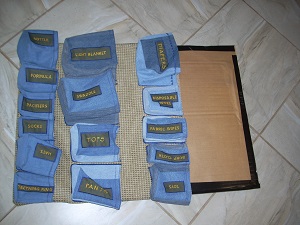
WHAT STUFF NEEDS TO BE STORED, AND WHERE? Lay out all the stuff you want to store in your organizer. Decide on the best arrangement for the items. Decide where you want to hang your organizer. Use these considerations to determine the final organizer size. |
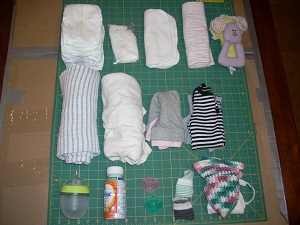 Lay out all the items to be stored |
|
CUT THE MAIN FABRIC RECTANGLES Cut two large rectangular pieces of sturdy fabric; increase the size by your desired seam allowance on ALL sides. If you choose a fabric with visible horizontal and vertical lines, it will make it much easier to sew the pockets on. These will form a big pocket that holds cardboard to gives rigidity to your organizer. |
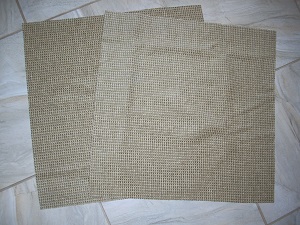 Cut two large rectangles of sturdy fabric |
|
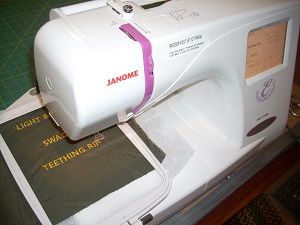
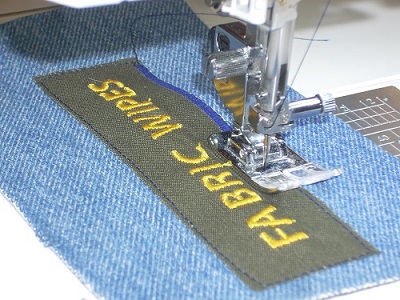
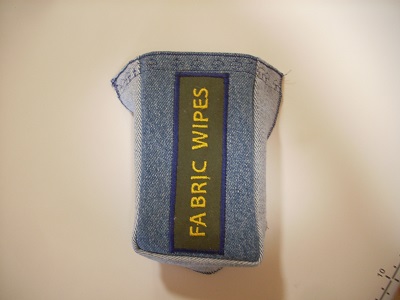
EMBROIDER POCKET LABELS I use my Janome Memory Craft 350E embroidery machine. Embroider several labels at once; they will be zig-zagged onto each pocket before attaching the pockets to the organizer. |
 |
|
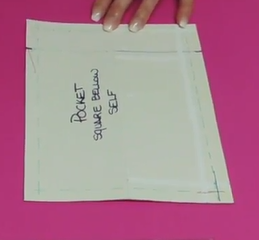
CUT THE POCKET PIECES If your items are all similar in size, then you can make identical pockets, based on the size of the largest item. Otherwise, customize each pocket size to its contents. This tutorial for making cargo pockets is great; it is slightly modified for the technique I use in these instructions. Let:
For each pocket, cut a rectangle of fabric with the following dimensions:
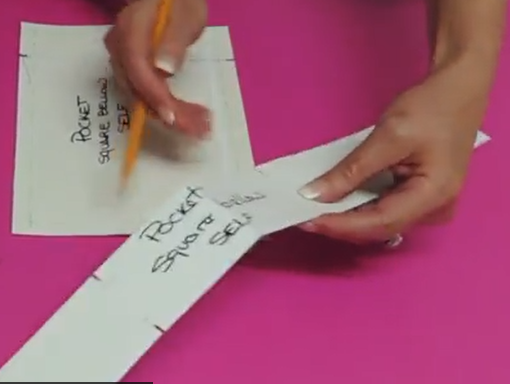
For each pocket, cut a long rectangular strip of fabric with the following dimensions:
If you're making lots of pockets, it's helpful to create an Excel worksheet: you put in the desired finished width, height, and depth, seam allowance and hem—let Excel compute the size of pieces you need to cut! |
 Each pocket: $\,(w + 2s) \times (h + s + t)\,$ (This is a snapshot from the cargo pocket tutorial.) |
 One strip for each pocket: $\,(d + 2s) \times (w + 2h + 2t)\,$ (This is a snapshot from the cargo pocket tutorial.) |
|
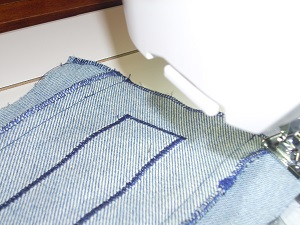
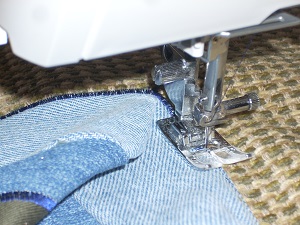
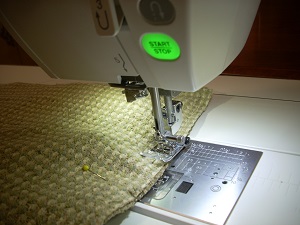
ATTACH LABELS TO POCKETS Position label: Center the label as desired on the pocket. Keep in mind the hem on top and the seam allowances. Straight-stitch around label: After straight-stitching, check the label position. It's much easier to remove a straight stitch than a dense zigzag! |
 straight-stitch around label |
|
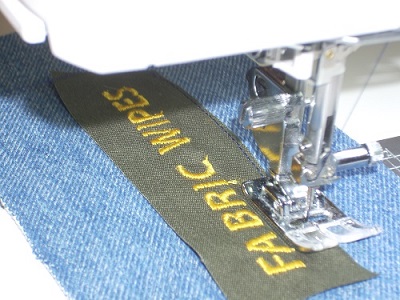
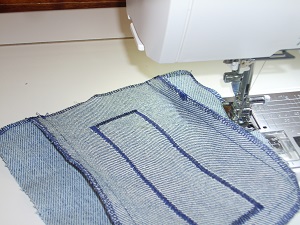
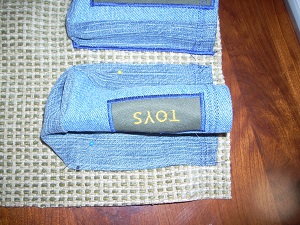
Zigzag label: Using a dense zigzag, stitch again, covering both the raw edge and the previous straight-stitching. With my Janome Horizon Memory Craft 9400 QCP, I use: stitch width 4.0, density 0.4 How I Zigzag at Corners: Zigzag to very end of pocket fabric; drop needle at right. Lift presser foot, pivot, and continue sewing. HINT: Mark top of pocket Write ‘TOP’ at the top, on the wrong side, inside the hem allowance. This will keep you from getting your pocket going the wrong direction in a later step! |
 zigzag around label |
|
ASSEMBLE POCKETS: Attach side strip to main pocket: See 2:40 of the cargo pocket tutorial to see how to attach the side strip to the main pocket. Here are some notes on the process:
|
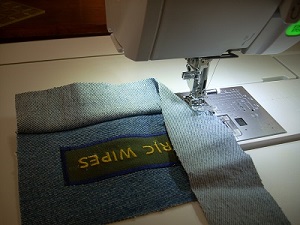 pivot at corners |
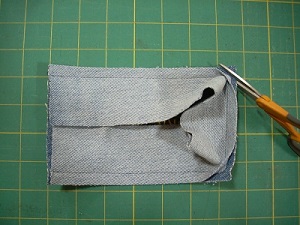 clip bottom corners |
Overlock edges:
On my Janome 9400 QCP,
I use the overlock stitch (from application menu) with foot M and density 1.0.
|
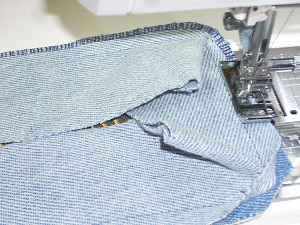 overedge seam just sewed; ease around corners |
 overedge top; press side seams towards ends |
 overedge remaining outside edges |
|
Hem the top of the pocket: I turn down the top hem ($\,t\,$), and stitch close to the top edge. Then, I do a decorative stitch that hits the bottom of the hem. |
 hem the top |
|
ATTACH POCKETS TO FRONT OF ORGANIZER: See 6:30 of the cargo pocket tutorial to see how she attaches the pockets. Make sure you leave enough seam allowance around all the organizer edges to attach the backing to the organizer and to allow for how you'll hang the organizer. Here is my method for attaching the pockets. Note: all marks will be hidden when the pocket is attached.
|
 turn over seam allowance; stitch close to outer edge |
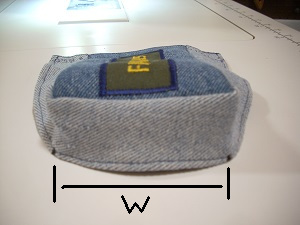 push out bottom corners; make two marks at a distance $\,h\,$ from top; the distance between these dots is $\,W\,$ |
|
 put four dots on organizer to mark pocket corner placement |
 attach pocket corners to dots with four pins |
|
 first straight-stitch two sides; then remove pins and straight-stitch the bottom |
 zigzag, curving nicely around corners |
|
PLEATS, AS DESIRED: Depending on each pocket's contents, you may want to put small pleats at the pocket top, as shown. This makes the opening a bit smaller, but keeps the bottom space the same. It may help to keep contents from wiggling around too much. Fold as desired, and stitch (several times, for strength) close to the side seam, from top to the bottom of the hem. |
 make small pleats (as desired) |
|
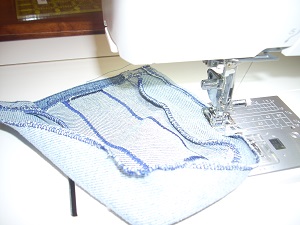
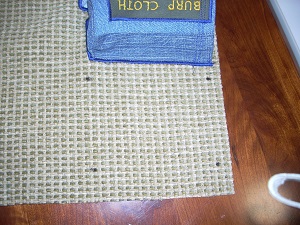
FINISH TOP EDGES OF FRONT AND BACK OF ORGANIZER: Turn over the top edges of both the front and back slightly; zigzag to enclose the raw edges. Be careful not to catch in any of the pocket fabric! |
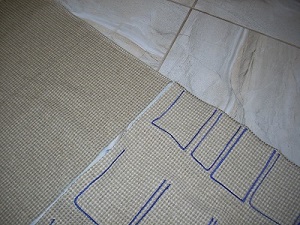 finish the top edges of front and back: turn over slightly; zigzag to enclose raw edges |
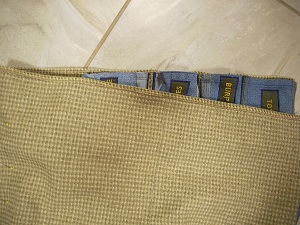 another view of finished top edges (with front/back right sides together) |
|
CREATE POCKET FOR CARDBOARD: To create the pocket for cardboard, pin the front to the back of the organizer, right sides together. Be careful not to catch in any of the pocket fabric! Stitch bottom and both sides. I decrease the stitch length to 1.5 (from the default of 2.4), for a shorter, stronger stitch. If desired, overedge the seams just sewed. |
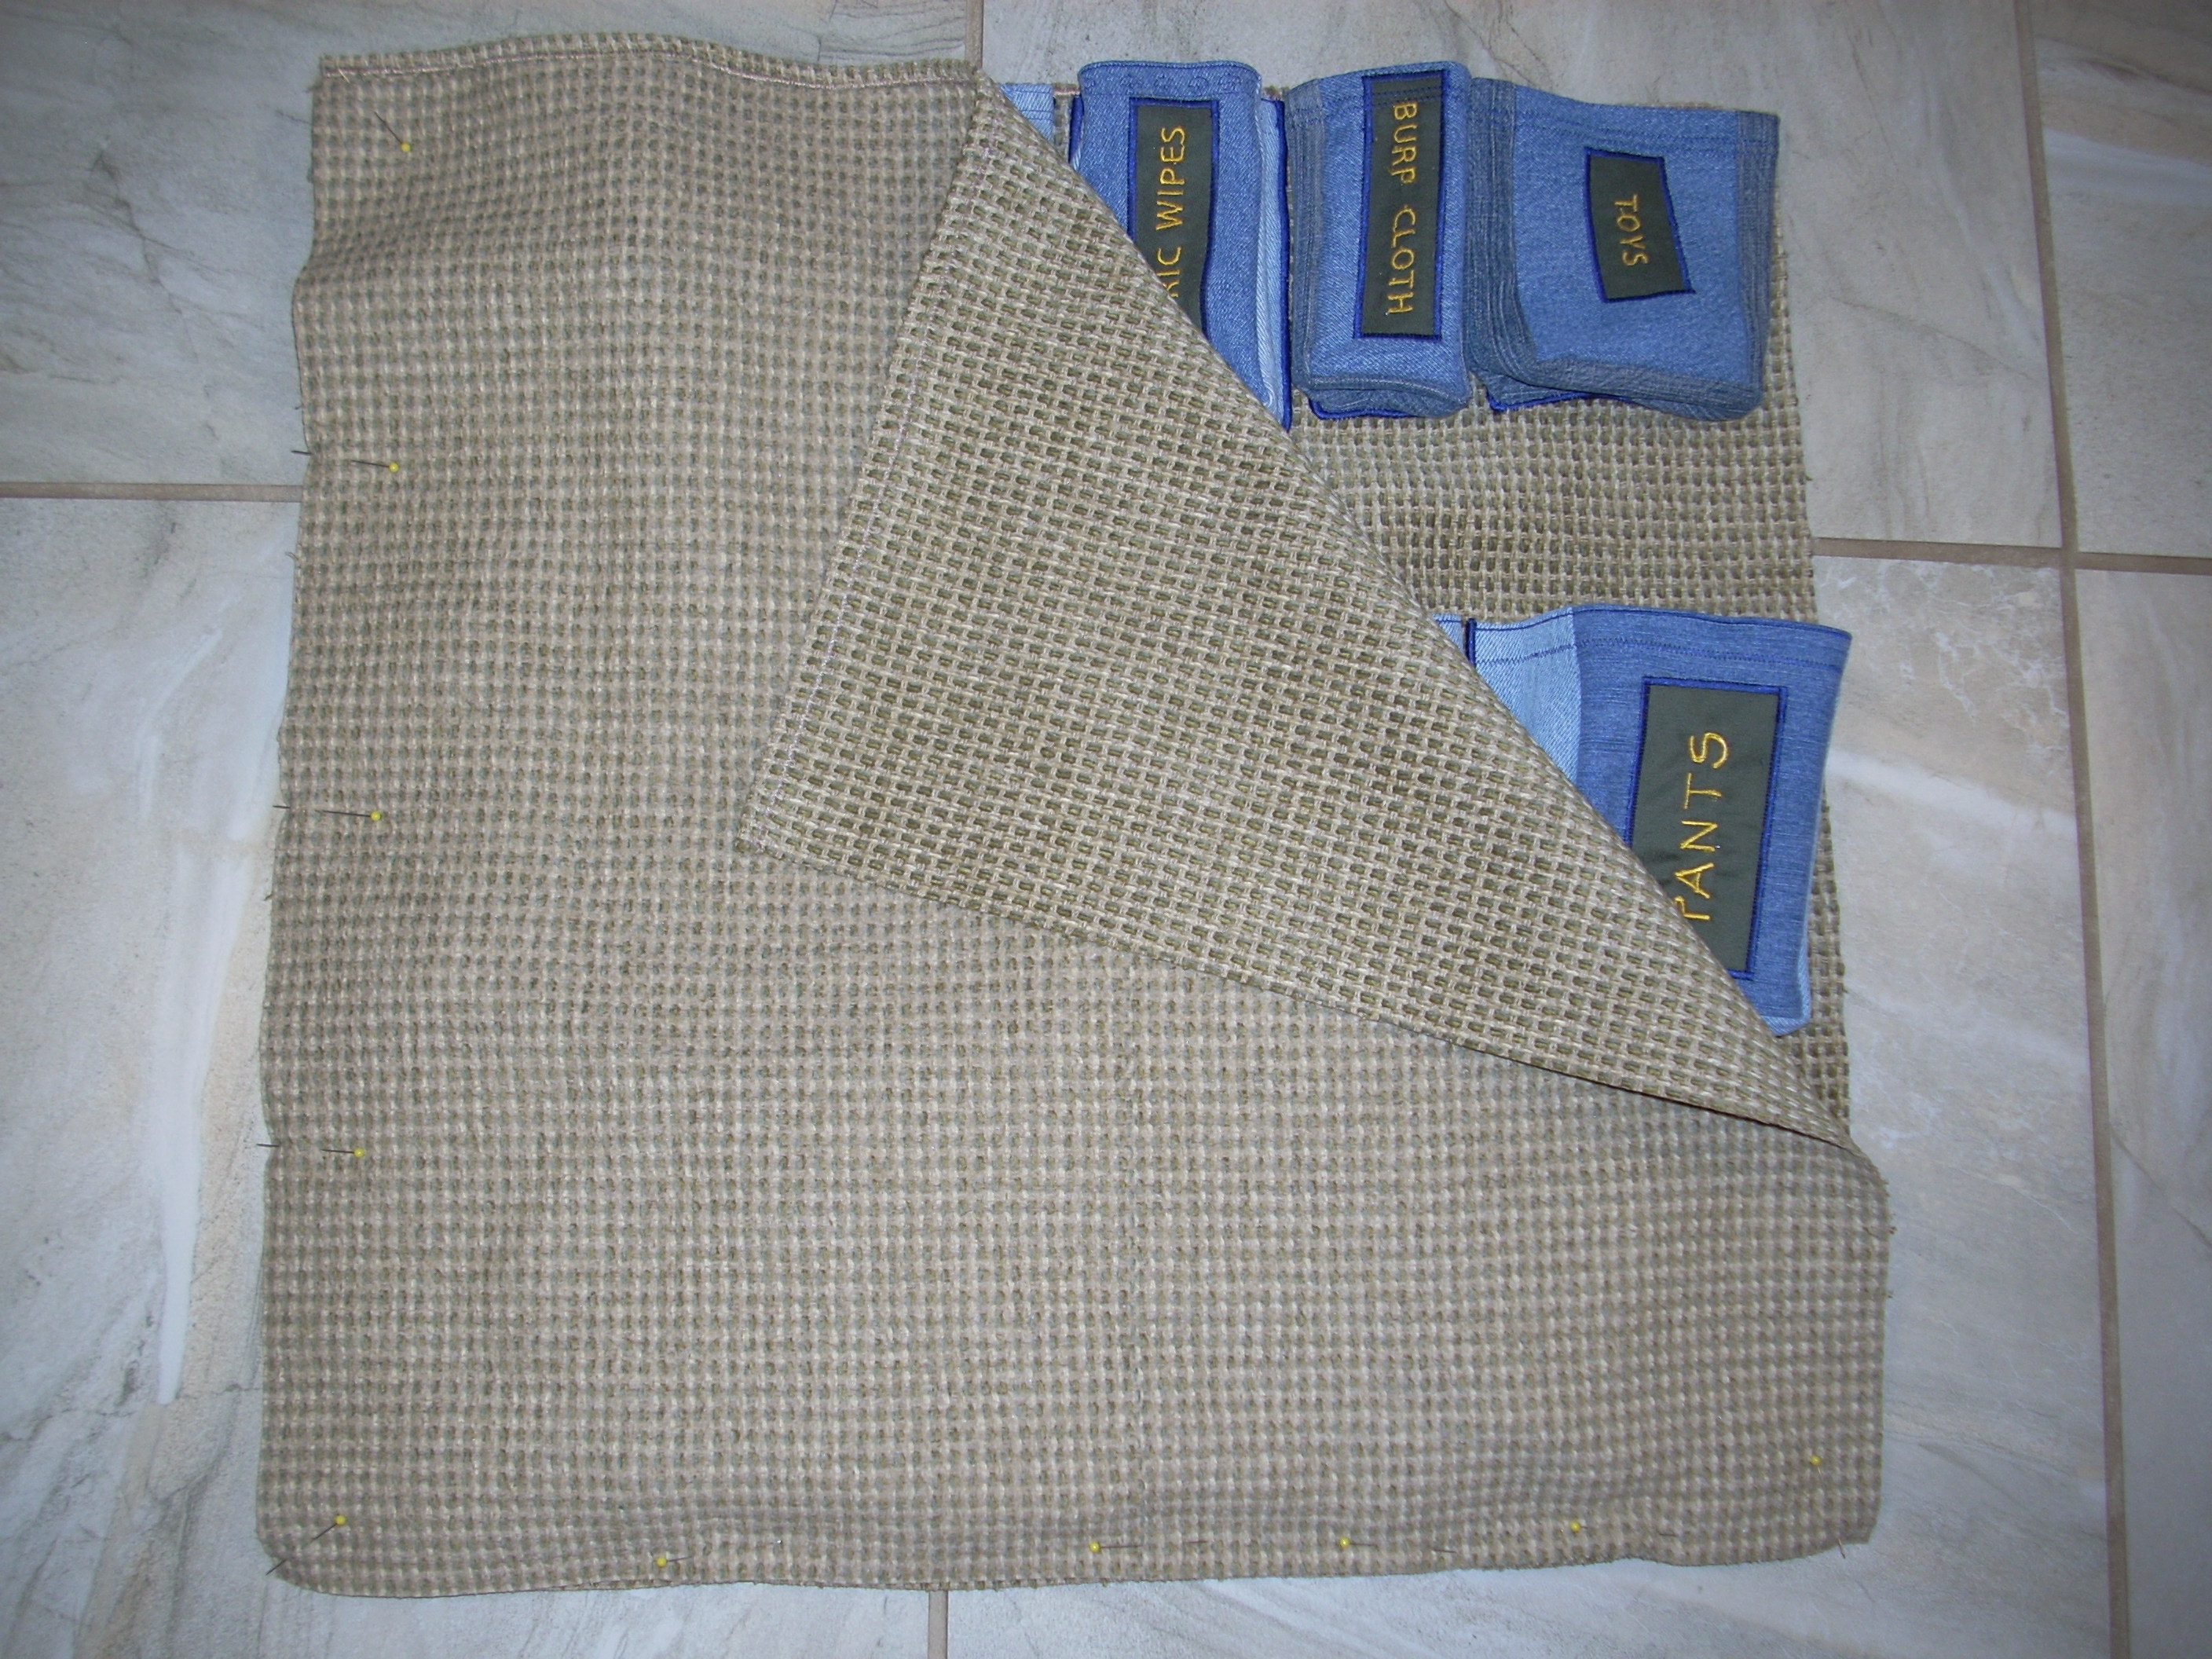 pin front to back, right sides together |
 sew bottom and both sides |
|
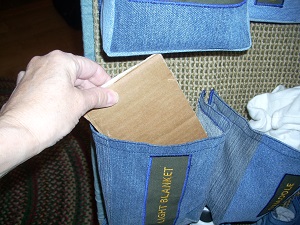
CUT CARDBOARD: Measure the finished size of your organizer pocket. Cut sturdy cardboard to put inside; this gives rigidity and sturdiness to the organizer. I used two pieces of cardboard, held together on the sides with extra wide gorilla tape. The tape also helps the cardboard slide in and out easily. |
 cardboard insert |
|
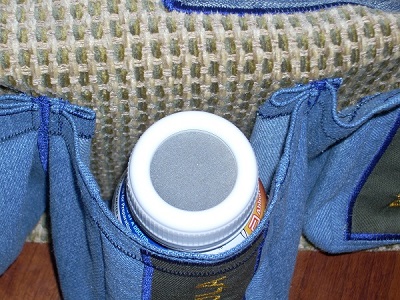
CUT CARDBOARD FOR BOTTOM OF POCKETS: Cut cardboard for the bottom of pockets (as desired). You may only need to do this on the deeper/wider pockets. The bottom cardboard gives more shape to the pocket, prevents it from flopping, and makes it easier to insert and take out items. Measure the pocket depth and width. Cut cardboard that is about ¼" deeper and wider, to ensure a nice tight fit. Press the cardboard firmly into the bottom of the pocket. |
 cut cardboard for bottoms of pockets (as desired) |