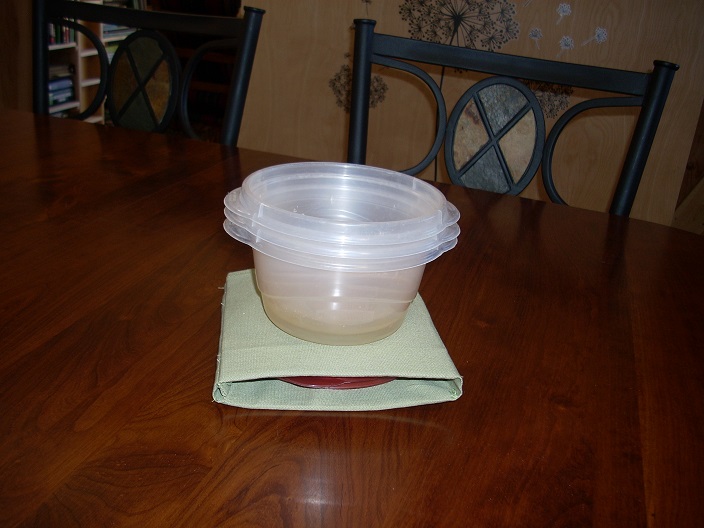
homepage: Dr. Carol JVF Burns

Fabric/Cardboard Lid Holders (square)

from the front:
all lids stored
from the back:
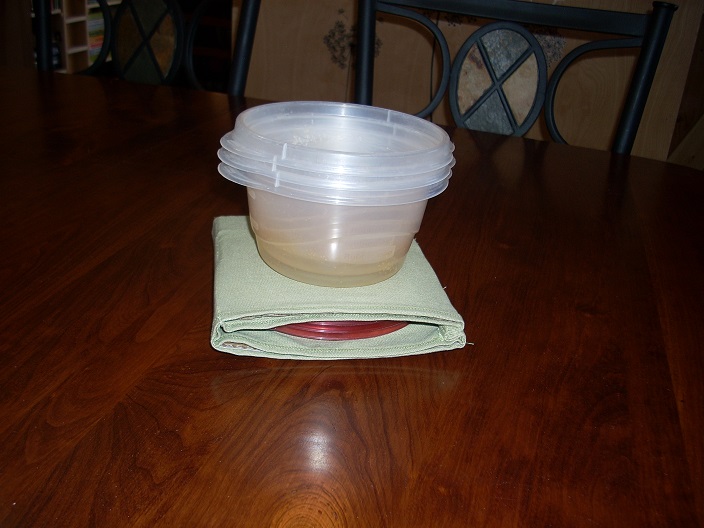
look carefully to see the cardboard pockets
only one lid stored:
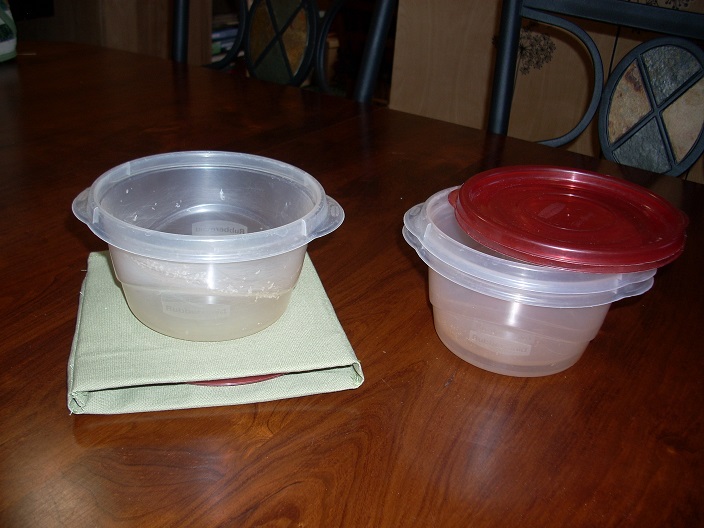
holder collapses to needed size

The storage containers aren't the real problem—it's the lids. Lids get separated from their containers and flop all over the place. This solution keeps lids contained and stored beneath their owners! Two cardboard inserts give both stiffness for ease-of-use and a flat surface so containers can be stacked on top of lids. Cardboard can be removed and covers washed.

If your lids don't naturally fit into a square container, then use the instructions for rectangular lid holders.
  1. CUT CARDBOARD:
    Cut two identical square pieces of cardboard: each about one-half inch bigger than a lid, on all sides.
    Let $\,x\,$ denote the length of a side, in inches.
    The cardboard sits in pockets above and below the lids.
    Be sure the cardboard is big enough to give some space around the entire lid (including any tab).
  2. FABRIC FOR CARDBOARD POCKETS and SIDES:
    One single piece of fabric is constructed into a ‘tube’ that holds the top and bottom pieces of cardboard, and forms the sides of the lid pocket.

    Let $\,n\,$ be the number of lids to be stored.
    Let $\,h\,$ be the height of a lid, in inches. (Usually, $\,h\,$ is about 0.25 inches.)
    Round UP (not down), as needed; better to be a bit loose than too tight.

    Cut one piece of fabric:
    LENGTH: $\,\overbrace{2nh}^{\text{sides}} + \overbrace{2x}^{\text{cardboard}} + \overbrace{2\cdot\frac 34}^{\text{french seam}} \,$ (see step 4)
    WIDTH: $\,2x + 1.5\,$ (fabric is doubled over, and there is a french seam)

    If the length/width measurements are close, pencil an ‘L’ near the middle of a length side, to prevent a mistake in the next step!
  3. FINISH BOTH LENGTH EDGES:
    Use the same color thread for top and bobbin.

    This gives a finished edge where the cardboard pieces will be inserted.
    Fold 1/4" to wrong side of each length edge and sew, then fold and zig-zag 3/8" again.
  4. CREATE POCKETS FOR CARDBOARD, and SIDES:
    1. Press fabric in half, right sides OUT, finished edges aligned.
    2. Starting at one end of the length, make pencil marks at:
      • $\,\frac 34\text{ inch}\,$
      • $\,nh\,$ from there
      • $\,x\,$ from there
      • $\,nh\,$ from there
      • $\,x\,$ from there
      • There should be about $\,\frac 34\,$ inches left at the end.
    3. With a straight edge, make lines at each marking, perpendicular to the length.
      Sew along each of these lines.
  5. USE A FRENCH SEAM TO CREATE THE TUBE:
    Label one side (perhaps it looks a bit nicer) as the RIGHT side; the other side is the WRONG side.

    Fold with WRONG sides together, and sew a scant one-quarter inch along the width (creating a closed loop).
    (I like to use utility stitch 15 with Janome overedge foot M on my Janome 9400QCP sewing machine for this step.)

    Turn inside out.
    Then, fold RIGHT sides together, and sew one-half inch along the width again, enclosing the raw edges.
    (It's thick at the end, so I use the black-button-leveling-feature on my Janome zigzag foot A.)

    Turn right side out.
    At this point, you have: It should be a nice snug fit, so you shouldn't need a back!
    Insert the pieces of cardboard (trimming the sides a smidgeon, as needed), and enjoy!