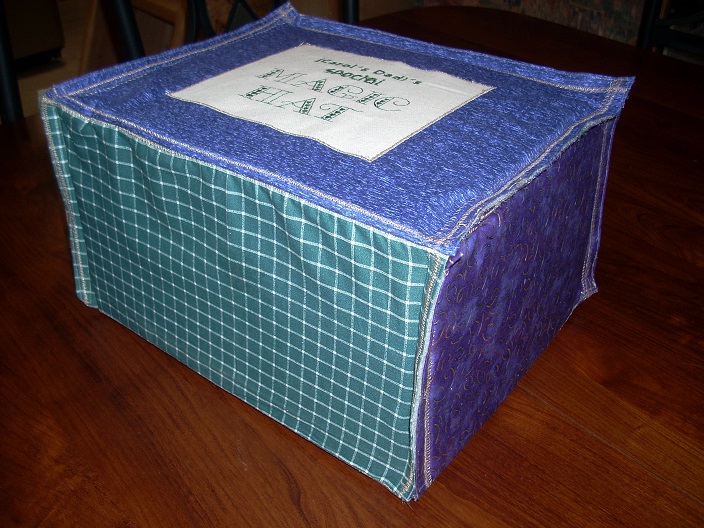
homepage: Dr. Carol JVF Burns

See the Sewing/Crafts section of my main Table of Contents for other sewing projects!

Fabric-covered, Felt-lined, Collapsible Box with Cardboard Inserts


the magic hat box

I've decided to start adding
mathematical syntax to the English language,
to clarify ambiguities!
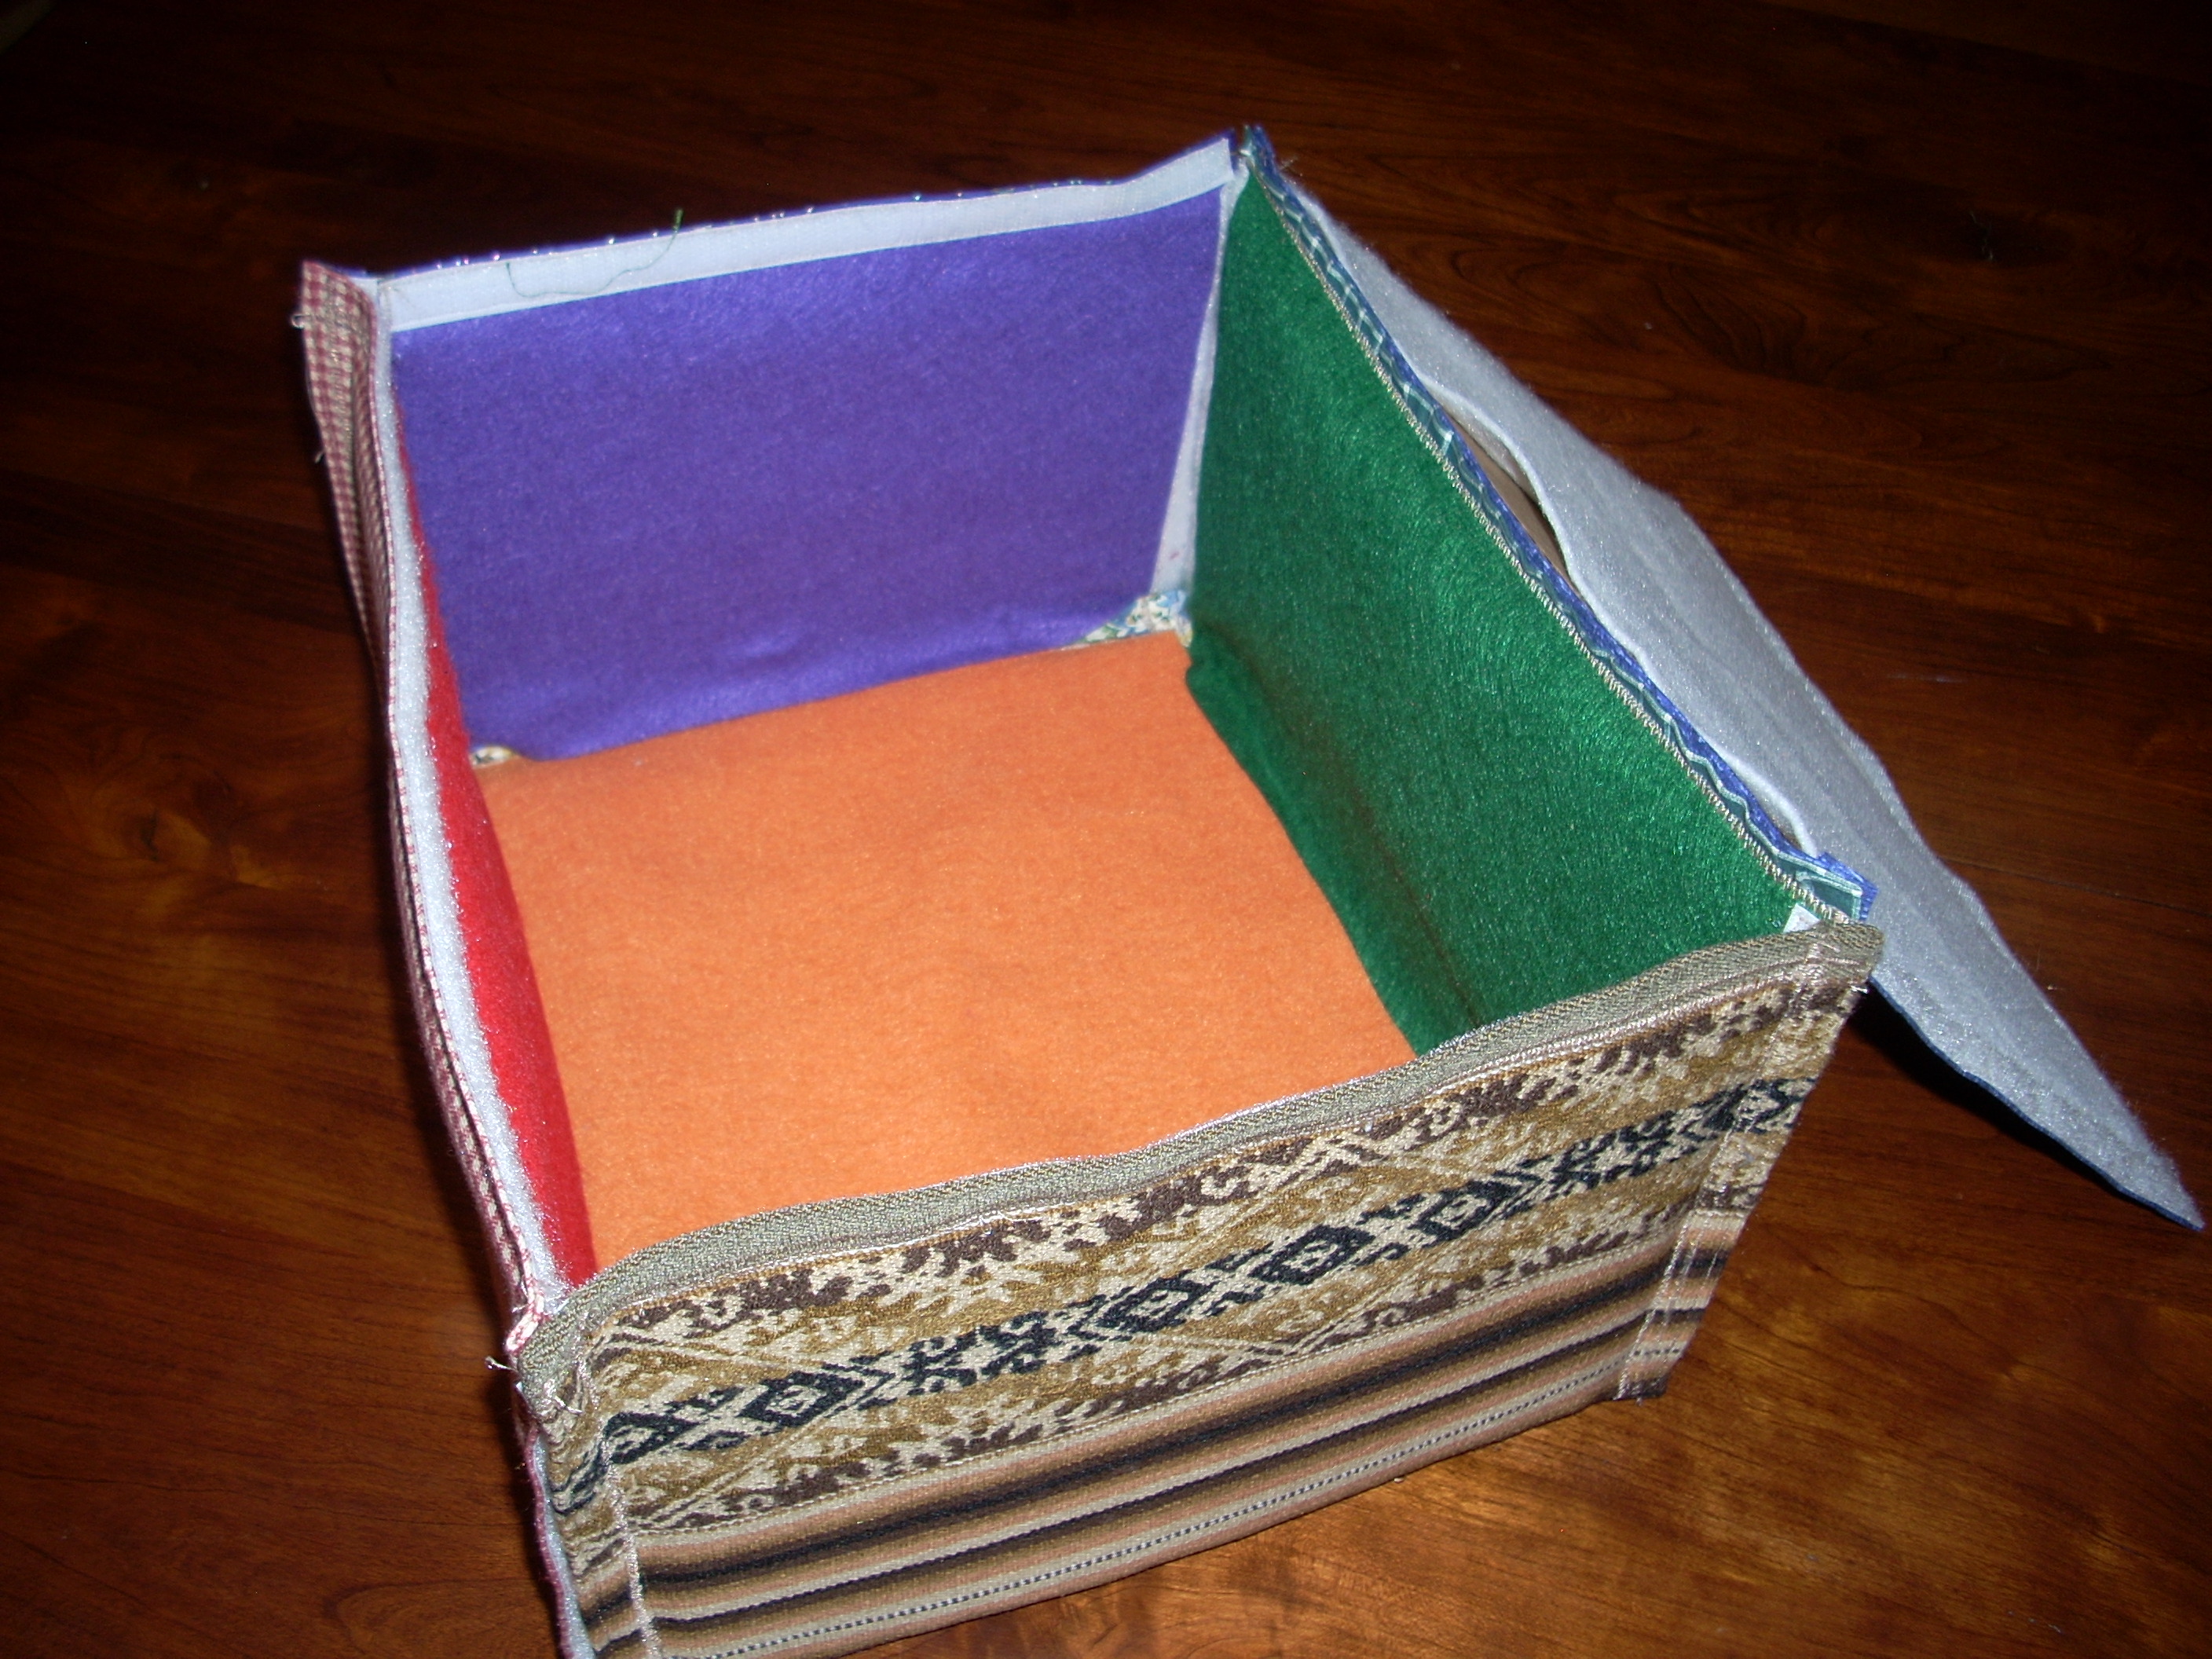
inside the box:
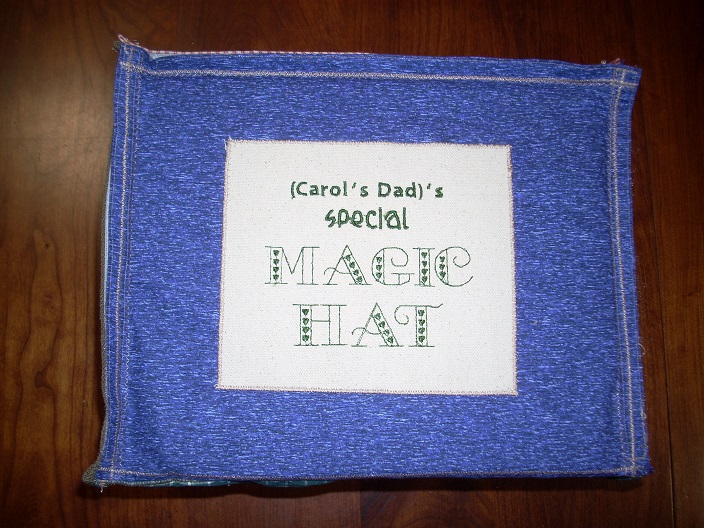
on the cover, you can see
where the cardboard is inserted

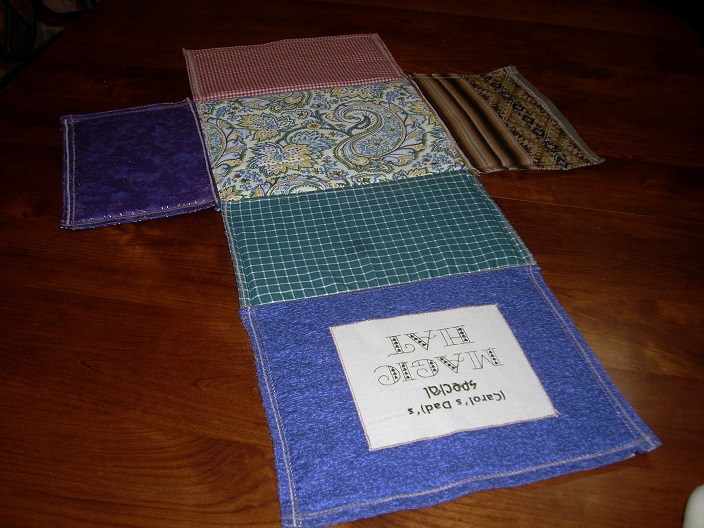
outer fabric, laid flat

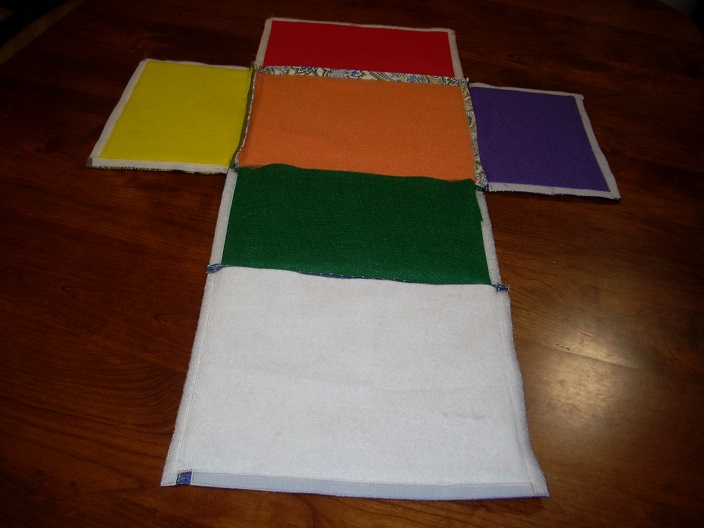
inner felt (and velcro strips)

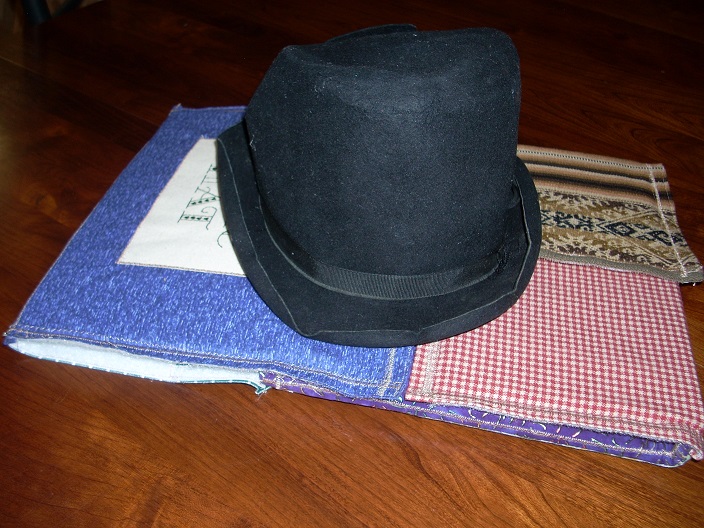
folded up, with cardboard still inside;
and the magic hat itself


I inherited my Dad's magic hat, and wanted a very special box to protect it. This box consists of pieces of cardboard in fabric/felt pockets. (You can hide other things in the pockets, too, like love notes or secret messages!) It is not a sturdy box—it's a compromise between a bag (no rigidity) and a regular cardboard box. You can take the cardboard inserts out and wash the cover. Fun way to use up {scraps of fabric} and {boxes from Amazon purchases}!
  1. Cut six cardboard pieces for top, bottom, and sides:
    Box dimensions, in inches: Cut six pieces of cardboard: I use a rotary cutter and quilter's ruler on a self-healing cutting mat to cut everything—cardboard, fabric and felt.
  2. Cut outer fabric to cover the cardboard:
    Cut six pieces of outer fabric, each 1" larger than the cardboard on all sides.
    For example: the fabric for the $\,\ell \times w\,$ pieces would be $\,(\ell + 2) \times (w + 2)\,.$
    Use different fabrics, if desired, for a jazzy box!
  3. Cut inner felt to cover the cardboard:
    (There will be one unfinished inside edge of the pocket where the cardboard gets inserted.
    This is why felt is used—it doesn't ravel.)

    Cut six pieces of felt, each 3/8" larger than the cardboard on all sides.
    Use different colors, if desired, for a jazzy box!
    For example: since $\,2\times \frac{3}{8} = \frac{6}{8} = \frac{3}{4} = 0.75\,,$
    the felt for the $\,\ell \times w\,$ pieces would be $\,(\ell + 0.75) \times (w + 0.75)\,.$
  4. Insertion edge; zig-zag stitches:
    On each of the six box faces, one of the four sides is an insertion side;
    this is the pocket opening where the cardboard gets inserted.

    For the bottom, I recommend choosing a longest side (if there is one) for the insertion side.
    For the four sides, the bottom edge should be the insertion side.
    For the top, I recommend choosing a longest side (if there is one) for the insertion side;
    this is also the side where the top will hinge open.

    All zig-zag stitches in these instructions should be about 1/8" wide.
    The zig-zag stitches should be dense enough (close enough together) so they completely hide a raw edge.
  5. Zig-zag outer fabric on insertion edge:
    Label the insertion edge for each of the six outer fabric pieces.
    Wrong sides together, fold over 3/8" on the insertion edge, and zig-zag the raw edge.

    You can use chaining to speed the process: sew from one insertion edge to the next without cutting your thread.

    There should now be about 1/8" of zig-zag stitching that completely hides the raw edge,
    and 2/8" of folded fabric.
  6. Optional embroidery/decoration/labeling on outer fabric:
    If desired, do any machine embroidery or labeling on the fabric/felt pieces before the next step.

    For your information:
  7. Sew the pockets that will hold the cardboard:
    If the measurements are a bit off, don't despair!
    The only really critical thing is that the zig-zagging goes through both the outer fabric and the felt, creating a pocket.
    The pocket is designed to be a little bigger than the cardboard, for ease of insertion, and to provide hiding places for other treasures!
  8. Check the fit of the cardboard in the pockets:
    If the pockets are too small, just trim the cardboard a bit!
    If the pockets are too big, zig-zag a second time, a bit farther in.
    This is meant to be a fun box, so if things don't work out perfectly ... it just adds interest!
    Remove the cardboard before doing the next step.
  9. Sew bottom pocket to four side pockets:
    With right sides (the outer fabric sides) together, sew the insertion edges of the four side pockets to the bottom pocket.
    Use a scant 1/4" seam, straight stitching, and medium stitch length.
    Stitches should go through the outer fabric only (not the felt).
    Be very careful not to stitch up the insertion openings by mistake!

    Attach two parallel sides first.

    When you attach the remaining parallel sides, they will overlap the other sides slightly.
    No problem!
    Just center the side pocket on the bottom pocket, let them overlap, and stitch from one end to the other.

    Before going to the next step, check that you do indeed have five insertion openings (not closed up by mistake) on the felt side!
  10. Attach top pocket to one of the side pockets:
    With right sides (the outer fabric sides) together, sew the insertion edge of the top to an appropriate length side.
    Be careful not to stitch up the insertion opening!
  11. Sew velcro (or generic hook and loop tape) to edges:
    Narrow (1/3") strips of velcro are used to secure the corners of the box,
    and to close the top of the box.

    Velcro has a rough (hook) side and a soft (loop) side.
    Use sewable (NOT sticky!) velcro.
    One-inch-wide velcro can be (carefully) cut lengthwise into three 1/3"-wide strips, so you really get your money's worth!

    The velcro strips are all sewn on the inside (felt side) of the box, along the very edge.
    Use a wide zig-zag stitch, but with a long length setting.
    (If your stitches are too dense, these narrow strips won't hold together very well!)

    Zig-zag from one end of the velcro strip to the other, centering the stitching, and being sure to lock your stitches on both ends.

    To make sure you get hooks and loops in the correct places, you may want to use this system:
    Finally, sew correct velcro mates to the three unattached edges of the top pocket.
  12. Insert cardboard and enjoy!
    Insert the six cardboard pieces and fasten the velcro to create your box!
    Enjoy your very special box for some very special contents!!