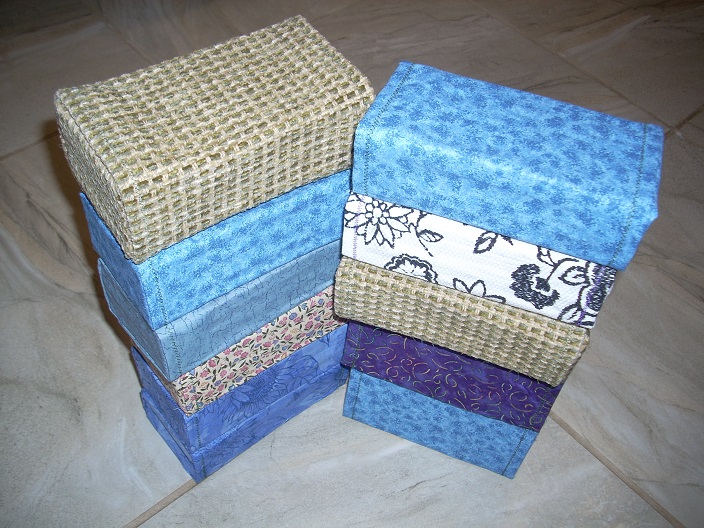
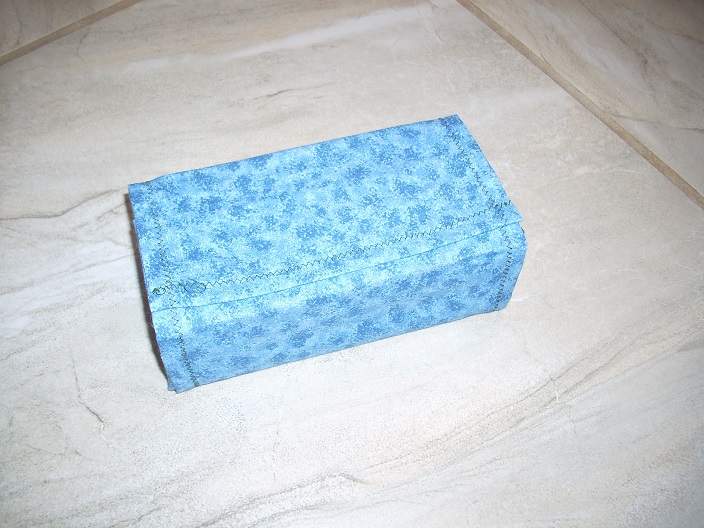
(A) Finished blocks!
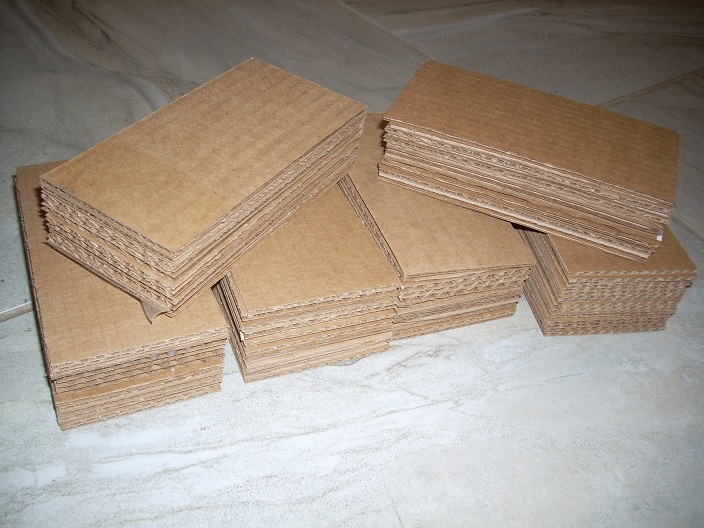
(B) Some cardboard blocks,
before adding fabric covers.
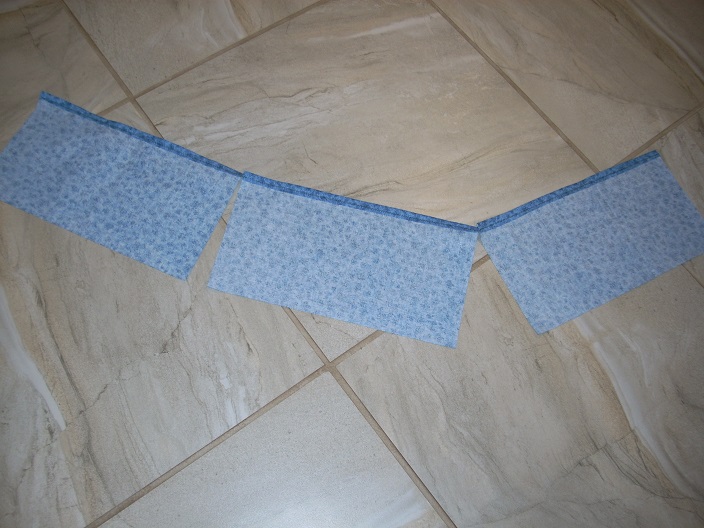
(C) Use chaining to finish a long edge
on single center pieces;
repeat with other long edge.
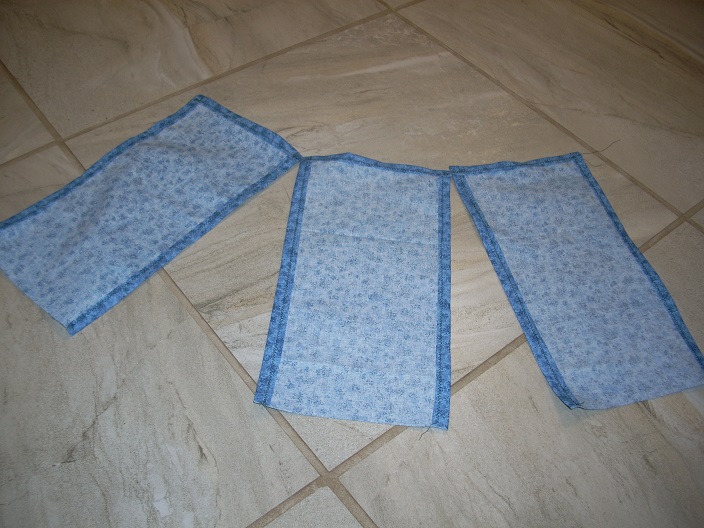
(D) Use chaining to finish the short edge
on single center pieces.
| (E1) | 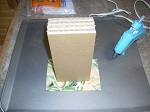 |
 (E) Use a hot-glue gun to attach the ends; use the ‘gift-wrapping’ technique. See detail at left (E1, E2, E3). |
| (E2) | 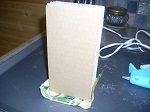 |
|
| (E3) | 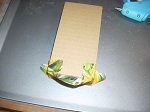 |
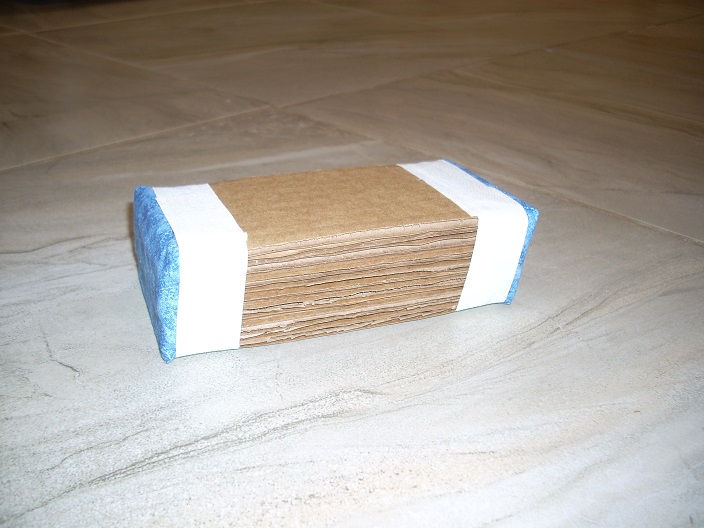
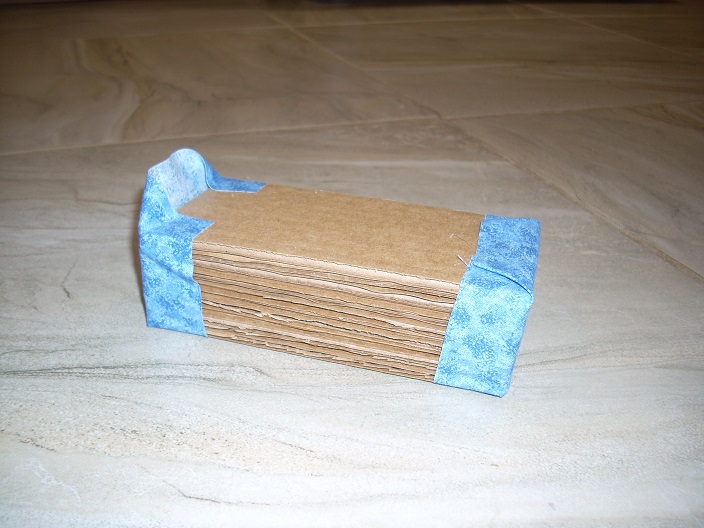
(F) wrap cloth tape around the raw edges
to secure the ends
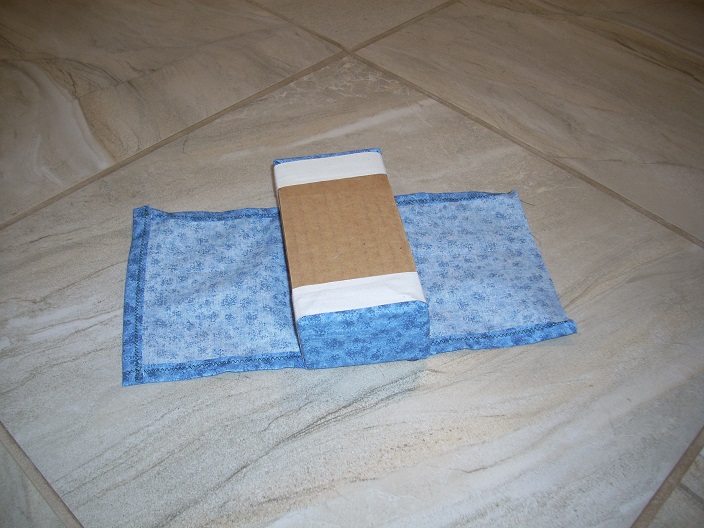
(G) start gluing on the center piece

(H) continue gluing on the center piece;
glue the raw edge side first
(I) finish gluing on the center piece;
the finished edge is on the outside