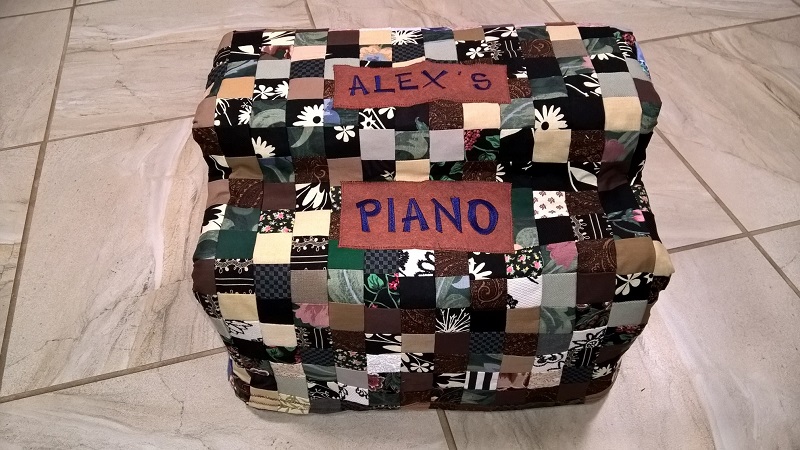
I used the same technique to make this cover for a tiny piano
(my grandbaby's first Christmas gift),
using homemade scrap fabric
|
|
I used the same technique to make this cover for a tiny piano (my grandbaby's first Christmas gift), using homemade scrap fabric |
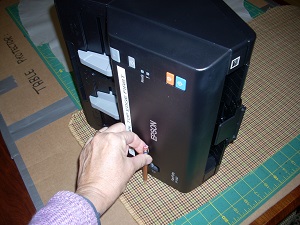 Make side pattern: (1) Lay the scanner on its side on fabric; trace around (about 5/8" out, to allow for seams). You can ‘round out’ some of the curves/corners to make sewing easier. I found it helpful to put a ‘B’ on the Bottom to keep the orientation correct in future steps. (You may actually want to cut the lining first, and check it on the appliance before cutting the other pieces.) |
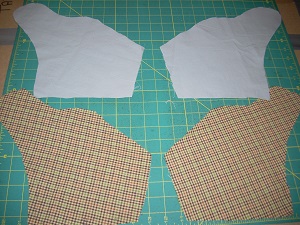 Cut side pieces: (2) Using your first piece as pattern, cut more: you need 2 cover fabric and 2 lining. If your fabric is one-sided, be careful : you need both a left and right piece, with right sides facing out. |
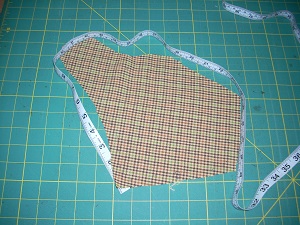 Measure partial perimeter of side piece: (3) Measure from one side of bottom to other side of bottom with a flexible ruler. Call this measurement $\,p\,$ (it's a ‘partial perimeter’). Err on the generous side—a bit too long can be corrected for, but too short will be a pain. |
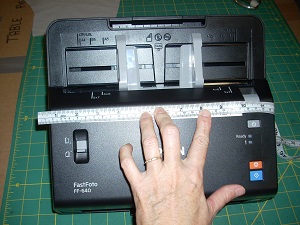 Measure width of scanner: (4) Measure the side-to-side width of your scanner. Call this measurement $\,w\,.$ |
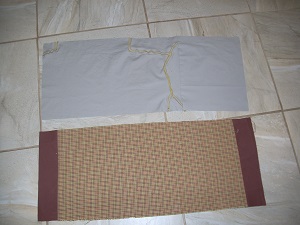 Cut rectangles: (5) Cut 2 rectangles (1 cover fabric, 1 lining), each $\,p\times(w+1.5)\,.$ All units are inches: $\,w+1.5\,$ means $\,w\,$ inches plus $\,1.5 \,$ inches. (The $\,1.5\,$ is for the two side seams, plus a bit extra.)
(I had to do some ‘creative piecing’ since I didn't have enough fabric—I use scraps. No problem!
The lining won't show, and the different fabric on the ends adds character!) |
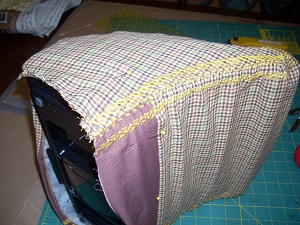
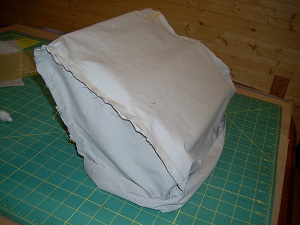 Assemble liner (rectangle to sides): (6) Sew the lining pieces together first, as follows. (Why start with the lining? It won't show, so practice on it first!) Let $\,B_1\,$ and $\,B_2\,$ denote the two ends of the bottom of a side piece. With right sides together and a 1/4" seam, machine-baste the long edge of the rectangle to a side piece: start at $\,B_1\,$ and end at $\,B_2\,.$ You'll need to ease around the curves. It may help to lift the presser foot and turn the fabric on tight curves. Then, sew the seam again with a normal 5/8" seam and a shorter stitch length. Repeat with the other side. If your rectangle was too long, you can now trim any extra length. This photo shows the lining, wrong-side out, on the scanner. (It's too long at this point, which is fine—it will be hemmed in a later step.) |
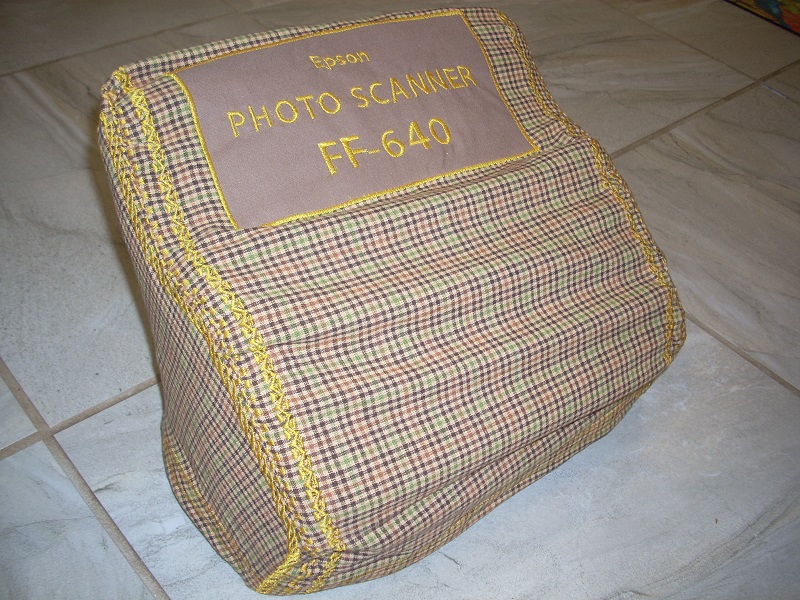
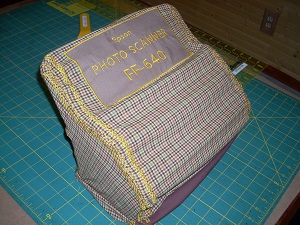 Assemble cover fabric (rectangle to sides): (7) Repeat step (6) with the cover fabric. (The decorative stitching and label are optional.) This photo shows the cover, right-side out, on the scanner. |
|
 Put liner and cover fabric together: (8) Put the liner on the scanner, wrong side out. Put the cover OVER the liner, right side out. Note: the WRONG sides of the liner and cover are together. Adjust, as needed, so they fit smoothly together. Carefully lay the scanner on each of its four sides (see photo) and pin the bottom edges together. Trim (as needed) so the liner and cover bottoms line up. |
 Stitch and hem bottom: (9) Machine-baste the pinned bottom close to the edge. Then, fold the basted edge about 1/2" to the inside and stitch again. Check the fit on the scanner: decide on your final desired length. Fold and stitch again (enclosing the raw edge) to achieve the desired length. |
 Optional decorative bottom stitch: (10) If desired, put a decorative stitch along the bottom. |
|