|
 |
|
|
|
|
(0) Fabric requirements: I used 40 inches (1 yard + 4 inches) of 44" wide 100% cotton material to enclose 34 photos (i.e., $\,\frac{34}2 = 17\,$ photo holders). |
|
(1a) Caption/date labels: If you want machine-embroidered captions and dates, use steps (1b), (1c) and (1d). Otherwise, for each two-sided photo holder:
The features used for this project require Embrilliance Enthusiast. It is assumed you know how to use your embroidery machine and software; only basic instructions are given here. Embrilliance commands are indicated in bold typewriter type. |
|
(1b) Caption labels: You will embroider captions for three photos at a time.
|
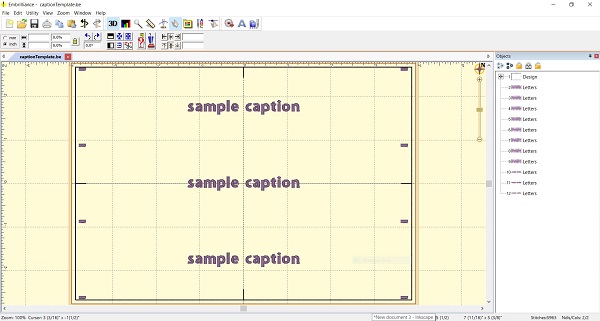 create a ‘caption template’ in Embrilliance; repeatedly change text and re-stitch 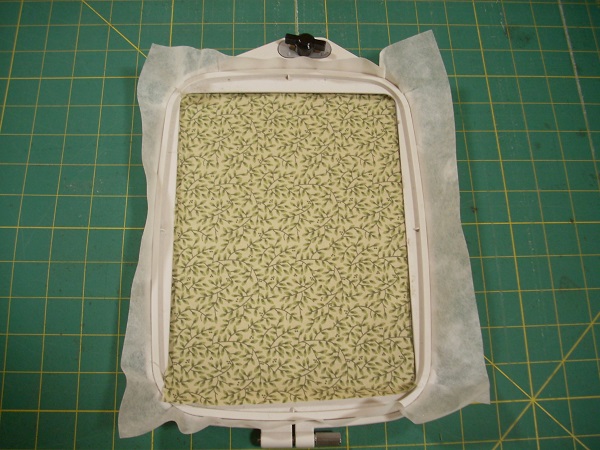 hoop the stabilizer; position fabric  basting stitches and cutting marks hold fabric in place 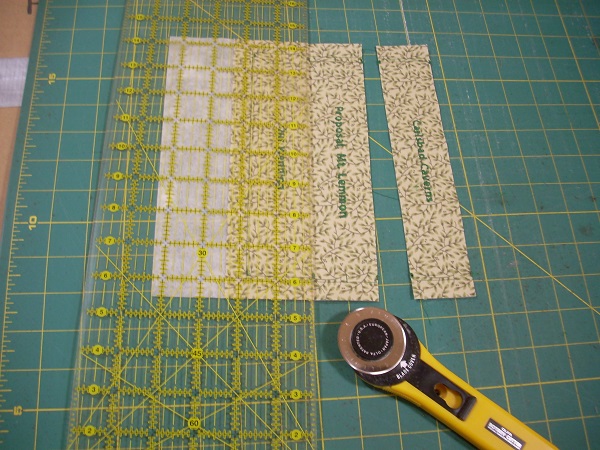 cut into strips, each 8¾" x 1¾" |
|
(1c) Date labels: You will embroider dates for four photos at a time. These instructions are similar to (1b)—so they're abbreviated.
|
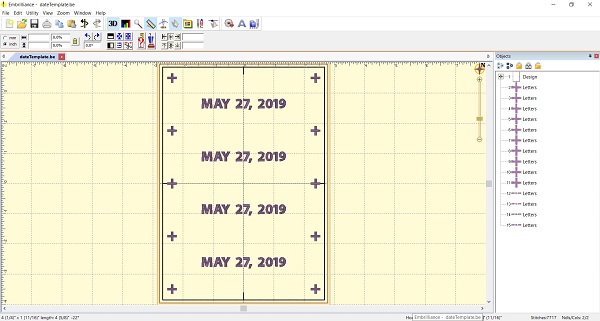 create a ‘date template’ in Embrilliance; repeatedly change dates and re-stitch  hoop the stabilizer; position fabric 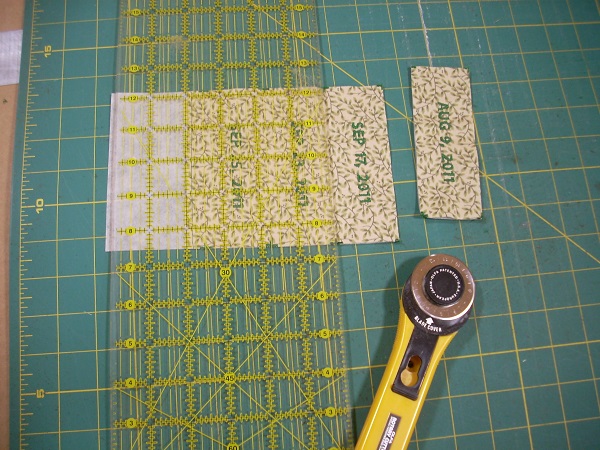 use the cutting marks to cut into strips, each 4¾" x 1¾" |
|
(1d) Cut additional fabric strips; press: For each photo holder, cut:
Press all strips with a steam iron. Lay pieces out in the correct orientations. |
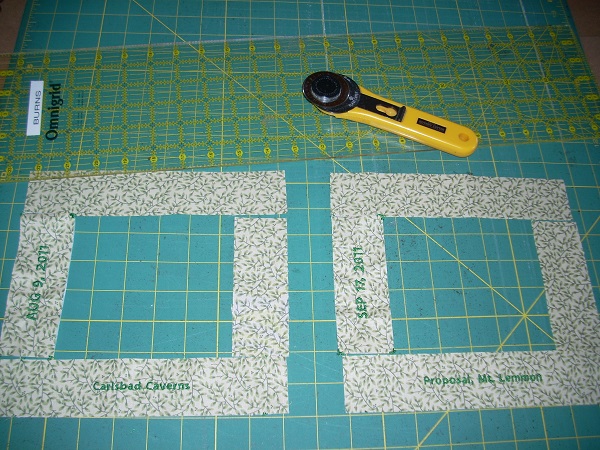 lay pieces out in the correct orientations |
|
(2) Cut plastic and cardboard: For each photo holder, cut:
|
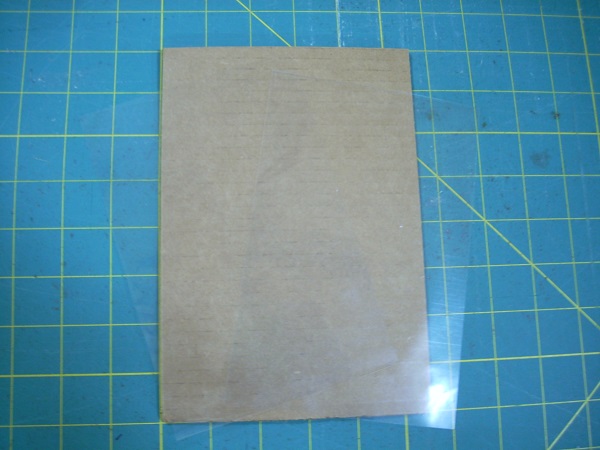 The two pieces of plastic are here, but they're hard to see! |
|
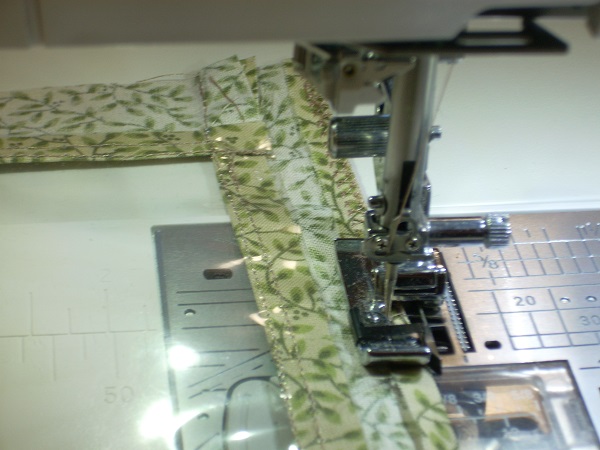
(3) Sew plastic to fabric sides: Some of these photos show larger text, with knockdown stitching (Utility-Add Knockdown Stitching). I was experimenting to see what I liked best! There are two sides per photo holder. Sew 3/8" seams. Use polyester thread in both top and bobbin. I put the date on left; blank panel on right. Be sure to get the text orientation correct! All sewing is right sides together. Use wonder clips to hold plastic to fabric: the flat side of the clip goes down (on the bottom). Don't put common pins through the plastic; the plastic does tend to shift around. You may find it helpful to use a teflon foot when sewing plastic. Remove wonder clips as you sew. If doing more than one at a time, use chaining; lock at the beginning and end of each unit. After sewing, push the side seams away from the plastic opening. Check that the plastic opening is a smidgeon narrower than the photo. As needed, re-sew the right (non-labeled) seam a bit further in. |
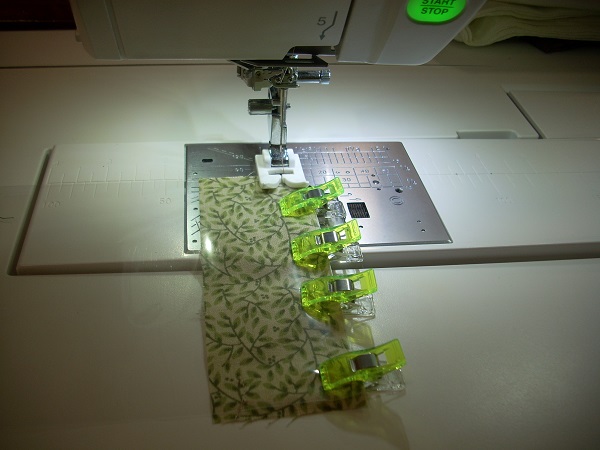 Sew with plastic on top and teflon foot; wonder clips minimize shifting. |
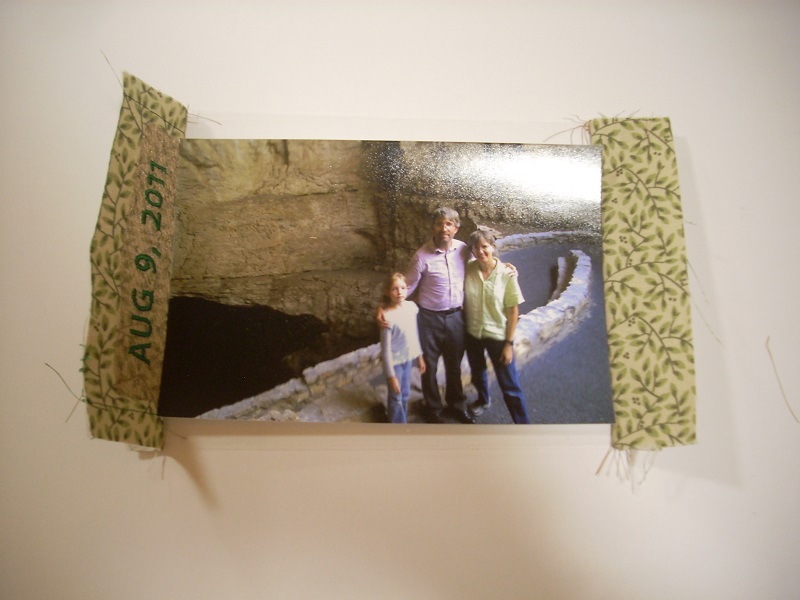 Check that plastic opening is a smidgeon less than 6"; adjust un-labeled side seam as needed. |
|
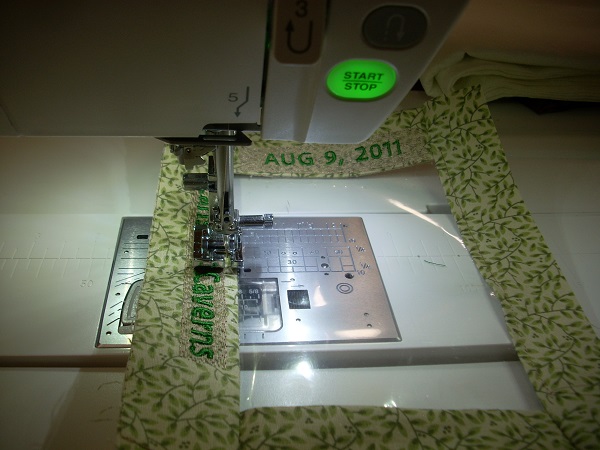
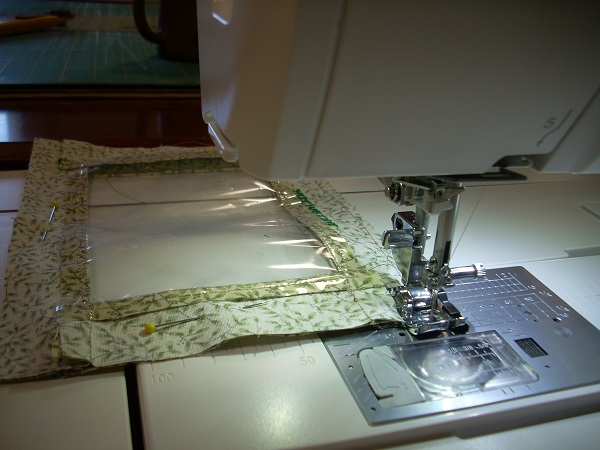
(4) Sew on TOP and BOTTOM pieces: Similarly, sew on the top and bottom strips with 3/8" seams. Make sure the dates and captions are correctly matched up! Be sure the text is centered on the bottom. As you sew, make sure the side seams stay folded away from the plastic window. If doing more than one at a time, use chaining; lock at the beginning and end of each unit. After sewing, push the seams away from the plastic opening. Check that the plastic opening is a smidgeon less than 4" high. As needed, re-sew the top (non-labeled) seam a bit further in. |
 Sew on top and bottom strips; make sure side seams are folded away from window! |
 Check that plastic opening is a smidgeon less than 4" high; adjust top seam as needed. |
|
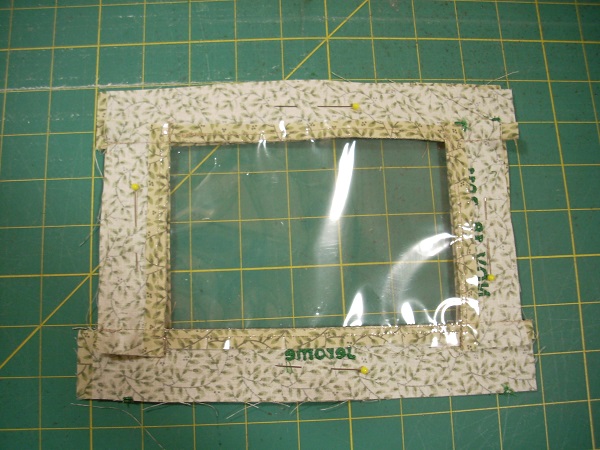
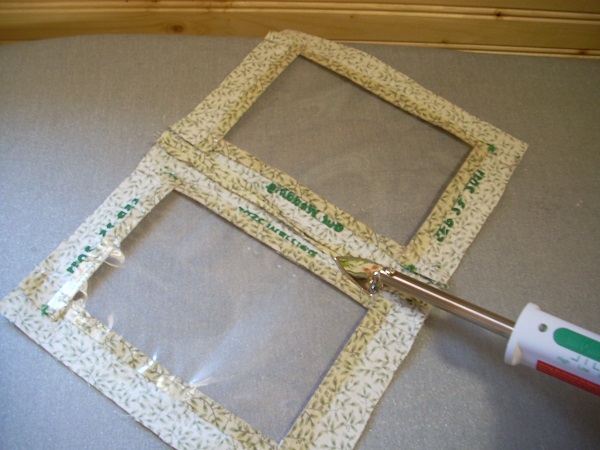
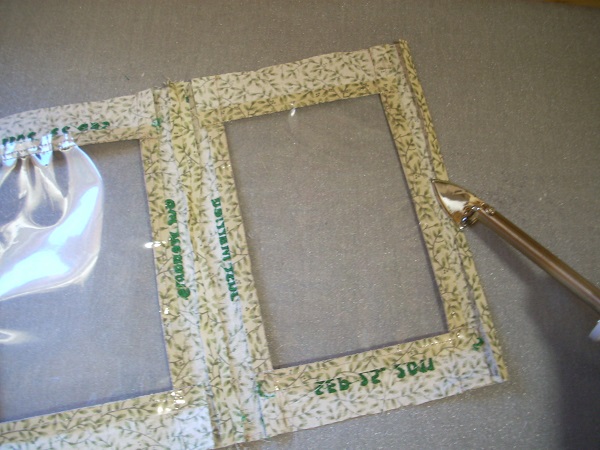
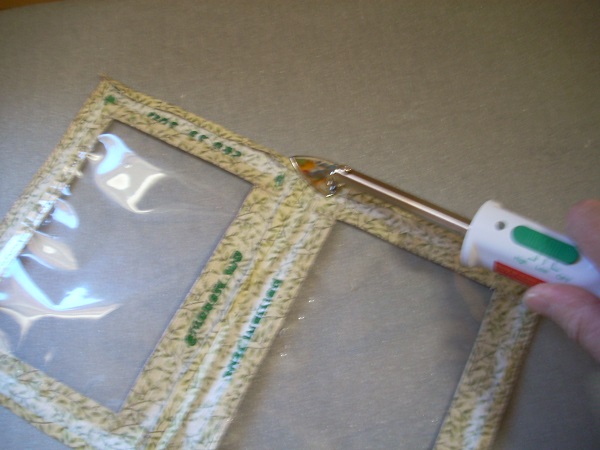
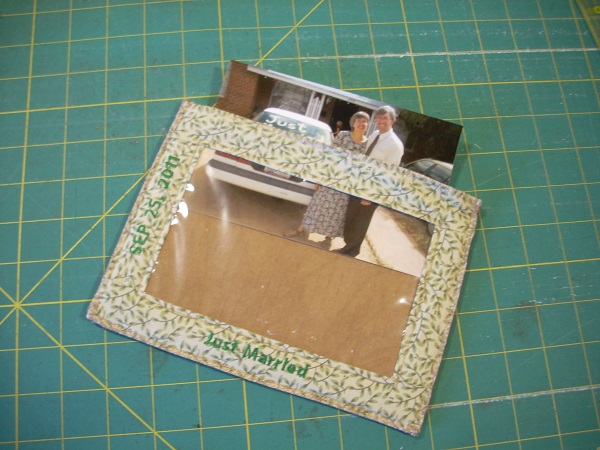
(5) Create a stitched window border: A stitched window border keeps the seams away from the plastic window, and adds a decorative element. Use a ¼ inch foot (no guide). (Janome 9400 QCP: use stitch Q2, with foot O) Put the needle position all the way to the right. Center the right edge of the fabric in the middle of the quarter-inch foot, to achieve a scant ⅛" border. Start in the upper-right corner; sew counter-clockwise. Do not lock the stitch at the beginning; stitch all around the plastic window, pivoting at corners. Overlap slightly and lock-stitch at the end. Now, measure from the just-stitched date-side stitching to the opposite side: it should be a bit more than 6" (preferably about 6⅛"). If not, stitch a second window border, just a bit further out. You will be stitching over this window border in step (9), through both layers of fabric and cardboard, to create pockets for the photos. You want to be sure that the pockets are big enough! |
 stitch a ⅛" window border |
|
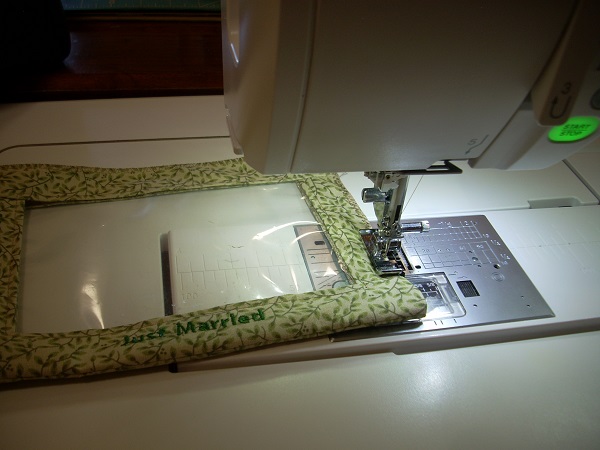
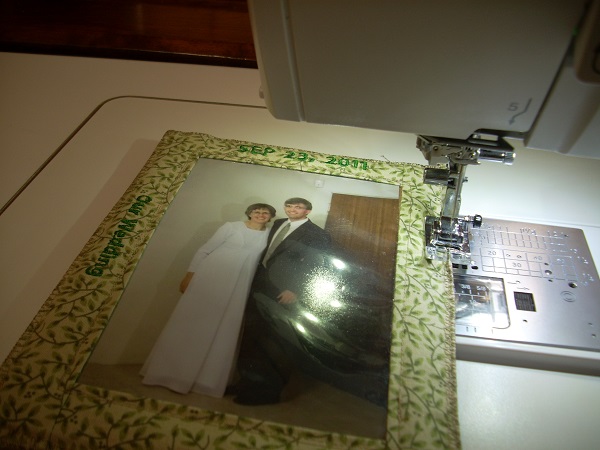
(6) Sew FRONT to BACK: Lay the front and back on top of each other, right sides together. Align the plastic windows. Match the border stitching (step 5) as closely as possible; this helps to prevent stitch mismatch in step 9, when making the photo pockets. Use 4 pins through the fabric (not plastic) to keep windows aligned: one pin each, centered on top, bottom, left, right. Use pins with a very small head (I now use long hand-sewing needles), since you'll be laying your quilting ruler over them. Flip the photo holder over, so the pins are poking out on the bottom. Square up edges/trim excess with a quilting ruler and rotary cutter: align 1¼" mark on ruler with plastic window edge, and cut edges. Thus, you achieve a perfect 1¼" fabric border all around the plastic window. With right sides together, sew the bottom seam only (caption edge) with a ¼" seam. Remove the pin as you sew. If desired, use a ¼" seam foot with guide. |
 align windows; use four pins to keep them aligned (The pins shown here are NOT good—the head is too big!) |
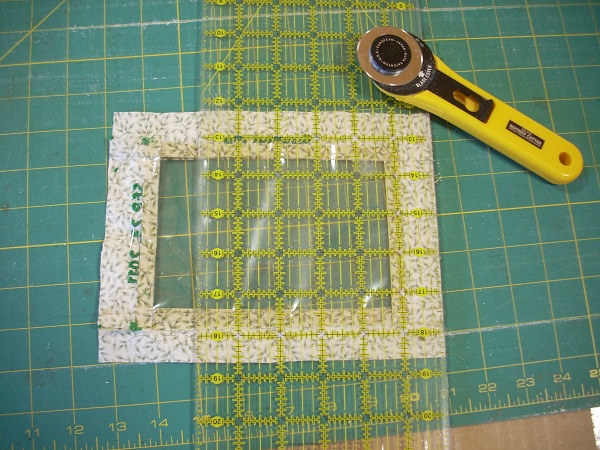 flip over so pins are poking down; square up edges 1¼" from plastic window |
 sew, right sides together, on bottom only, with ¼" seam |
|
If you have trouble with the presser foot hitting your caption on the left, then use a professional grade HP foot. It's a narrower foot; it will still give a perfect ¼" seam if you run the right edge along the fabric with the needle position all the way to the left. Remove remaining pins; open up. Iron center seam open with a Clover mini-iron. Be careful not to iron the plastic! |
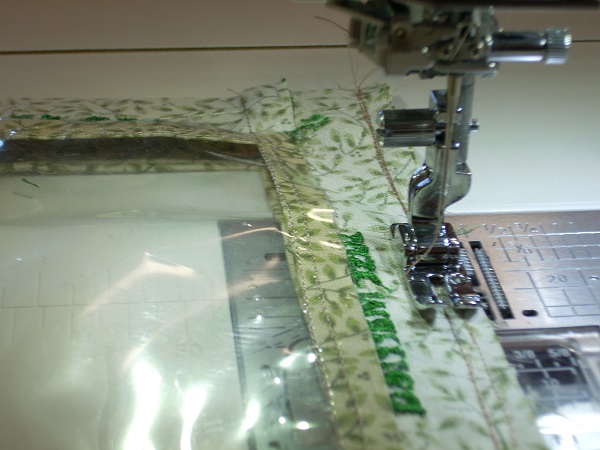 use professional HP foot, if needed, so presser foot doesn't hit embroidered caption on left |
 press center seam open with a Clover mini-iron |
|
(7) Finish Top Edges: The technique used in steps (7) and (8) allows the plastic to stay wrinkle-free! Press under 1/4" on both top edges. Be very careful not to iron the plastic! The Clover mini-iron is perfect for this. Sew both top seams with a heavy-duty overedge stitch: (Janome 9400 QCP) Garment–Overedge–Heavy, foot M |
 press under 1/4" on top edges; be very careful not to iron the plastic |
 stitch both top edges with a heavy-duty overedge stitch |
|
(8) Sew side seams: Press under 1/4" on both side edges, keeping the center seam open. Be very careful not to iron the plastic! Fold, right-sides out, so that windows are aligned. Using the same heavy-duty overedge stitch that was used in step (7):
|
 press under 1/4" on side edges; be very careful not to iron the plastic 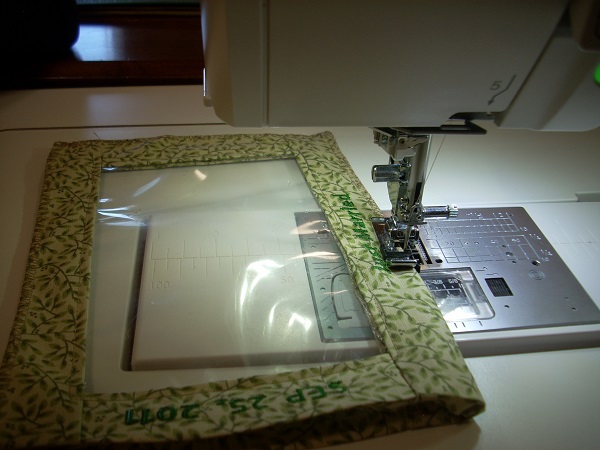 sew bottom edge (for a uniform border all around); pivot at corner |
 use same heavy-duty overedge from step (7); start in upper-right corner; sew down right edge; pivot at corner 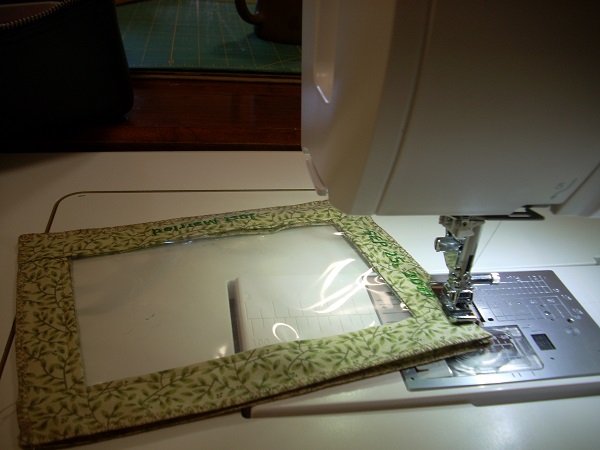 sew up left edge |
|
(9) Insert cardboard; stitch photo pocket: Carefully insert the cardboard; don't wrinkle the plastic! Be sure to push the cardboard all the way to the bottom. Put the side you consider to be most important on top. Using the general purpose presser foot and default straight stitch, stitch again over the window pocket stitching from step (5). (You are stitching through both layers of fabric and the cardboard.) Start in the upper right window pocket; stitch down the right side, across the bottom, up the left side. Do NOT stitch the top! This creates two photo pockets. Carefully insert the photos on both sides; again, don't wrinkle the plastic! Minor wrinkles in the plastic can be eliminated (or at least lessened) by waving a hot blow dryer over the plastic. |
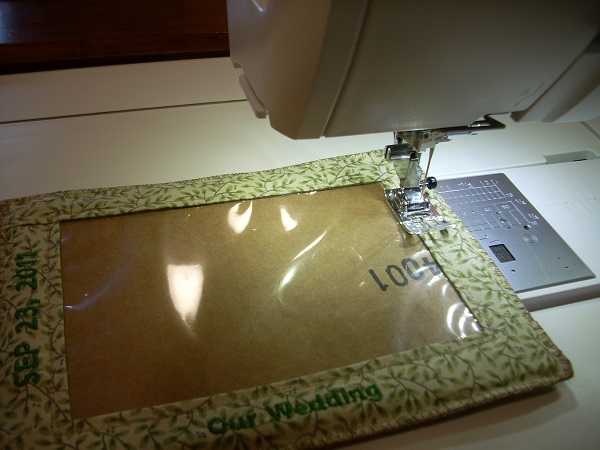 put ‘most important’ side on top; stitch around sides/bottom of window pocket through both layers of fabric and cardboard |
 carefully insert photos on both sides |
|
(10) Stitch top closed: Machine-stitch the top closed. Use a basting stitch that can be easily removed (with a seam ripper) if you want to remove photos. |
 stitch the top closed |
|
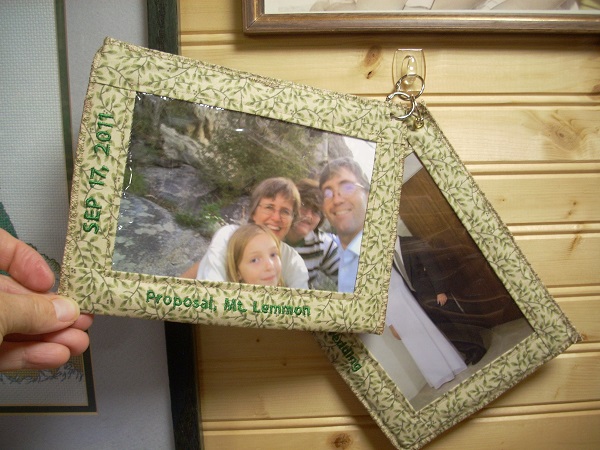
(11) Attach eyelet for hanging: Turn the photo holder to the earliest-date side. Attach an eyelet in the upper left corner, as follows: Use a Crop-A-Dile. Put a tiny mark where you want the hole; punch the hole with the 1/8" hole side. Put a 1/8" eyelet in the hole just made; the top of the eyelet goes on the earliest-date side; push it (as needed) so the back protrudes through the other side. You can use top C, base 3 on the crop-a-dile, but I find that my dedicated Dritz eyelet attacher works better. Put the prong into the top of the eyelet, and press firmly! |
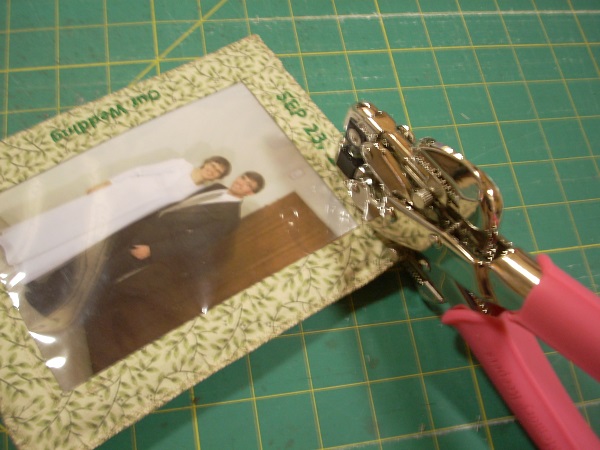 attach eyelet for hanging |
|
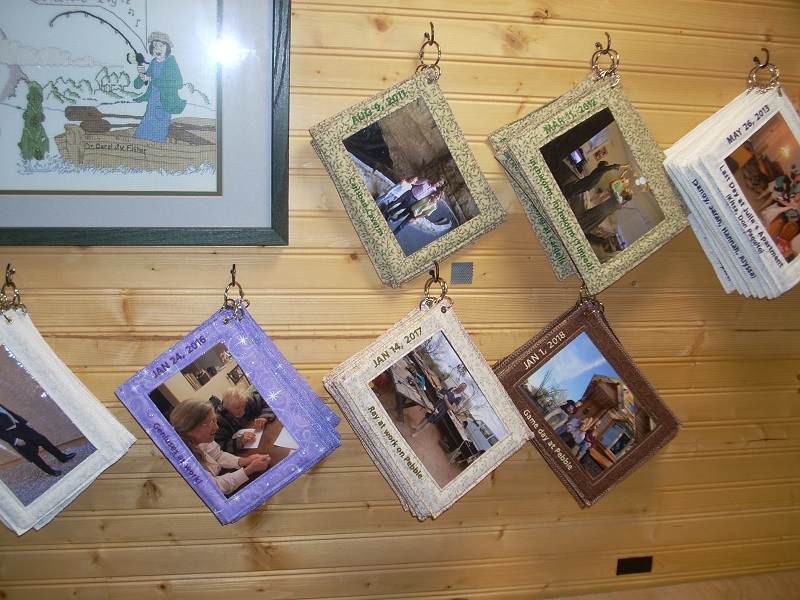
(12) Attach ring; hang: Put a mini loose-leaf binder ring through the eyelet hole. All the rings (say, for a year's worth of photos) are attached to a larger binder ring. Hang the larger ring on a cup hook (or a Command hook) on the wall. |
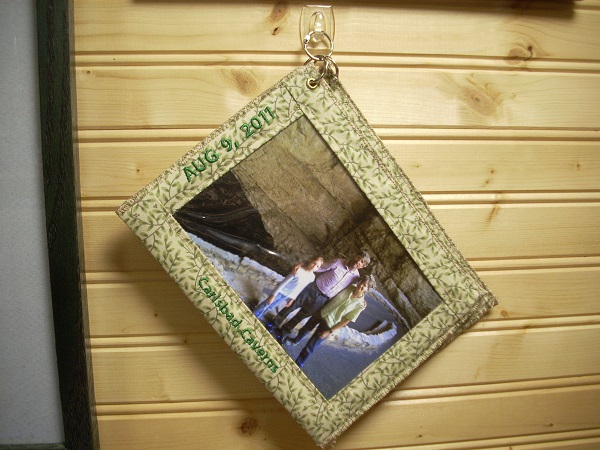 use binder rings to hang |
hang on a hook |